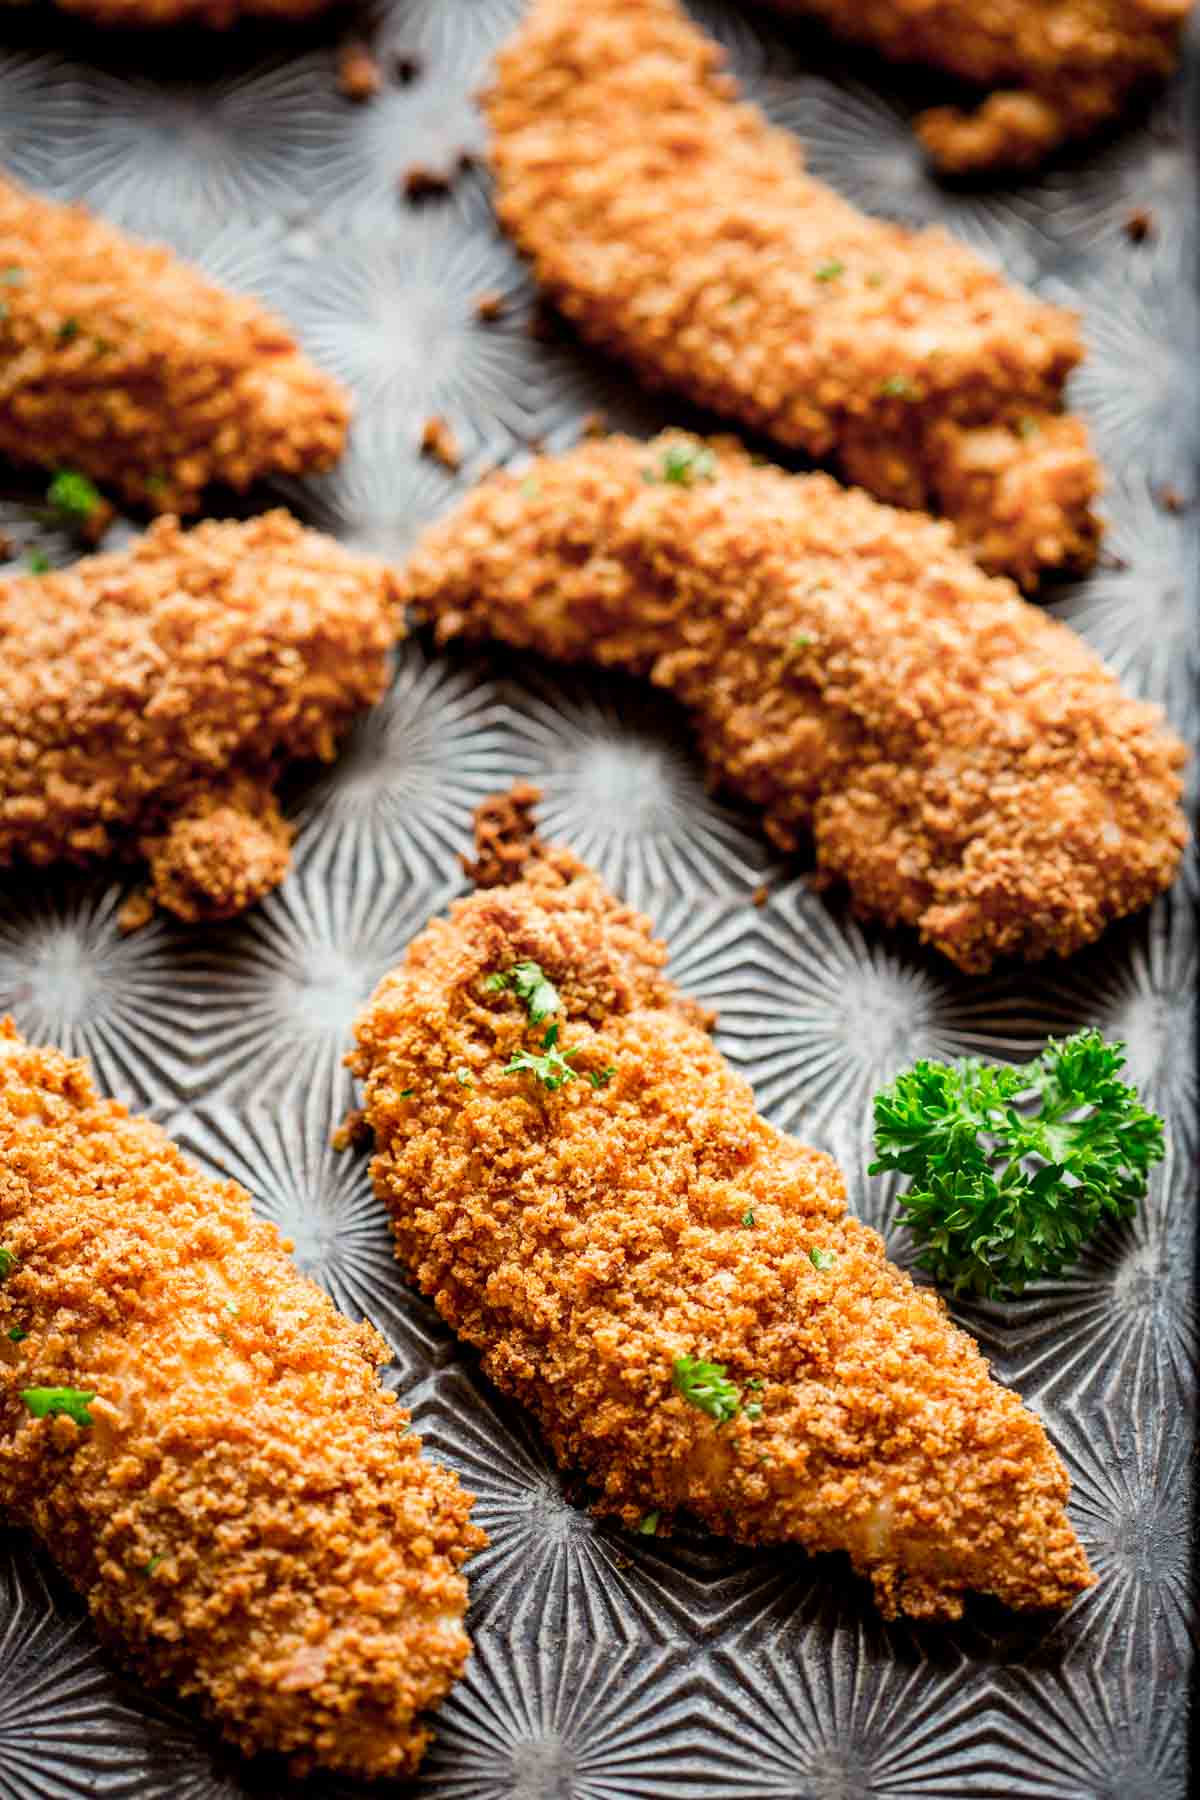
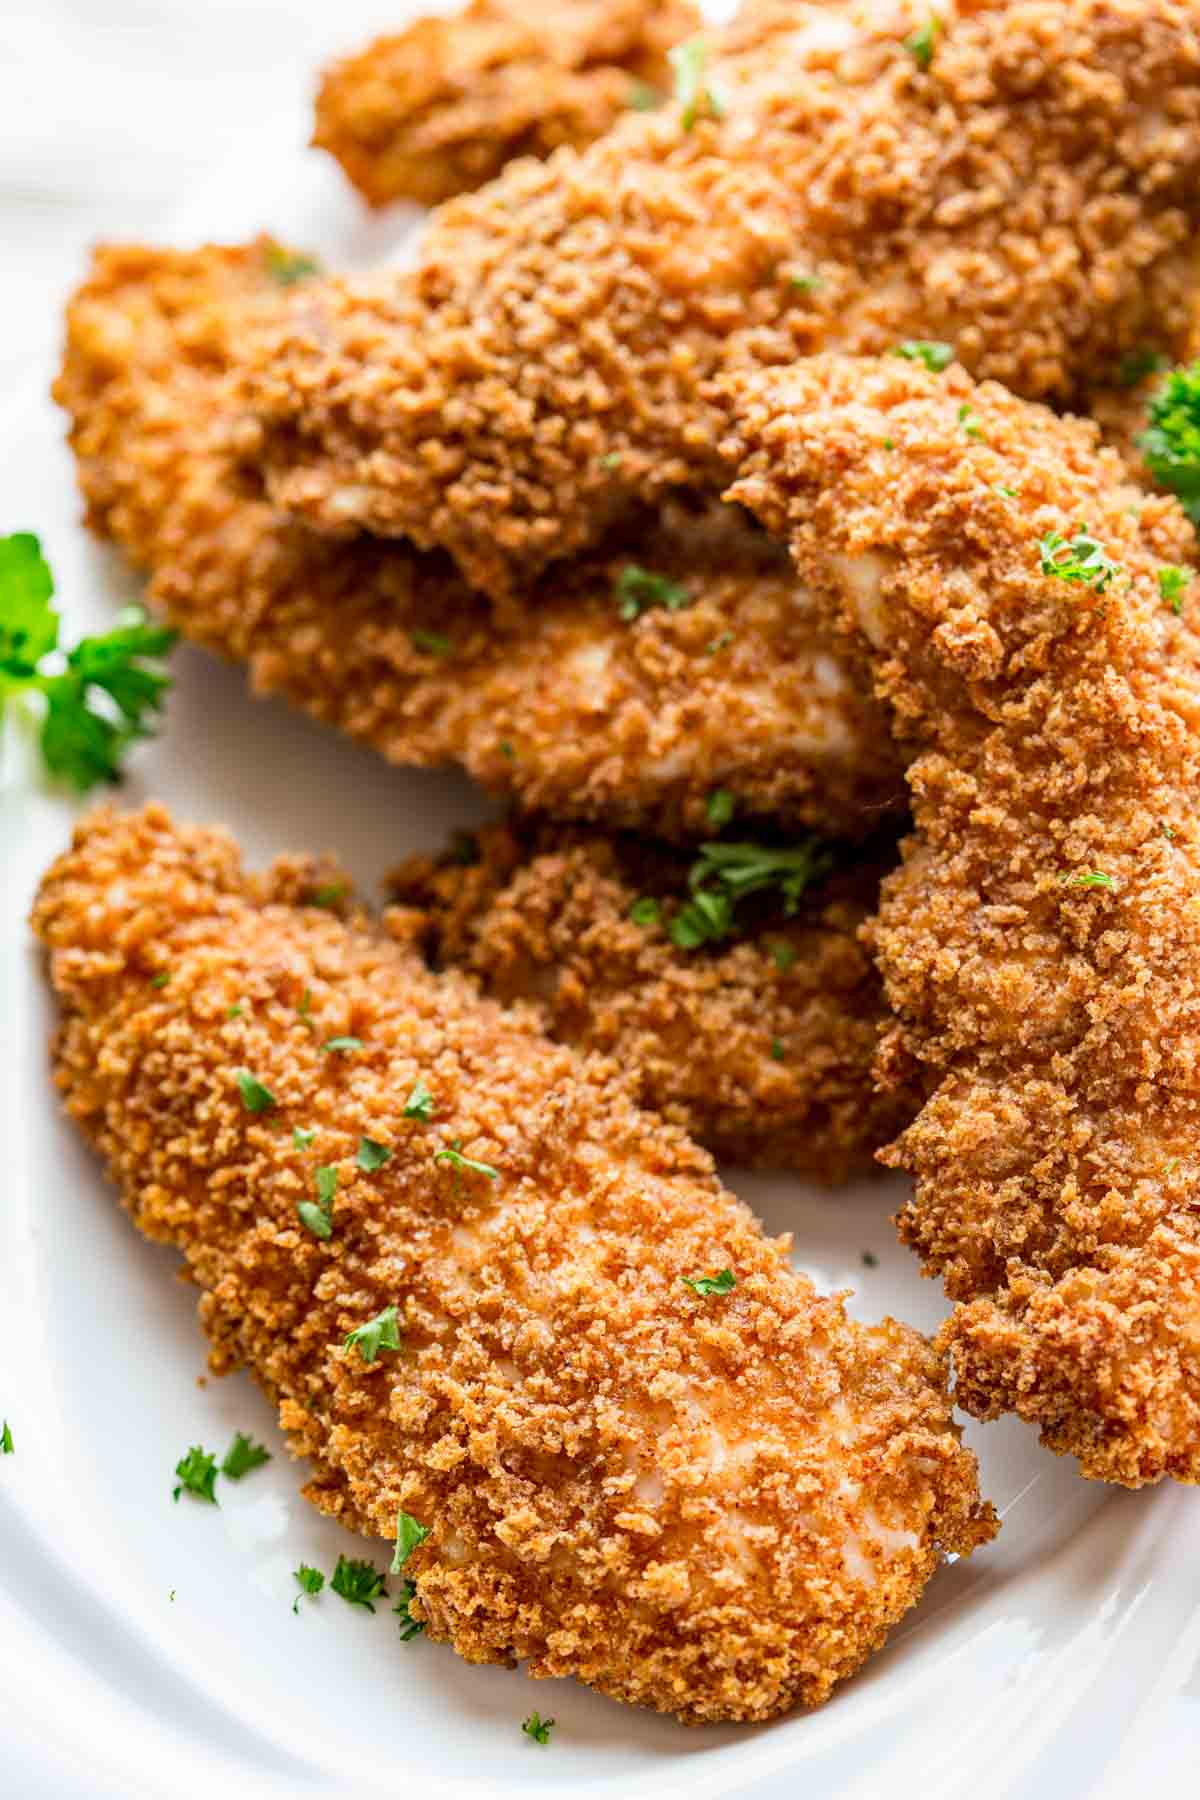
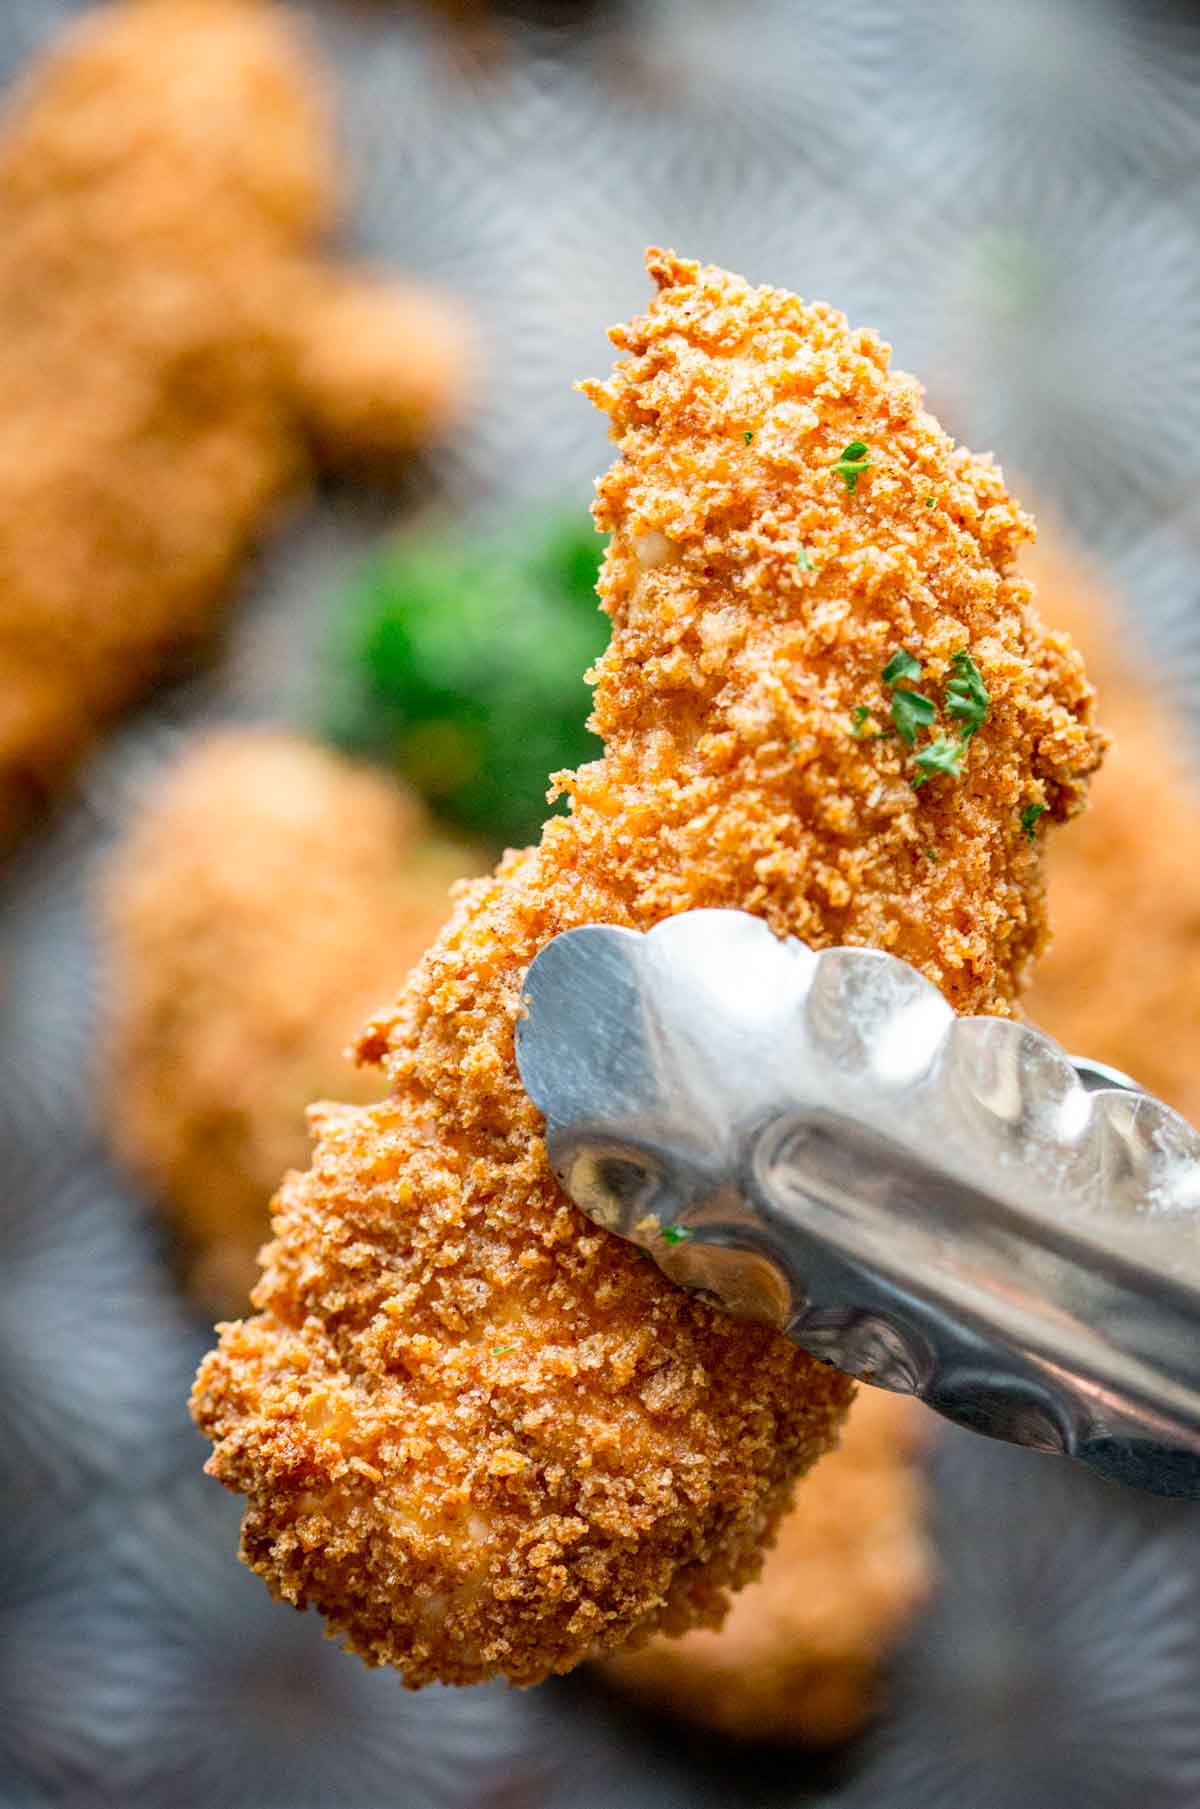
Crispy Baked Chicken Fingers
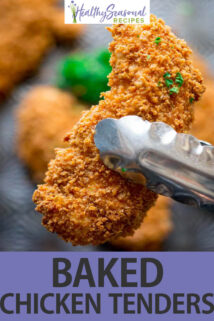
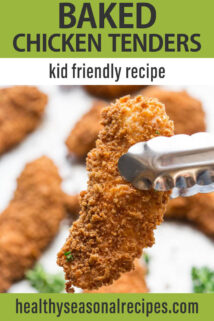
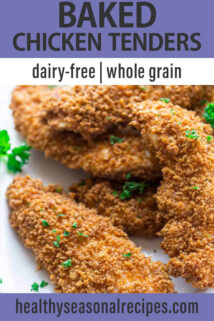

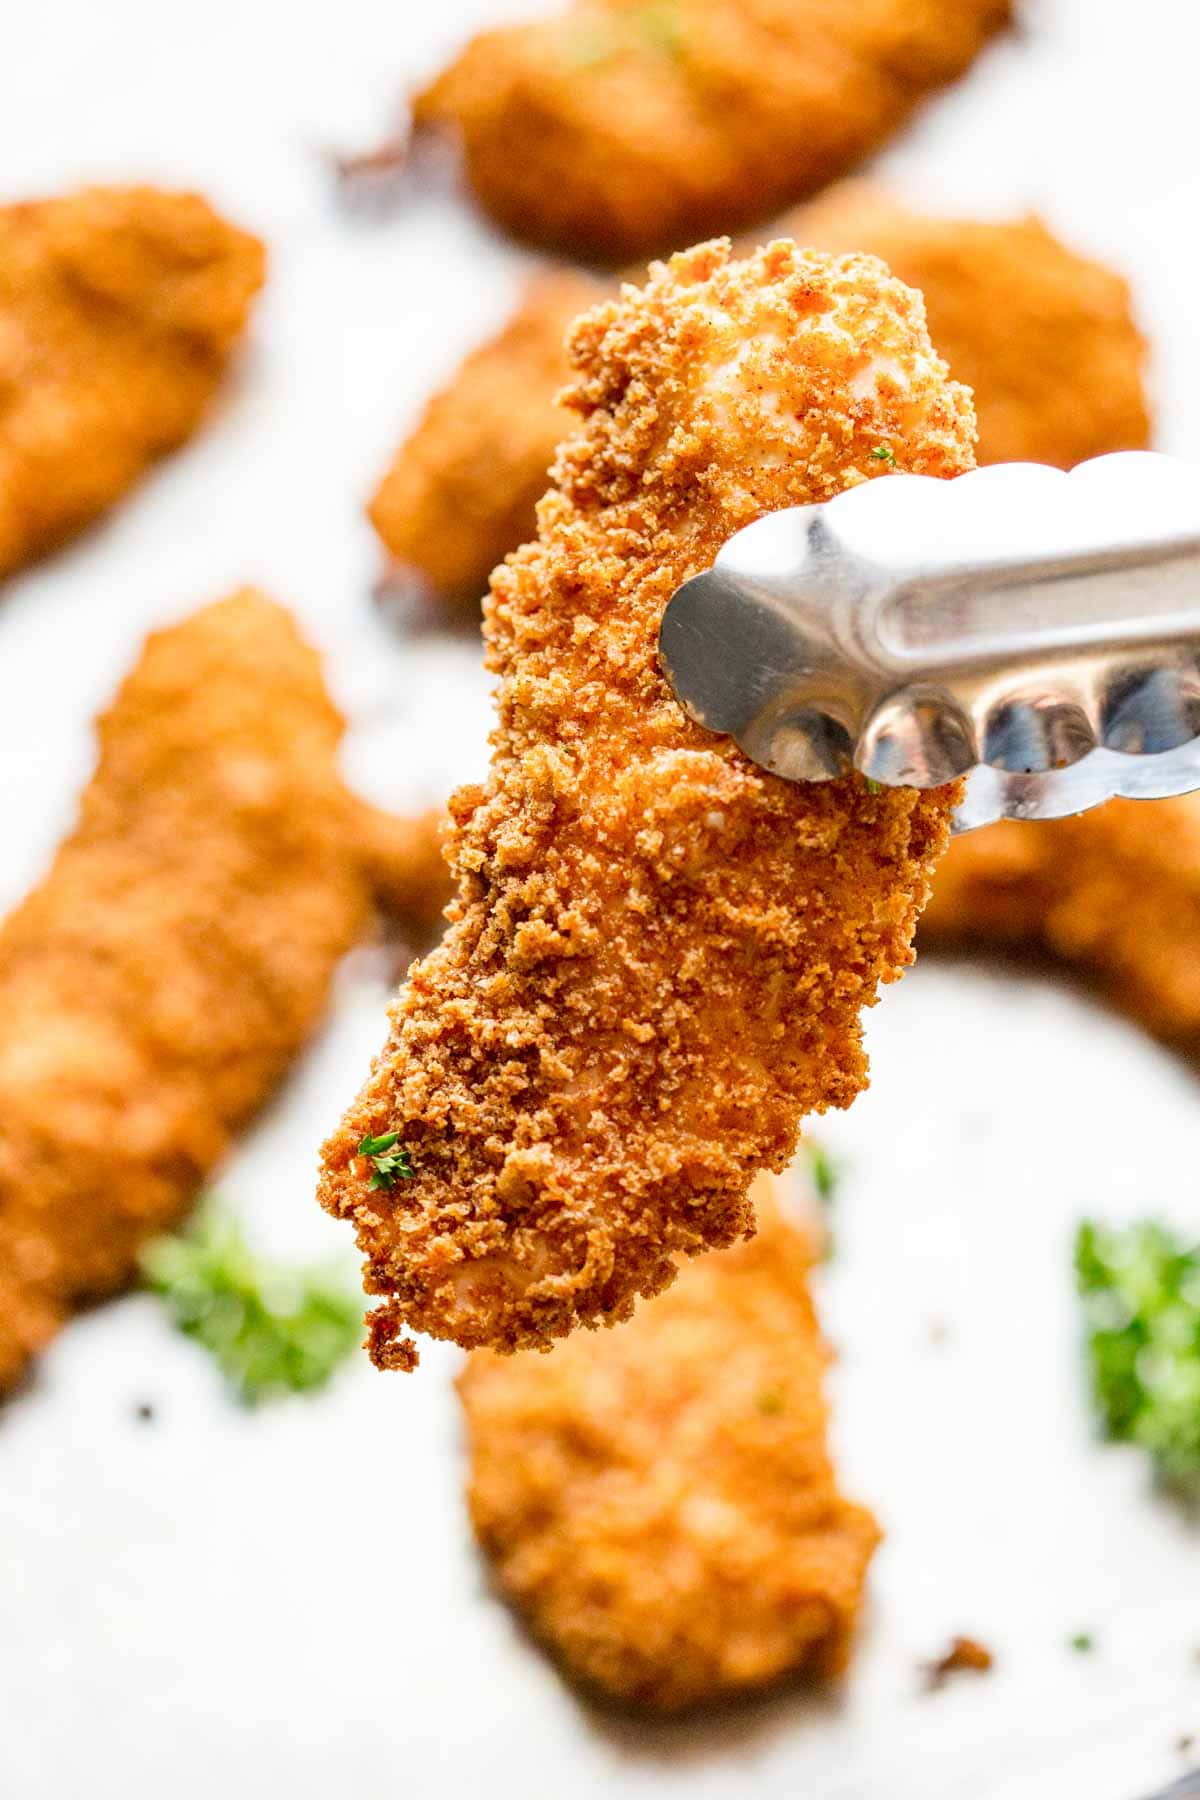
These crispy, golden, baked chicken tenders are tender on the inside and crunchy on the outside, and they so much healthier than fried chicken fingers! The key is the foolproof oven-baked panko breading. They are kid-approved and a big hit with all ages! They are an all-time favorite 40-minute dinner.
I originally shared this recipe in February of 2011. I have updated the text today.
Table of contents
- Why These Oven Baked Chicken Tenders Are The Best
- WATCH: How to make Healthy Oven Baked Chicken Tenders
- Healthy Baked Chicken Strips Ingredients
- How to Make Healthy Chicken Tenders
- What to Serve With Healthy Chicken Strips
- How to Store Baked Chicken Fingers
- Baked Chicken Tenders Recipe FAQS
- More Healthy Family-Friendly Meals To Try
- More Healthy Chicken Recipes:
Why These Oven Baked Chicken Tenders Are The Best
Thank heaven for these baked chicken tenders! Over the years, I have heard from readers that this recipe is a regular part of their family’s menu rotation. And on a busy night, I personally am also always relieved when I have the ingredients on hand to make them. They are quick and healthy and my kids absolutely love them. I have to admit they are a favorite of mine too.
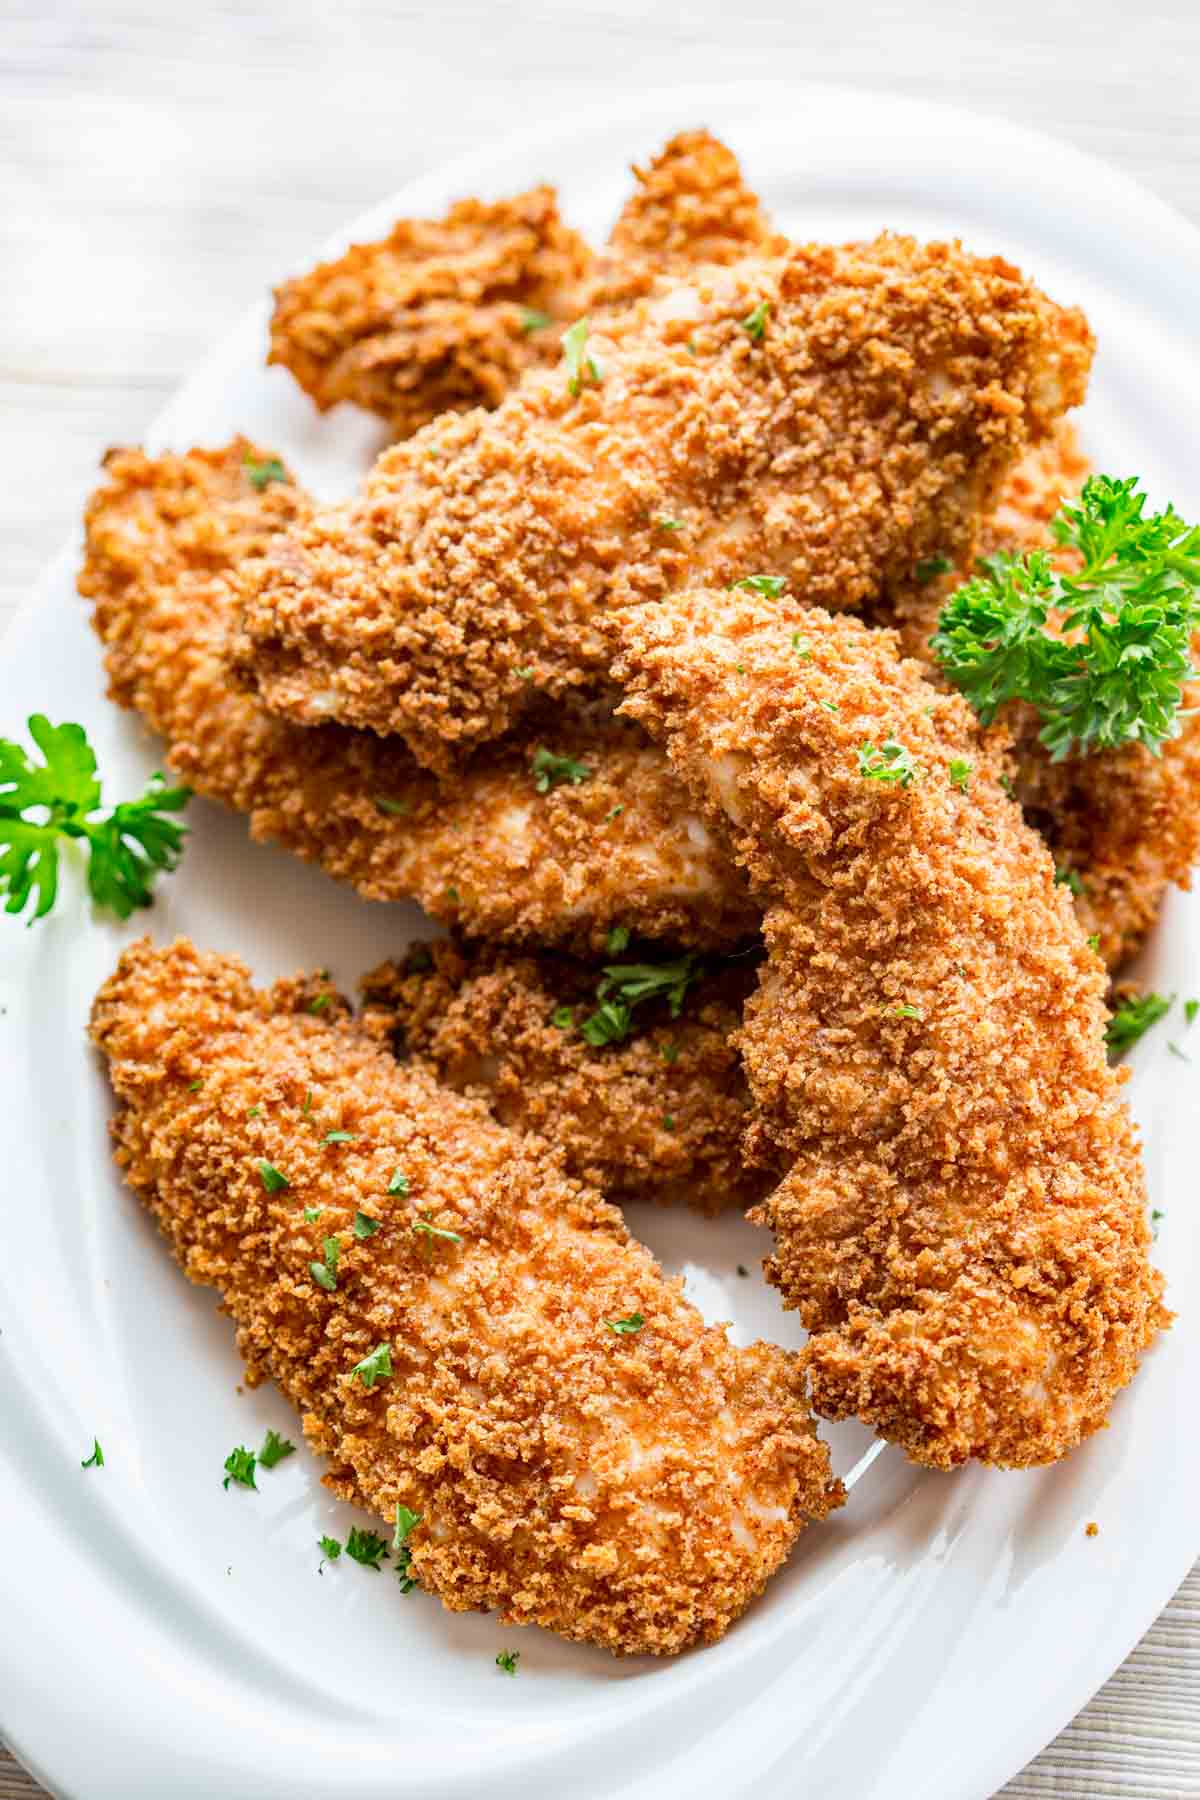
If you think that baked chicken fingers aren’t going to be as good as fried, think again! These seriously are juicy and tender on the inside and the golden panko coating is crunchy as can be.
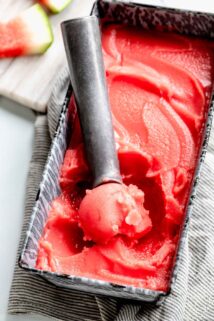
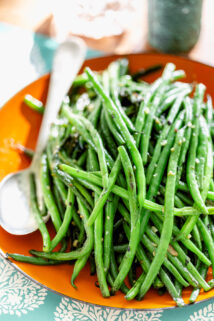
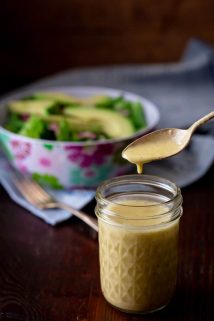
They are perfect for dunking in your favorite sauce: Ranch, Ketchup or BBQ sauce. Pair them with a family-friendly side like lemon broccoli or these easy green beans or choose one of these sides that go great with chicken. Or make a Caesar salad made with my favorite Caesar dressing and homemade croutons and just like that, you have a clean-plate-club kind of dinner!
WATCH: How to make Healthy Oven Baked Chicken Tenders
Love this recipe? Check out our Crispy Oven Baked Fish Sticks too.
Healthy Baked Chicken Strips Ingredients
For The Breading
For the breading we set up a three part breading station. For this you will need
- 1/3 cup all-purpose flour
- 1/2 teaspoon salt (This goes in both the flour and the breadcrumbs to season the chicken)
- 2 large eggs
- 1 1/3 cup Panko breadcrumbs (If you can find the whole wheat breadcrumbs are more nutritious).
- 1 teaspoon sweet paprika (This adds golden color to the breading)
- 1/8 teaspoon garlic powder
- 5 teaspoons avocado oil or organic canola oil
Chicken Tenders
You will need 1 pound per batch of chicken fingers. These can sometimes be labeled chicken tenderloin which is the same thing. They come from the inner part of the chicken breast (right against the rib bones) and they are very tender. Hence the name!
You can also use boneless skinless chicken breast and cut them into chicken nuggets. Note that this is just enough breading for one pound of tenderloins though, so if you cut the chicken too small you may run out of breading because it may have more surface area.
How to Make Healthy Chicken Tenders
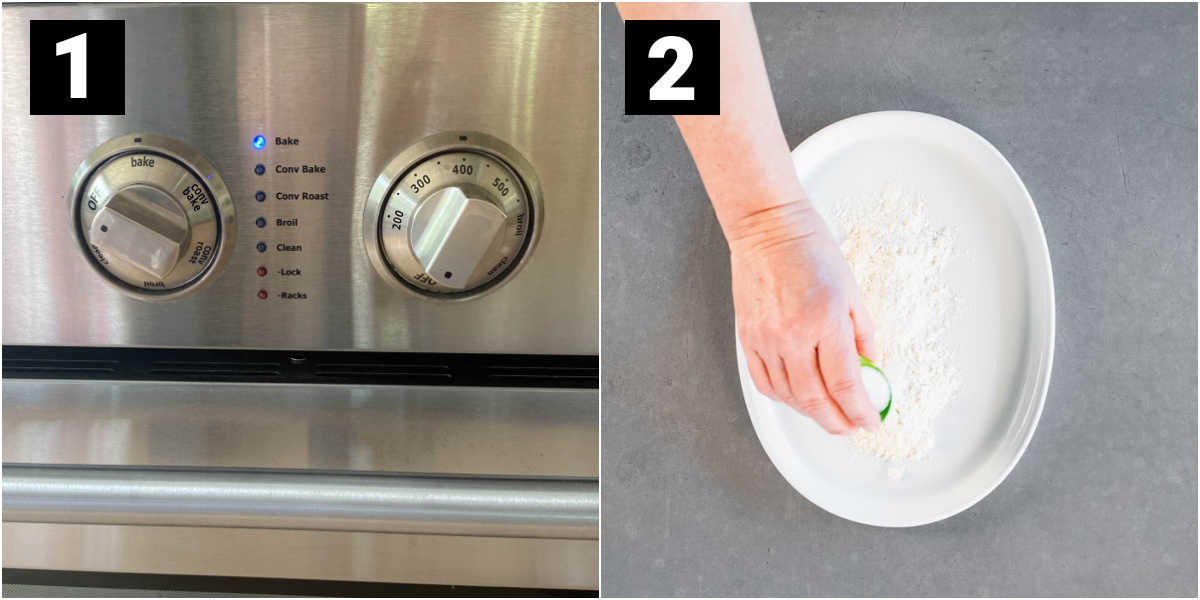
Step 1: Prep Oven and Pan
Preheat oven to 400 degrees F. Coat a large baking sheet with cooking spray or brush lightly with oil.
Step 2: Mix Flour Mixture
Before doing anything else, you need to set up stations to dip the chicken into each coating. So first you’ll want to mix the all-purpose flour with 1/4 teaspoon salt in a shallow dish.

Step 3: Mix Eggs
Then, beat the eggs in a second shallow dish and set that next to the flour. The egg acts as a glue to hold the breadcrumbs to the flour layer.
Step 4: Make Panko Breading Mixture
Lastly, stir together the breadcrumbs, paprika, garlic powder and salt in a third shallow dish. Drizzle oil over the breadcrumb mixture and then mix thoroughly with a fork until all of the oil and spice coats the breadcrumbs. Keep mixing until the breadcrumbs are evenly colored and moistened by the oil and paprkia. This really makes a big difference so take a moment to do so.
Set to the side of the egg mixture. This will be your third step in the breading process and what makes these chicken fingers super crunchy!
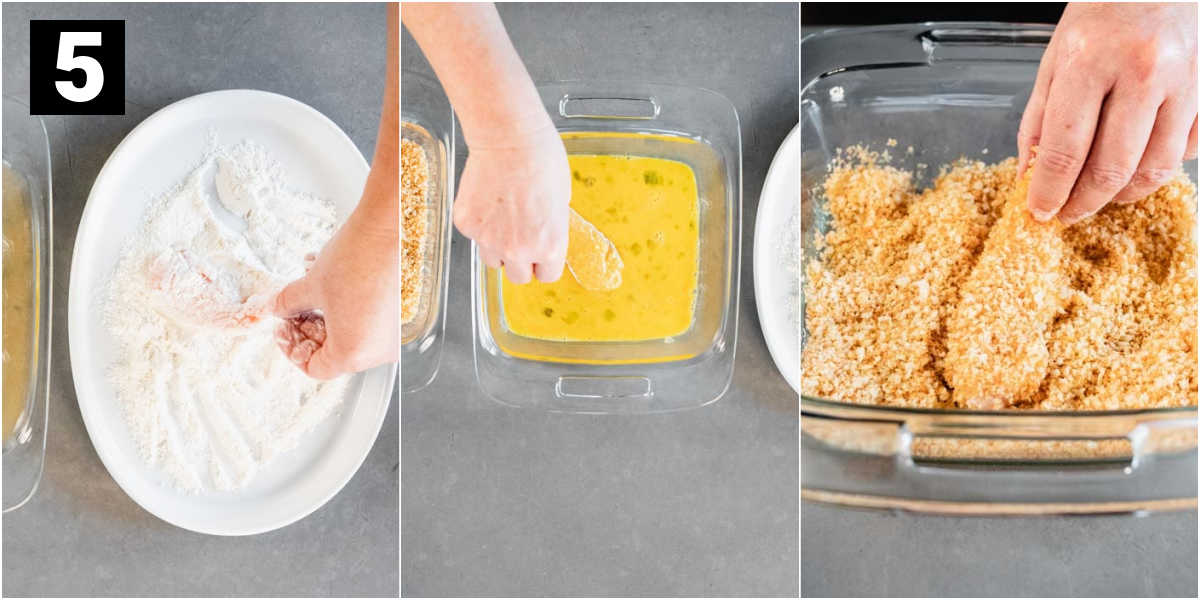
Step 5: Bread The Chicken Tenders
My top tip for this step is to use one hand for the dry ingredients and one for the wet ingredients while dredging the tenders.
- Dip a chicken tender into the flour mixture, turning to coat completely. (Left Photo)
- Then dip it into the eggs, coating completely. (Center Photo)
- Then press the chicken tender into the breadcrumb mixture, turning to coat completely. (Right Photo)
- Continue with the remaining tenders one at a time and then discard any leftover dredging mixtures.
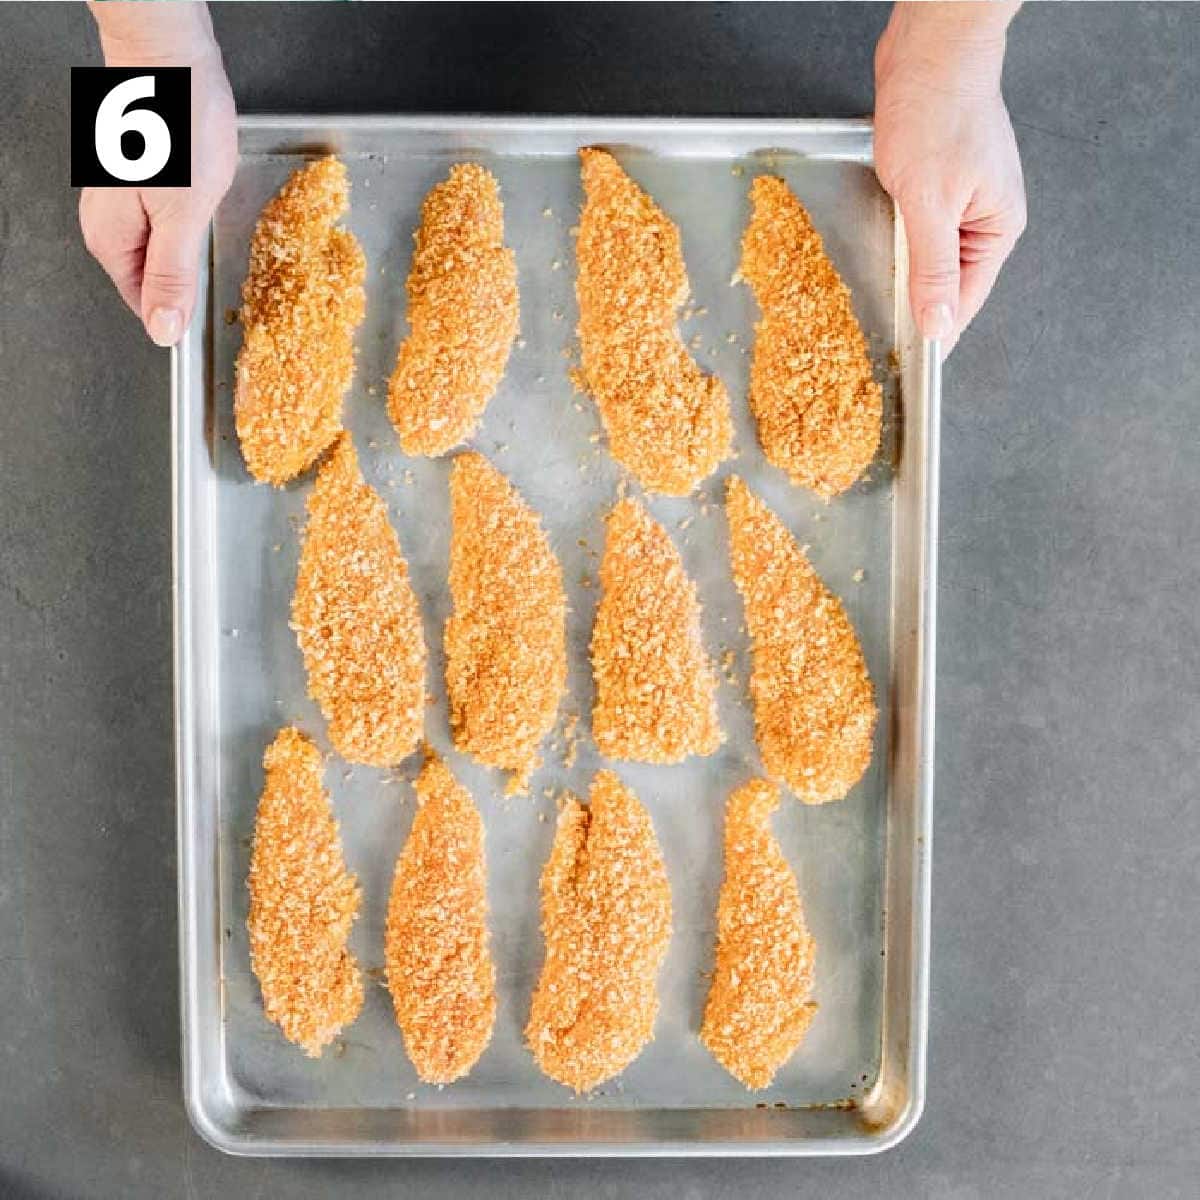
Step 6: Bake
Transfer the breaded tenders to the oven and bake until the chicken is cooked through. There is no need to flip the baked chicken tenders over because the panko will keep them from becoming soggy on the bottom. They will be nice and crisp as if they were deep fried, but without all the added oil!
What to Serve With Healthy Chicken Strips
- These oven baked chicken tenders are delicious dipped in ketchup, bbq sauce, or honey mustard. Try our Peach Barbecue Sauce for a dipping sauce!
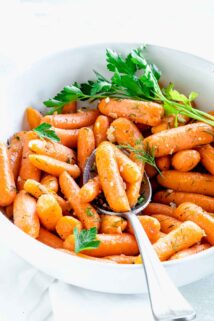
- For a side dish, keep things simple and prep something while they are baking. Sauteed swiss chard fits the bill nicely, as do these balsamic green beans, steamed cauliflower with herbs, and garlic mashed broccoli.
- If you don’t mind juggling a few things in the oven at once, you could also pair these healthy chicken tenders with some skinny oven fries or Cajun fries.
How to Store Baked Chicken Fingers
Keep leftovers in an airtight container in the refrigerator up to 3 days.
How to Freeze Baked Chicken Fingers
You can freeze baked breaded chicken fingers too. I like to lay them on a baking sheet and freeze them solid, then transfer them to a resealable freezer bag. Freeze up to 2 months.
How to Reheat Baked Chicken Strips
Defrost in the fridge and reheat in the oven or airfryer to crisp the panko coating.
Baked Chicken Tenders Recipe FAQS
I find that these panko-crusted tenderloins don’t need to be elevated on a rack and they still get very crispy on the bottom. The key is mixing the breadcrumbs with the oil so that they crisp up and using a hot oven will keep them from getting soggy on the bottom.
There is no need to flip the chicken tenders while baking, and in fact this can cause them to become soggy. If you open the oven to flip them, that’ll temporarily lower the temp and they will be more likely to let off their juices- which makes them soggy.
Keeping the oven temp higher (400 degrees) will cook them quickly- so they will not let off their juices as they bake. Panko crusted chicken fingers will generally not steam and get weepy like those breaded with regular breadcrumbs, because the panko holds them up off the surface of the baking sheet.
Keep breaded chicken uncovered so that it crisps and browns.
If you do not overcook the chicken tenders they should stay nice and moist. The key to this is to use high heat (400 degrees) to brown and crisp the breading but do not overcook them or they will be dry.
You can sub in gluten-free all-purpose flour or rice flour for the all-pourpose flour and use gluten-free panko.
More Healthy Family-Friendly Meals To Try
- My Minestrone Soup recipe has been super (souper) popular lately!
- Don’t miss my Turkey Meatloaf recipe, it’s another family favorite!
- And did you catch my 400-calorie meals in EatingWell Magazine this month?
- My kids love this 20-minute Cheese Tortellini and Veggies recipe.
- Our Air Fryer Chicken Cutlets are seasoned with Everything Bagel Seasoning.
- I’ve been dying to try making no-noodle Cauliflower Mac and Cheese. Have you tried it?
More Healthy Chicken Recipes:
- If you have 20 minutes, then you have enough time to whip together this Creamy Chicken and Peas recipe from the archives. It is nothing fancy but my family always loves the creamy sauce and tender chicken.
- When you don’t have a ton of time to prep dinner, toss this 5-Ingredient Honey Mustard Chicken Thighs recipe into the oven and let the oven do all the work.
- For a twist on the classic, this healthier version Chicken and Biscuits Casserole is a great Sunday dinner that totally hits all those comfort food buttons!
- We are always trying to make over classics like this Healthy Chicken Paprikash or this Chicken A La King.
- Our Mexican Chicken Casserole is inspired by Chicken Chilaquiles but all served up in a cozy casserole!
- When all else fails, a batch of Healthy Garlic Herb Chicken Marinade will do wonders for even plain chicken breast.
At Healthy Seasonal Recipes, we specialize in cooking with fresh veggies and creating weeknight meals. Sign up HERE to get more produce-forward dinner ideas for FREE! If you make this recipe, please come back and leave a star rating and review. I would love to hear what you thought! Happy Cooking! ~Katie
Print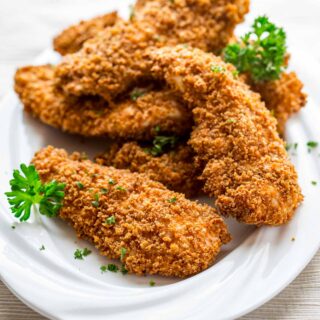
Healthy Chicken Strips
- Total Time: 40 minutes
- Yield: 4 servings 1x
Description
These crispy and healthy baked chicken tenders are baked in the oven instead of fried. They’re breaded in panko mixed with seasoning and oil, then baked to make a super crispy coating. Plus, they’re kid approved!
Ingredients
- 1/3 cup all-purpose flour
- 1/2 teaspoon salt, divided
- 2 large eggs
- 1 1/3 cup Panko breadcrumbs, preferably whole-wheat
- 1 teaspoon sweet paprika
- 1/8 teaspoon garlic powder
- 5 teaspoons avocado oil or organic canola oil
- 1 pound chicken tenders
Instructions
- Preheat oven to 400 degrees F. Coat a large baking sheet with cooking spray or brush lightly with oil.
- Mix all-purpose flour with 1/4 teaspoon salt in a shallow dish.
- Beat eggs in a second shallow dish. Set next to the flour.
- Stir breadcrumbs, paprika, garlic powder and the remaining 1/4 teaspoon salt in a third shallow dish. Drizzle oil over the breadcrumb mixture and then mix thoroughly with a fork until all of the oil and spice coats the breadcrumbs. Set to the side of the egg mixture.
- Use one hand for dry ingredients and one for wet ingredients while dredging the tenders. Dip a chicken tender in the flour mixture, turning to coat completely. Dip into the eggs, coating completely. Press into the breadcrumb mixture, turning to coat completely. Set on the prepared baking sheet. Continue with the remaining tenders one at a time. Discard any left-over dredging mixtures.
- Transfer the baking sheet of breaded tenders into the oven and bake until the chicken is cooked through, 22 to 25 minutes.
Notes
These can be made with regular breadcrumbs, but they will not be as crispy.
Discard leftover breading, as it came in contact with raw chicken and raw egg.
Sweet Paprika is also known simply as paprika. In this recipe it serves to color the breadcrumb mixture to give it a golden hue as if it had been fried. It doesn’t contribute a lot of flavor to the final dish. However, hot paprika or smoked paprika would dramatically alter the flavor of the final dish.
- Prep Time: 15 minutes
- Cook Time: 22 minutes
- Category: Main Course
- Method: Baked
- Cuisine: American
Nutrition
- Serving Size: 2 to 3 chicken tenders each
- Calories: 240
- Sugar: 1.2 g
- Sodium: 584 mg
- Fat: 9.4 g
- Saturated Fat: 1.6 g
- Carbohydrates: 17 g
- Fiber: 1 g
- Protein: 21.2


Best Chicken fingers ever. So easy to make and delicious. My grandson loves them.
Talk about wanting to hear yourself yak. Good lord. Put the recipe out and move on.
Why are you such an a$*&!le Bill?
Love this recipe and the detailed tips on how to make it crispy and tender. Fantastic. It has taken me years to find something like this. Thank you.
So yummy and simple! Add the Balsmic Green Bean recipe and TaDa… dinner is served
Absolutely delicious! We’ve made these chicken tenders so many times, and even the pickiest eaters in our home are obsessed with them.
Beth- I love to hear that! Thanks so much for the comment and rating!
These were super easy to make and husband loved them. I am on a low salt, low fat diet so instead of the salt, I seasoned with garlic powder, onion powder, and Italian seasoning and did not use oil except a tiny bit on the pan to keep them from sticking. I did brown them a little more under the broiler, before serving. Thanks for the recipe!
Thanks for this!
Do you think these could be prepped then frozen (before cooking?) Wondering if I can make a big batch then throw a few in the oven for a quick lunch/dinner. Thanks!
I think you could try it, but I am not sure how long you would need to bake them straight out of the freezer. My guess is an additional 10 to 20 minutes. Take a look at this recipe for reference https://www.foodnetwork.com/recipes/food-network-kitchen/homemade-frozen-chicken-fingers-recipe-2108933
AMAZING!!! I will definitely make this over and over,m I am a baker and cook and I love making healthy additions to my recipes!! this is totally a keep in my book these are so awesome and tasty!!!
So psyched you are a fan. Thank you Stella.
My little one can’t eat Chicken so I’m always looking for new recipies. Made it with turkey. My kids loved them!
Greetings from Mexico!
I am happy to hear that it worked with turkey too. Yay!
This is the only Recipe you will ever need for chicken fingers. I am a mom of 3 and 2 of them are picky eaters. They all ask for homemade chicken fingers and always ask me to make extras – Yes they do reheat nicely in the oven IF there are any left overs. My whole family LOVEs them. They are tasty and tender!! *I serve with homemade honey mustard sauce as well…. YUMMY”
I am so happy you love this recipe too! I love hearing stories like this. Thanks for coming back to review and rate Char!
Excellent recipe- I love that you drizzle the oil in the Panko. I never thought of that before. The chicken comes out so crispy and delicious. I used the smoked sweet paprika which I love. All your tips are great. This recipe is a keeper!
Tried this recipe; and it is a keeper. Will definitely make it again.
I am so glad you like it! Thank you!
This recipe loos great. One question. I don’t see any nutritional facts on this recipe. Any reason they are not included? I want to watch my carb intake and wold love to know how many carbs are in this recipe.
I can understand how you missed it. It’s at the very bottom of the recipe card. There are 17 grams of carbs and 1 gram of fiber.
I made these but cut out the oil entirely (watching my fat intake) and they were still SOOO tasty! I also used chicken breasts cut in half (I didn’t have tenders) and they were PERFECT. Thanks for this!
I’m thrilled to hear it! Thank you for coming back to rate and review!