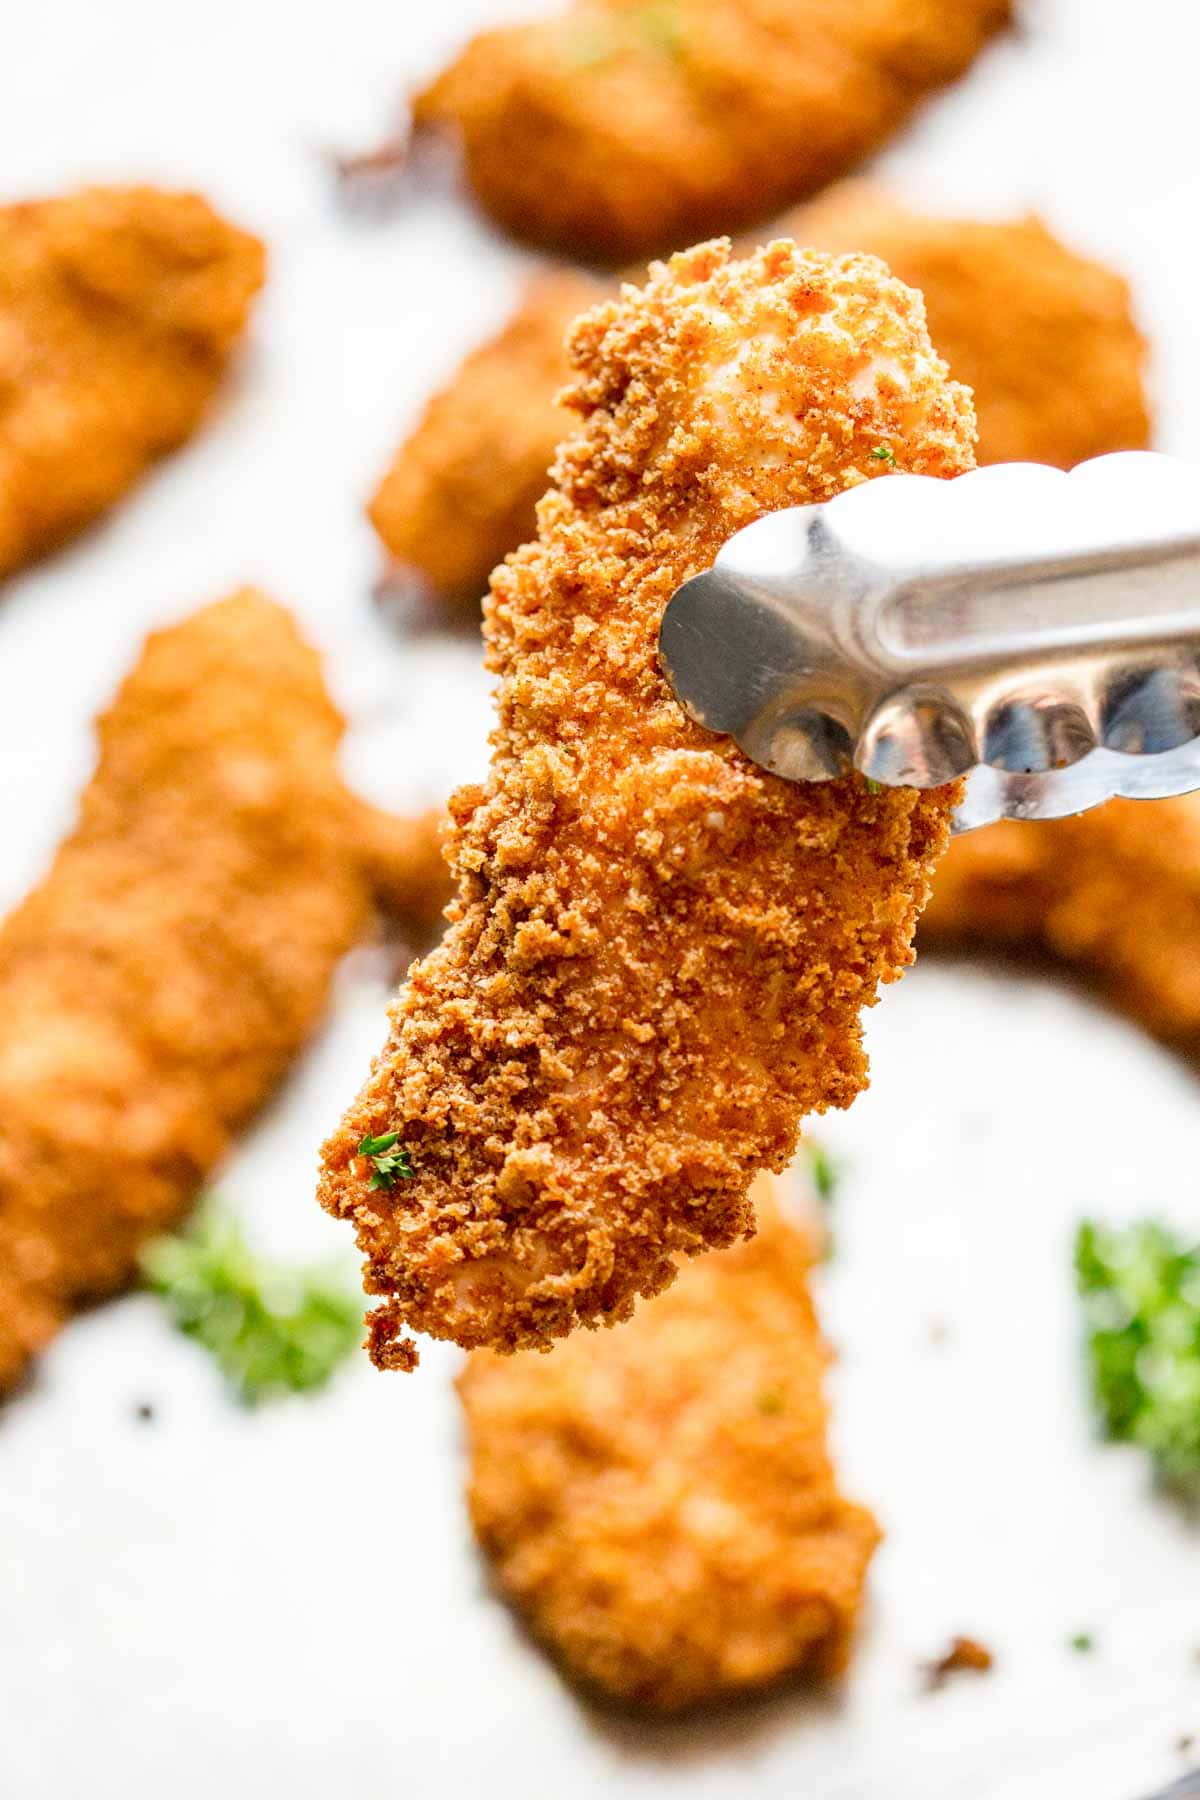
Crispy Baked Chicken Fingers

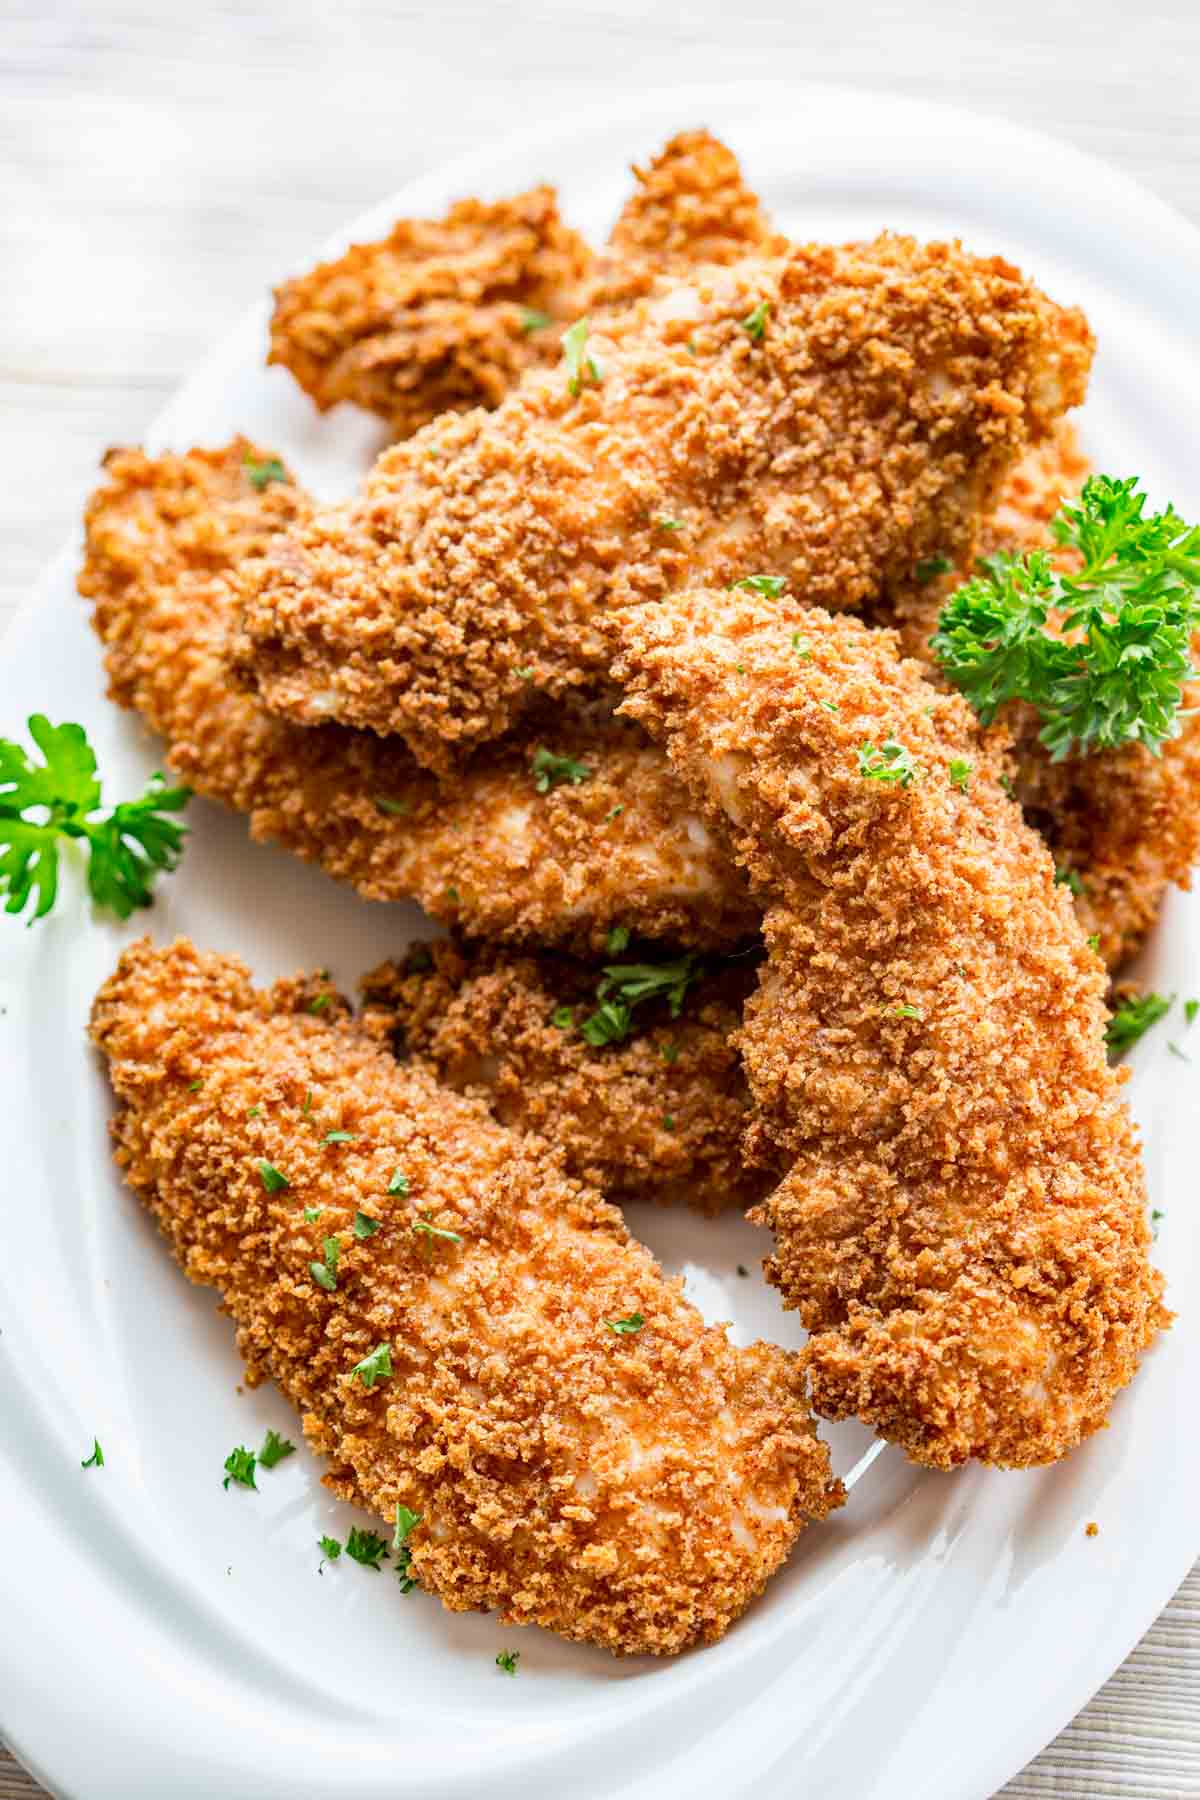
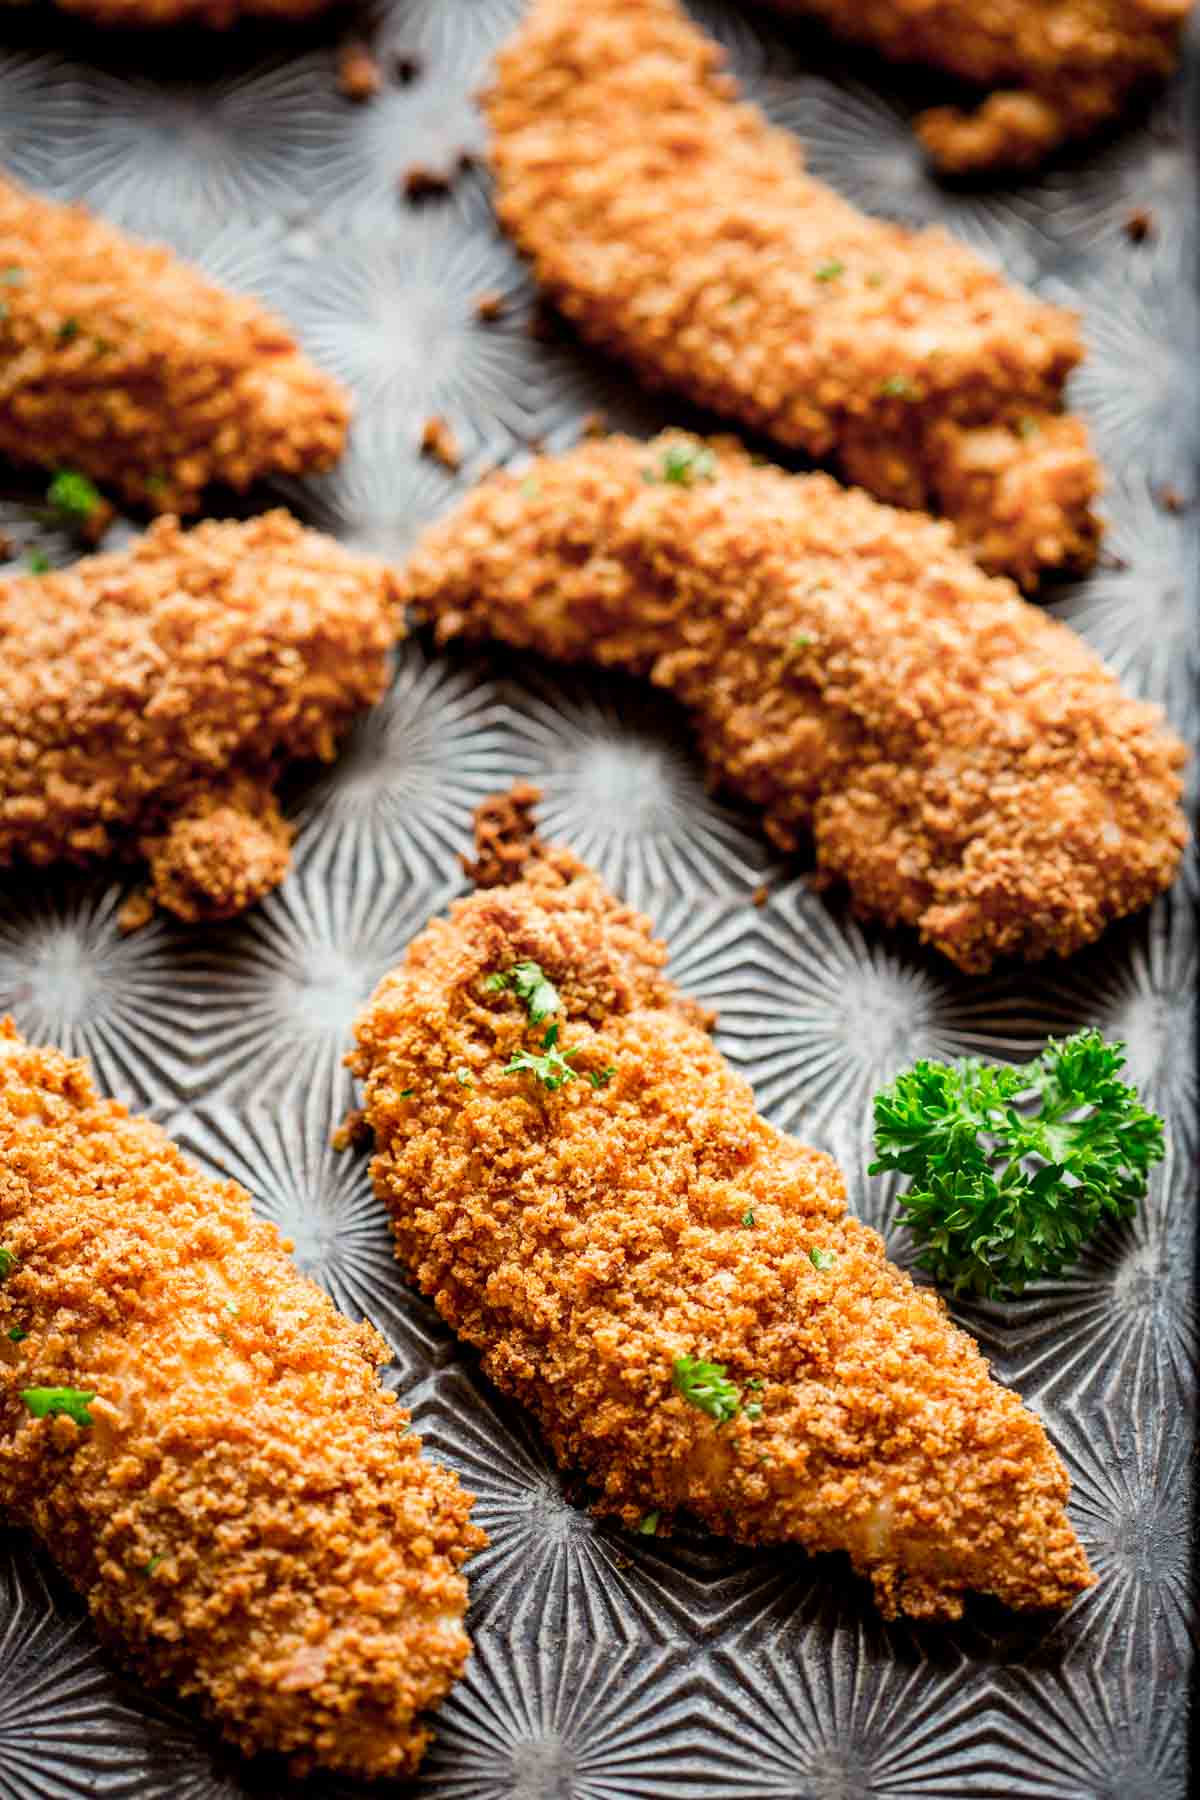
These crispy, golden, baked chicken tenders are tender on the inside and crunchy on the outside, and they so much healthier than fried chicken fingers! The key is the foolproof oven-baked panko breading. They are kid-approved and a big hit with all ages! They are an all-time favorite 40-minute dinner.
I originally shared this recipe in February of 2011. I have updated the text today.
Table of contents
- Why These Oven Baked Chicken Tenders Are The Best
- WATCH: How to make Healthy Oven Baked Chicken Tenders
- Healthy Baked Chicken Strips Ingredients
- How to Make Healthy Chicken Tenders
- What to Serve With Healthy Chicken Strips
- How to Store Baked Chicken Fingers
- Baked Chicken Tenders Recipe FAQS
- More Healthy Family-Friendly Meals To Try
- More Healthy Chicken Recipes:
Why These Oven Baked Chicken Tenders Are The Best
Thank heaven for these baked chicken tenders! Over the years, I have heard from readers that this recipe is a regular part of their family’s menu rotation. And on a busy night, I personally am also always relieved when I have the ingredients on hand to make them. They are quick and healthy and my kids absolutely love them. I have to admit they are a favorite of mine too.
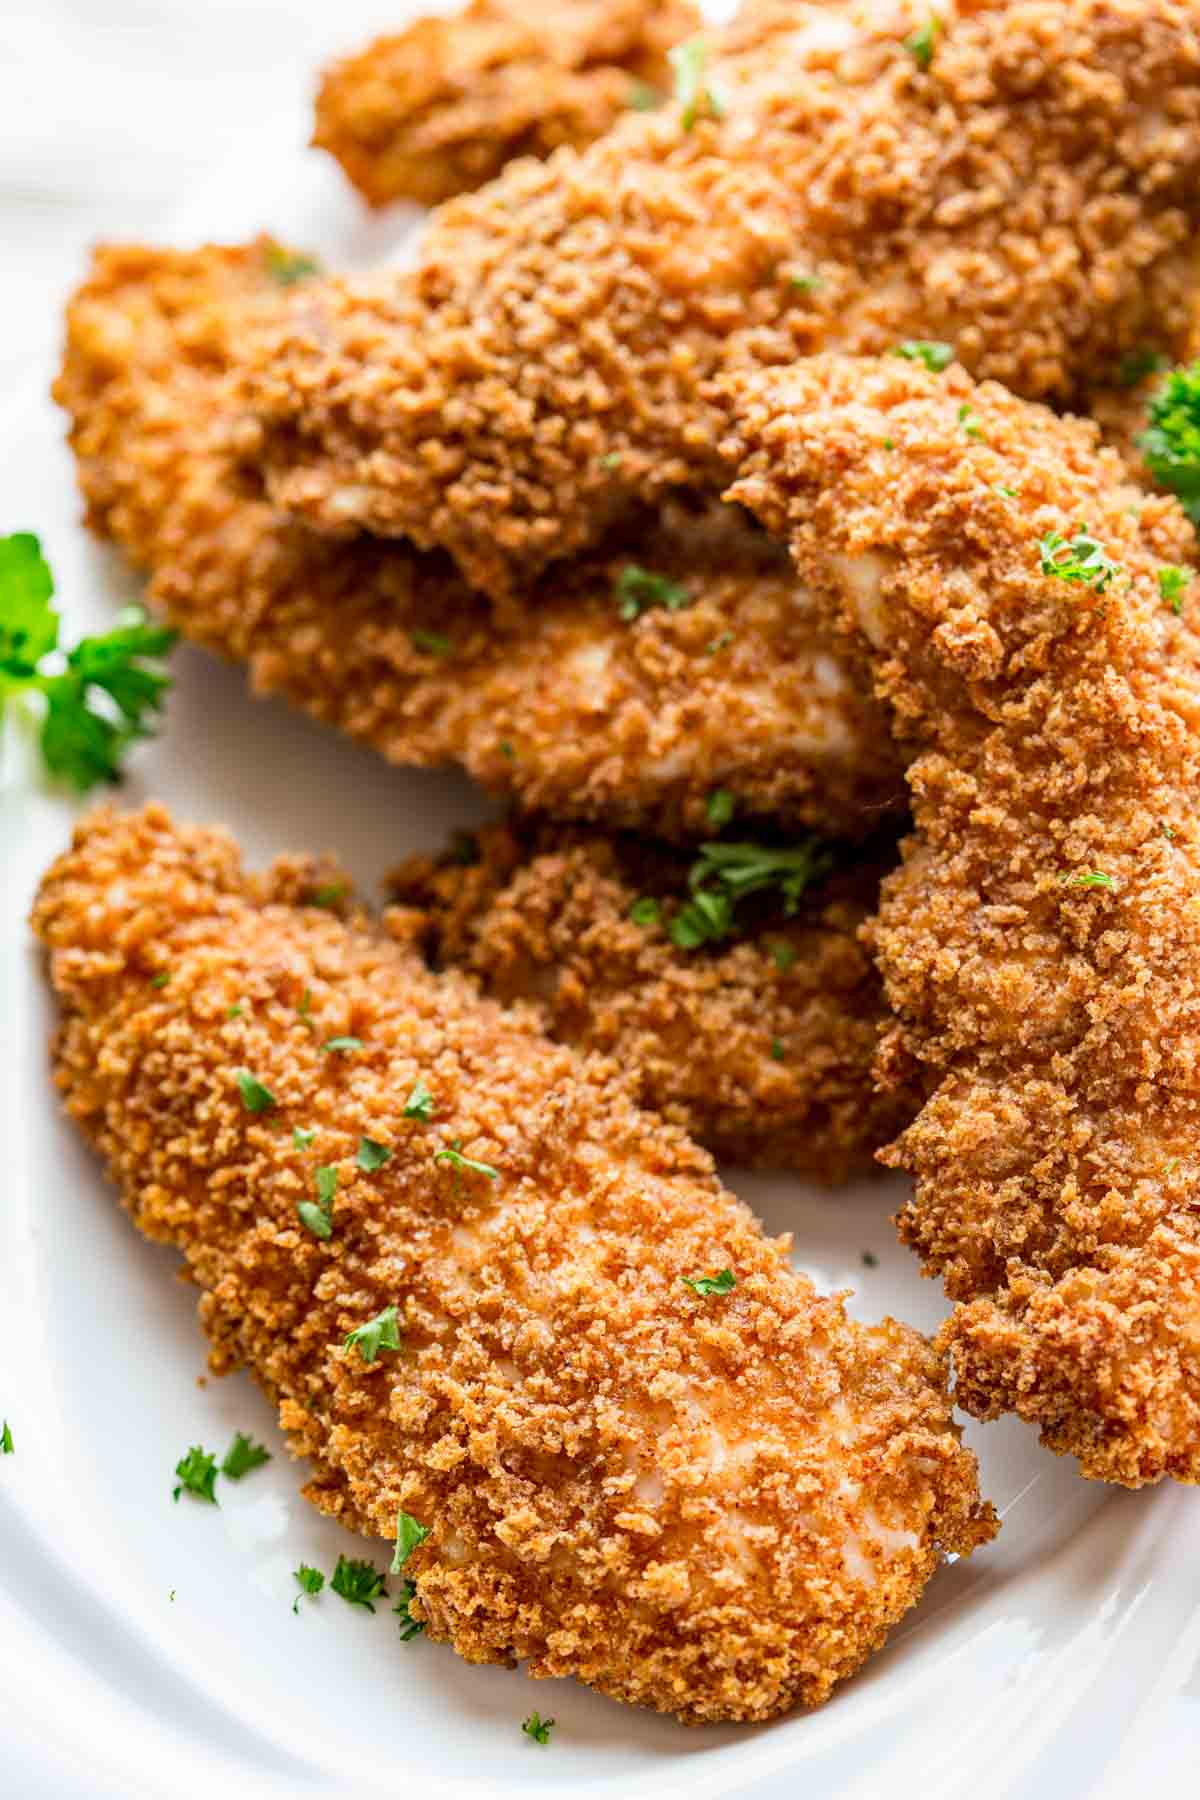
If you think that baked chicken fingers aren’t going to be as good as fried, think again! These seriously are juicy and tender on the inside and the golden panko coating is crunchy as can be.
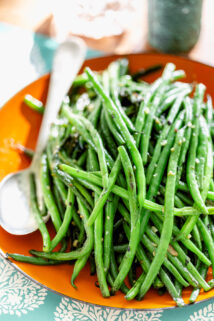
They are perfect for dunking in your favorite sauce: Ranch, Ketchup or BBQ sauce. Pair them with a family-friendly side like lemon broccoli or these easy green beans or choose one of these sides that go great with chicken. Or make a Caesar salad made with my favorite Caesar dressing and homemade croutons and just like that, you have a clean-plate-club kind of dinner!
WATCH: How to make Healthy Oven Baked Chicken Tenders
Love this recipe? Check out our Crispy Oven Baked Fish Sticks too.
Healthy Baked Chicken Strips Ingredients
For The Breading
For the breading we set up a three part breading station. For this you will need
- 1/3 cup all-purpose flour
- 1/2 teaspoon salt (This goes in both the flour and the breadcrumbs to season the chicken)
- 2 large eggs
- 1 1/3 cup Panko breadcrumbs (If you can find the whole wheat breadcrumbs are more nutritious).
- 1 teaspoon sweet paprika (This adds golden color to the breading)
- 1/8 teaspoon garlic powder
- 5 teaspoons avocado oil or organic canola oil
Chicken Tenders
You will need 1 pound per batch of chicken fingers. These can sometimes be labeled chicken tenderloin which is the same thing. They come from the inner part of the chicken breast (right against the rib bones) and they are very tender. Hence the name!
You can also use boneless skinless chicken breast and cut them into chicken nuggets. Note that this is just enough breading for one pound of tenderloins though, so if you cut the chicken too small you may run out of breading because it may have more surface area.
How to Make Healthy Chicken Tenders
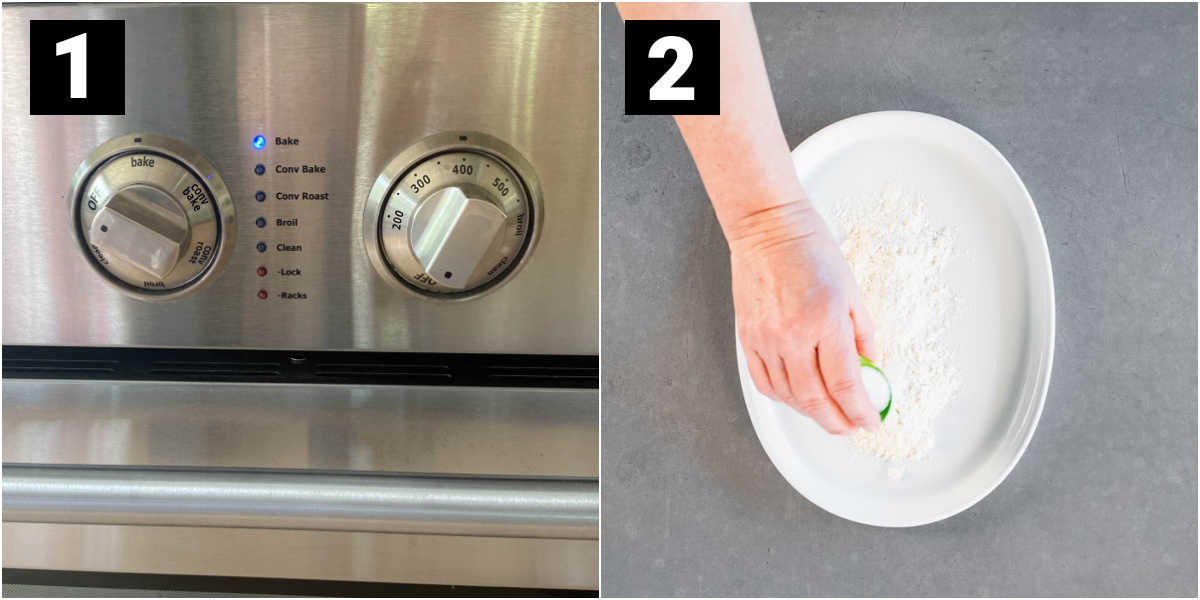
Step 1: Prep Oven and Pan
Preheat oven to 400 degrees F. Coat a large baking sheet with cooking spray or brush lightly with oil.
Step 2: Mix Flour Mixture
Before doing anything else, you need to set up stations to dip the chicken into each coating. So first you’ll want to mix the all-purpose flour with 1/4 teaspoon salt in a shallow dish.

Step 3: Mix Eggs
Then, beat the eggs in a second shallow dish and set that next to the flour. The egg acts as a glue to hold the breadcrumbs to the flour layer.
Step 4: Make Panko Breading Mixture
Lastly, stir together the breadcrumbs, paprika, garlic powder and salt in a third shallow dish. Drizzle oil over the breadcrumb mixture and then mix thoroughly with a fork until all of the oil and spice coats the breadcrumbs. Keep mixing until the breadcrumbs are evenly colored and moistened by the oil and paprkia. This really makes a big difference so take a moment to do so.
Set to the side of the egg mixture. This will be your third step in the breading process and what makes these chicken fingers super crunchy!
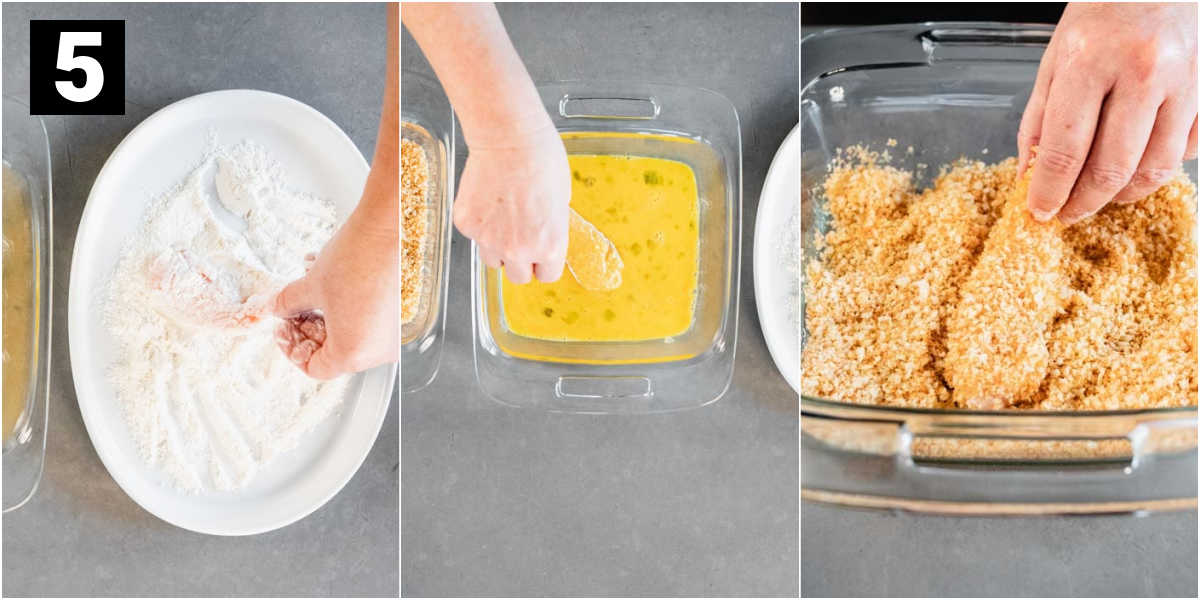
Step 5: Bread The Chicken Tenders
My top tip for this step is to use one hand for the dry ingredients and one for the wet ingredients while dredging the tenders.
- Dip a chicken tender into the flour mixture, turning to coat completely. (Left Photo)
- Then dip it into the eggs, coating completely. (Center Photo)
- Then press the chicken tender into the breadcrumb mixture, turning to coat completely. (Right Photo)
- Continue with the remaining tenders one at a time and then discard any leftover dredging mixtures.
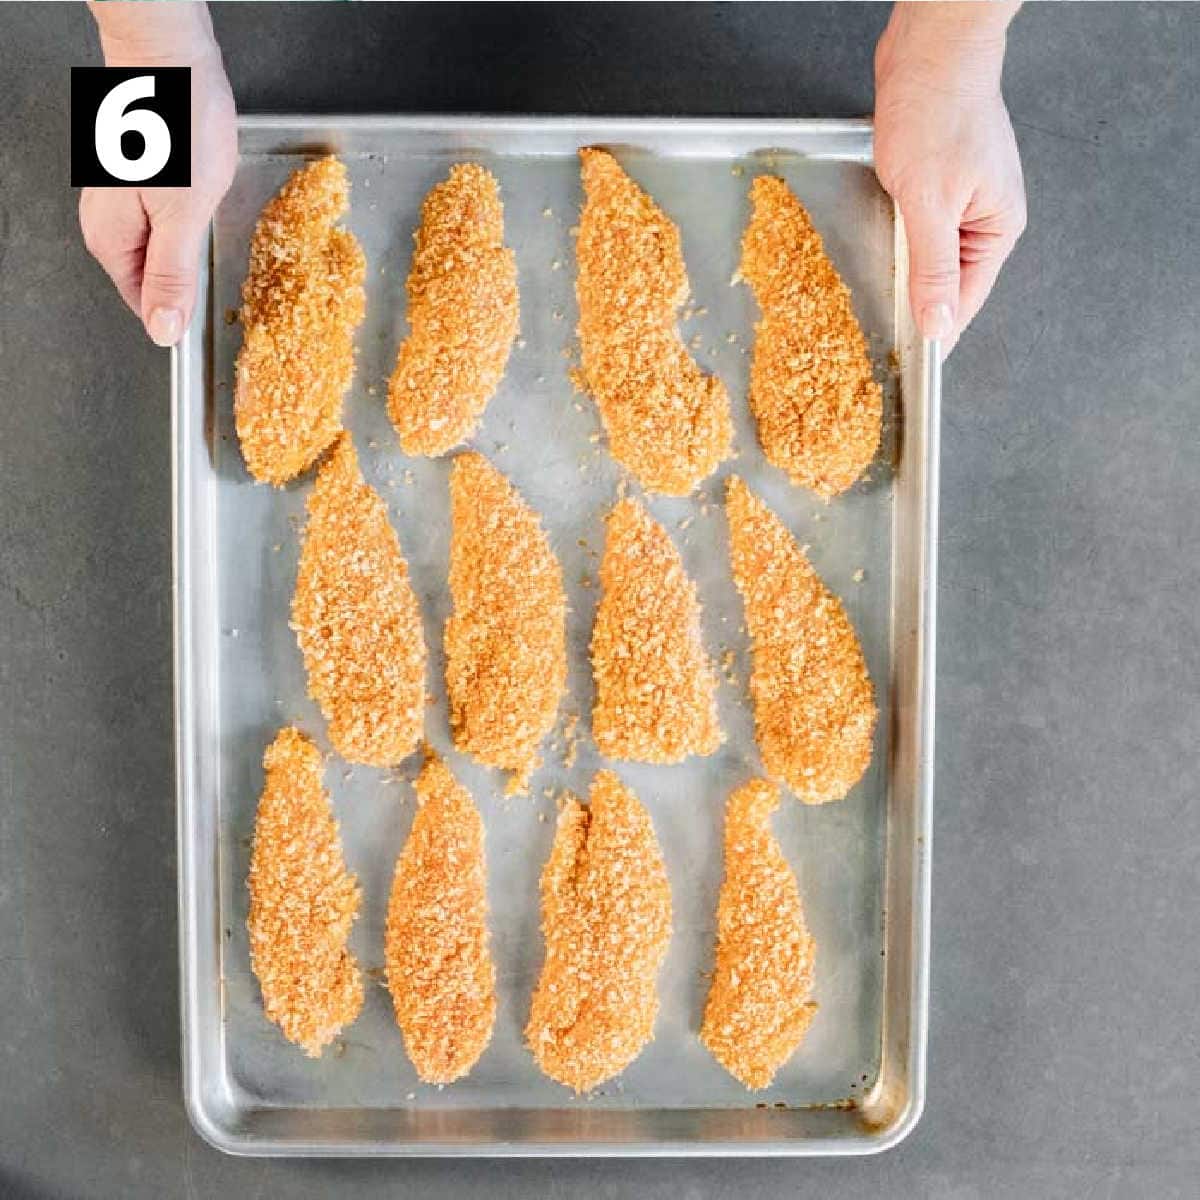
Step 6: Bake
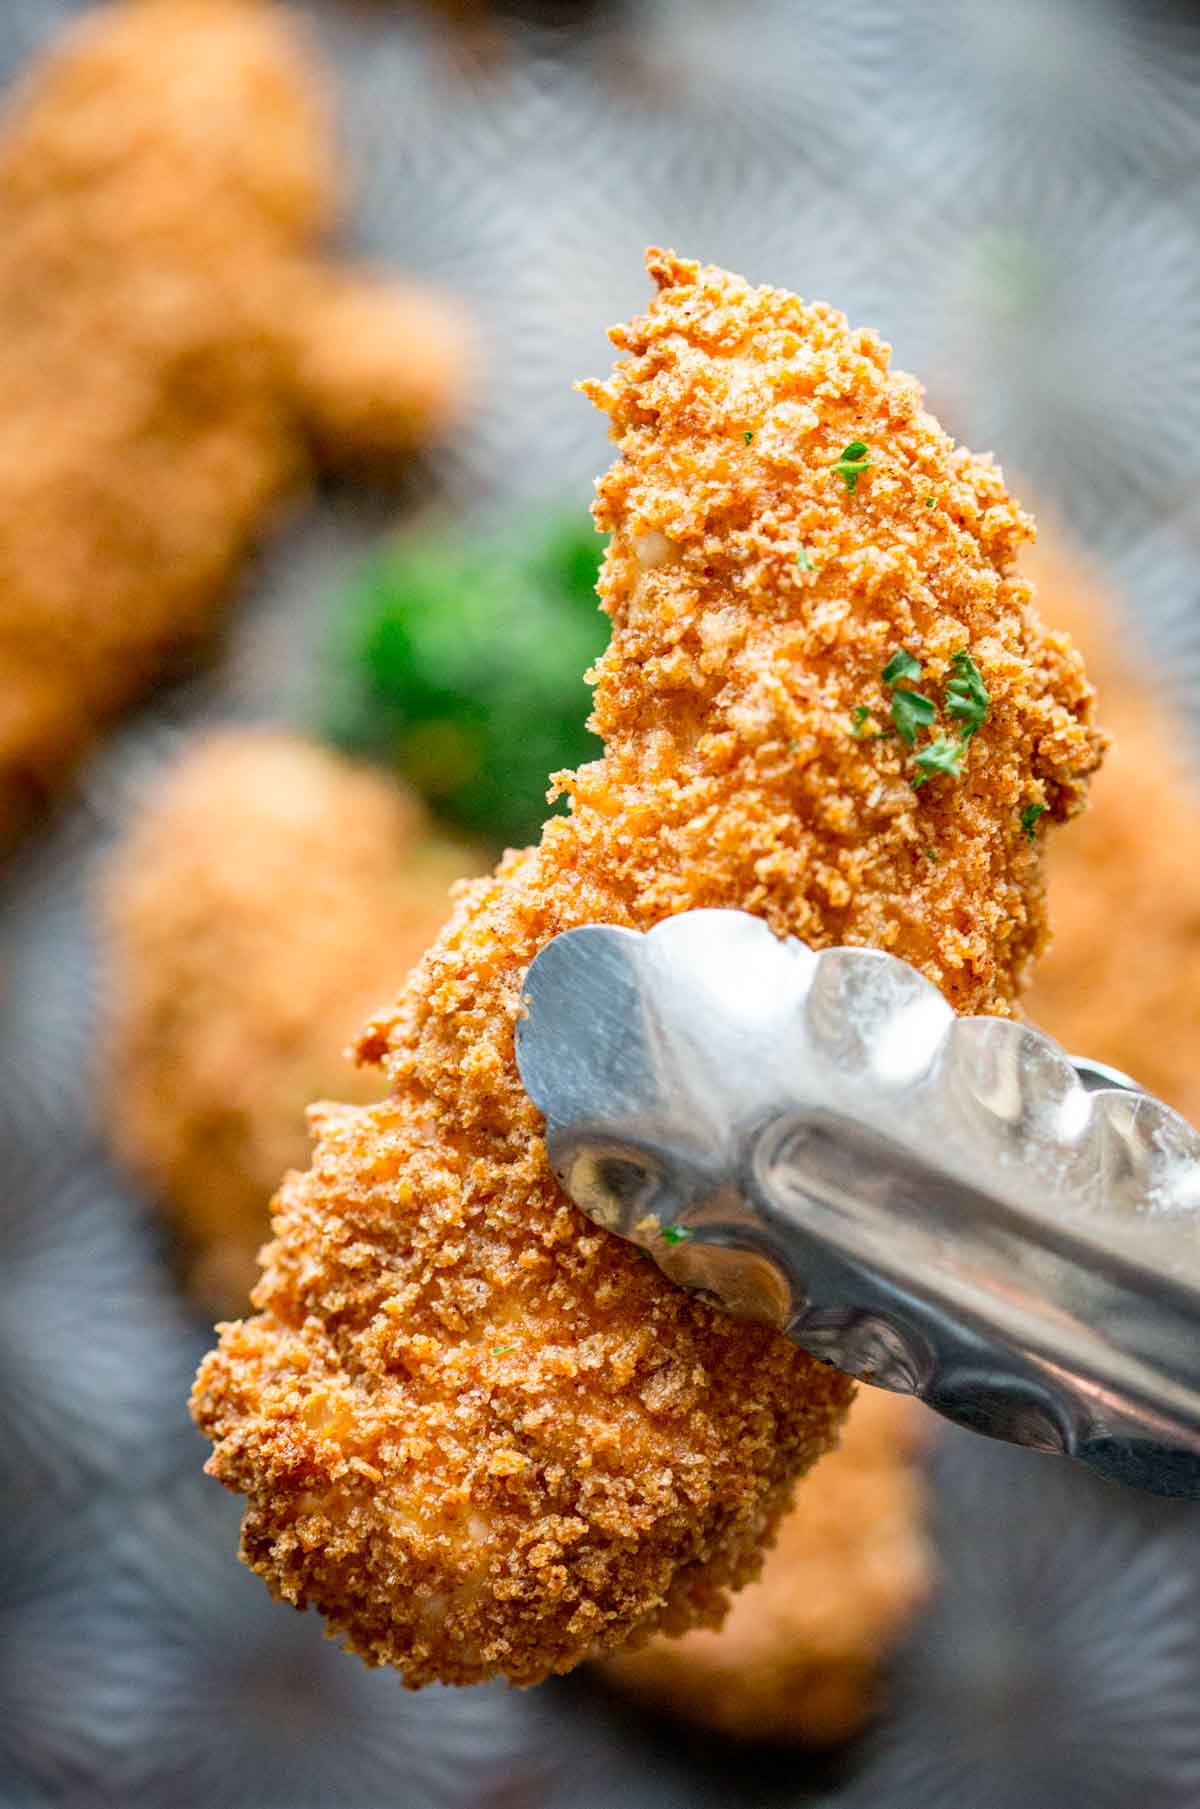
Transfer the breaded tenders to the oven and bake until the chicken is cooked through. There is no need to flip the baked chicken tenders over because the panko will keep them from becoming soggy on the bottom. They will be nice and crisp as if they were deep fried, but without all the added oil!
What to Serve With Healthy Chicken Strips
- These oven baked chicken tenders are delicious dipped in ketchup, bbq sauce, or honey mustard. Try our Peach Barbecue Sauce for a dipping sauce!
- For a side dish, keep things simple and prep something while they are baking. Sauteed swiss chard fits the bill nicely, as do these balsamic green beans, steamed cauliflower with herbs, and garlic mashed broccoli.
- If you don’t mind juggling a few things in the oven at once, you could also pair these healthy chicken tenders with some skinny oven fries or Cajun fries.
How to Store Baked Chicken Fingers
Keep leftovers in an airtight container in the refrigerator up to 3 days.
How to Freeze Baked Chicken Fingers
You can freeze baked breaded chicken fingers too. I like to lay them on a baking sheet and freeze them solid, then transfer them to a resealable freezer bag. Freeze up to 2 months.
How to Reheat Baked Chicken Strips
Defrost in the fridge and reheat in the oven or airfryer to crisp the panko coating.
Baked Chicken Tenders Recipe FAQS
I find that these panko-crusted tenderloins don’t need to be elevated on a rack and they still get very crispy on the bottom. The key is mixing the breadcrumbs with the oil so that they crisp up and using a hot oven will keep them from getting soggy on the bottom.
There is no need to flip the chicken tenders while baking, and in fact this can cause them to become soggy. If you open the oven to flip them, that’ll temporarily lower the temp and they will be more likely to let off their juices- which makes them soggy.
Keeping the oven temp higher (400 degrees) will cook them quickly- so they will not let off their juices as they bake. Panko crusted chicken fingers will generally not steam and get weepy like those breaded with regular breadcrumbs, because the panko holds them up off the surface of the baking sheet.
Keep breaded chicken uncovered so that it crisps and browns.
If you do not overcook the chicken tenders they should stay nice and moist. The key to this is to use high heat (400 degrees) to brown and crisp the breading but do not overcook them or they will be dry.
You can sub in gluten-free all-purpose flour or rice flour for the all-pourpose flour and use gluten-free panko.
More Healthy Family-Friendly Meals To Try
- My Minestrone Soup recipe has been super (souper) popular lately!
- Don’t miss my Turkey Meatloaf recipe, it’s another family favorite!
- And did you catch my 400-calorie meals in EatingWell Magazine this month?
- My kids love this 20-minute Cheese Tortellini and Veggies recipe.
- Our Air Fryer Chicken Cutlets are seasoned with Everything Bagel Seasoning.
- I’ve been dying to try making no-noodle Cauliflower Mac and Cheese. Have you tried it?
More Healthy Chicken Recipes:
- If you have 20 minutes, then you have enough time to whip together this Creamy Chicken and Peas recipe from the archives. It is nothing fancy but my family always loves the creamy sauce and tender chicken.
- When you don’t have a ton of time to prep dinner, toss this 5-Ingredient Honey Mustard Chicken Thighs recipe into the oven and let the oven do all the work.
- For a twist on the classic, this healthier version Chicken and Biscuits Casserole is a great Sunday dinner that totally hits all those comfort food buttons!
- We are always trying to make over classics like this Healthy Chicken Paprikash or this Chicken A La King.
- Our Mexican Chicken Casserole is inspired by Chicken Chilaquiles but all served up in a cozy casserole!
- When all else fails, a batch of Healthy Garlic Herb Chicken Marinade will do wonders for even plain chicken breast.
At Healthy Seasonal Recipes, we specialize in cooking with fresh veggies and creating weeknight meals. Sign up HERE to get more produce-forward dinner ideas for FREE! If you make this recipe, please come back and leave a star rating and review. I would love to hear what you thought! Happy Cooking! ~Katie
Print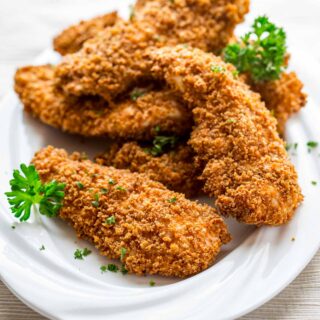
Healthy Chicken Strips
- Total Time: 40 minutes
- Yield: 4 servings 1x
Description
These crispy and healthy baked chicken tenders are baked in the oven instead of fried. They’re breaded in panko mixed with seasoning and oil, then baked to make a super crispy coating. Plus, they’re kid approved!
Ingredients
- 1/3 cup all-purpose flour
- 1/2 teaspoon salt, divided
- 2 large eggs
- 1 1/3 cup Panko breadcrumbs, preferably whole-wheat
- 1 teaspoon sweet paprika
- 1/8 teaspoon garlic powder
- 5 teaspoons avocado oil or organic canola oil
- 1 pound chicken tenders
Instructions
- Preheat oven to 400 degrees F. Coat a large baking sheet with cooking spray or brush lightly with oil.
- Mix all-purpose flour with 1/4 teaspoon salt in a shallow dish.
- Beat eggs in a second shallow dish. Set next to the flour.
- Stir breadcrumbs, paprika, garlic powder and the remaining 1/4 teaspoon salt in a third shallow dish. Drizzle oil over the breadcrumb mixture and then mix thoroughly with a fork until all of the oil and spice coats the breadcrumbs. Set to the side of the egg mixture.
- Use one hand for dry ingredients and one for wet ingredients while dredging the tenders. Dip a chicken tender in the flour mixture, turning to coat completely. Dip into the eggs, coating completely. Press into the breadcrumb mixture, turning to coat completely. Set on the prepared baking sheet. Continue with the remaining tenders one at a time. Discard any left-over dredging mixtures.
- Transfer the baking sheet of breaded tenders into the oven and bake until the chicken is cooked through, 22 to 25 minutes.
Notes
These can be made with regular breadcrumbs, but they will not be as crispy.
Discard leftover breading, as it came in contact with raw chicken and raw egg.
Sweet Paprika is also known simply as paprika. In this recipe it serves to color the breadcrumb mixture to give it a golden hue as if it had been fried. It doesn’t contribute a lot of flavor to the final dish. However, hot paprika or smoked paprika would dramatically alter the flavor of the final dish.
- Prep Time: 15 minutes
- Cook Time: 22 minutes
- Category: Main Course
- Method: Baked
- Cuisine: American
Nutrition
- Serving Size: 2 to 3 chicken tenders each
- Calories: 240
- Sugar: 1.2 g
- Sodium: 584 mg
- Fat: 9.4 g
- Saturated Fat: 1.6 g
- Carbohydrates: 17 g
- Fiber: 1 g
- Protein: 21.2


I’m going to try this tomorrow because my kids want to bring some for lunch. I can’t wait! Thanks for sharing!
Hi I have a problem getting them crispy… any suggestions? Thanks!
Hi K1234,
Let’s get the the bottom of this. I’m not sure what the issue is. What type of breadcrumbs did you use? Panko is the best for the crunchiness. Fine breadcrumbs can get soggier.
Did you scale the recipe? Meaning if you made a double batch that could be the problem. The chicken fingers would not have enough air circulating around them and they would exude moisture and get soggy.
Is your baking sheet an insulated cookie sheet by any chance? That would prevent them from getting crispy, and they would likely weep.
The best chicken tenders I have eaten in a long time. They were crunchy, moist and tasty!
Made this twice and love it. Replaced paprika with cayenne for a little spice – my whole family loved it both times!
My kids will absolutely LOVE THESE!
Love making my own chicken tenders and nuggets. They always taste so much better than those you can get in the frozen section at the grocery store!
What a yummy, healthier recipe! I love the crispy coating!
Love that crispy coating perfection from the oven! I can see why these would be a dinner repeat!
These look delicious, and the use of spices with the panko is perfect!
These are the best – love getting to make things like this at home instead of buying the pre-made ones.
Thanks Erin. Making them from scratch is so much better (and less expensive!) Thank you for reviewing, I really appreciate that.
I make chicken fingers quite a bit, but have been searching for a healthier recipe. Yours is perfect!
I hope you enjoy this recipe Liz.
How do you get off calling your Chicken Tenders HEALTHY??? 584 mg sodium per 4oz serving is certainly NOT healthy! That’s more than 1/4 of suggested maximum daily value (unless, like me, you have to stick to 1,500 mg of sodium maximum daily due to hypertension in which case it’s more than 1/3).
Hi Jim, Thanks so much for coming by and for your reminder about sodium in our diets. I am sorry to hear you’re struggling with hypertension. That must be a challenge! I am glad to hear your doctor has recommended you watch your sodium intake. If you would like to decrease the sodium in this recipe you can simply omit the added salt. Doing so will decrease the sodium by about 290 mg per serving. If your palate is used to a lower sodium diet, this should not adversely effect the recipe. As far as my “getting Off” on choosing titles for my posts, I wouldn’t exactly put it that way but I am so glad to think that my readers perceive me in doing so. As far as nutrition standards, I loosely follow those set by EatingWell (I am a contributing editor and former test kitchen developer.) Their RDs recommend keeping the sodium in a “combination meal” at less than 750 mg and entrees at 480 mg. Because this is somewhere in between (both meat and starch) I did go over the sodium limit for an entree but fell short of that for a combo meal. When choosing your vegetable side dish, I would recommend keeping it below the 750 total mark for an average reader. Here’s more about that. http://www.eatingwell.com/article/290342/our-food-nutrition-philosophy/#Nut Hope this helps Jim. Happy Cooking!
I just made these for my daughter and her family tonight for dinner. Everyone enjoyed them – especially my granddaughter and picky son-in-law! These are a keeper. I made a double batch so she could have the extras in the freezer for quick meals. I added a little onion powder to the panko breadcrumb mix and turned them over halfway through the bake.
That’s wonderful to hear Betsy. I really appreciate your coming back by to say how things went. Have a wonderful day.
I had tried this recipe this evening using nuggets and it is my new go to. DELICIOUS and crispy!! The next time, thinking about adding Lemon Pepper to the Panko. Thank you VERY much for posting!! Have an AWESOME evening!!
Thank you so much for the five star rating. I appreciate it! And LOVE the idea of adding in lemon pepper! I will have to try that next time! Yum!
It seems so crispy, I can’t just wait anymore, gonna try this tonight!
I bought close to five pounds of chicken tenders with this recipe in mind (it was on sale… and I didn’t check the weight, assuming each package was a pound–oops). This is the first time I’ve made breaded meat (I did breaded zucchini fries once, ages ago), and I had the hardest time keeping it straight which hand was for wet stuff and which was for dry. lol I kept having to wash my hands because I mixed it up… Anyway, this was more or less a bust for me. The chicken was really watery, so I kept having to put it back in the oven, flipping it so it wouldn’t burn too much. The breading was bland to the point of when I ran out of bread crumbs with about a pound of tenders to go, I seasoned the next batch with a teaspoon of garlic salt and two teaspoons of Italian seasonings (the only seasoning combination I know works… I’m a total derp when it comes to the kitchen). Still didn’t seem to help much. My boyfriend (who I made these for, since he has a lot of digestive issues and this looked safe for him) won’t eat them, and I have to smother them in some sort of sauce to make them taste good (I found an easy mix of dijon mustard and barbecue sauce is pretty tasty). I don’t know what went wrong. It makes me sad. I was hoping I’d be able to load the freezer up with easy, healthy, reheatable meal stuff… Question, though. What is sweet paprika? I couldn’t find a straightforward answer through searches, and I couldn’t find it anywhere. I did find Belgian(?) paprika at one place, but I don’t know if that’s what I needed. I ended up just using normal paprika (before switching seasonings).
Hey Sherwood. First of all, good for you that you are making healthy food from scratch for your freezer! That is awesome and I hope I can help you trouble shoot this recipe. I am sure we’ll be able to figure out what went wrong. I find that when scaling certain recipes up they don’t always work out as planned. I’m assuming you did a 6x batch of the breading right? There is just enough to coat a pound of chicken as is, and I had to be careful to not go hog wild pressing a ton on. You mentioned that you washed your hands so if some of the breading it got washed off you’d likely run out. Then I’d recommend just really not overcrowding the pan. For a 6x batch you should bake the batches separately. Otherwise the chicken will weep out moisture which will cause the problems you mentioned. I’d recommend trying it one more time (if you are willing) and just do it with one pound of chicken. Try to not over-bread each tender and see how that works for you. I love the idea of making a dipping sauce with bbq sauce and Dijon. That would be yummy! Oh and sweet paprika is just regular paprika. Opposed to HOT paprika or smoked paprika. Sounds like you used the right stuff. Phew. That was a lot. Let me know if you have any other questions and Happy Cooking!
Well, I started off by just doubling everything. There was still some flour and egg left over in the end, but I did have to make a third batch of the bread crumbs (using different seasonings). I don’t think I overcrowded the pans. At no point did pieces touch. I think there was at least an inch between everything, and I definitely did multiple batches. One pan of chicken out of the oven, another in. I think I’ve read that at least with baking you shouldn’t put multiple pans of stuff in simultaneously because it messes with the heat, so I applied that to this just to be safe. I think I will try these again (with just the pound of tenders) at some point, and I’ll let you know how that goes whenever that happens.
Happy to hear I used the right paprika! It definitely lends a nice color to the finished product. You can tell which tenders have it and which don’t!
Good to know. Thanks for sticking with it, and let me know if it is a better turn out this time.