Crispy Baked Fish Sticks
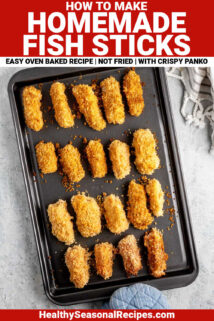


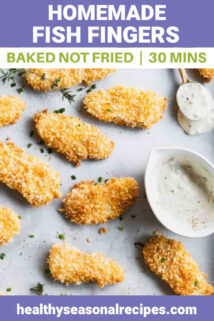


Making homemade fish sticks (or fish fingers as they’re sometimes called) in the oven has been on my list of healthy recipe make-overs to develop since this winter. After long last, I am super psyched to be able to share them with you today. They’re crispy and golden on the outside and flaky on the inside. I’ve added a tangy homemade tartar sauce to go with them that is lightened up with the addition of Greek yogurt in place of some of the mayo to help cut down on the calories.
I originally shared this recipe on April 24, 2020. I have updated some of the text and added step-by-step photographs to share it with you again today.
Table of contents
Why We Love This Recipe
Several of you have written to me (or messaged me on Instagram) letting me know that you are “done with” making separate meals for the kids/picky eaters in the family. Does this sound like you? While I am not one for making separate meals to accommodate the finicky tastes of my 11 year old (she gets what she gets and she doesn’t get upset. Or rather she may get upset but I ignore her and feed her Brussels Sprouts with hazelnuts and sage.) I do however try to come up with menus that will make everyone happy most of the time.
These fish sticks are definitely a recipe that everybody is REALLY happy with. My 13 year old literally cheered when I told her we were having fish sticks for dinner last week! So I would say that this recipe definitely falls into the category of Family Friendly.
I based the technique for the breading and baking on the Baked Chicken Tenders recipe, and it came out so well. So if you’re a fan of that recipe, be prepared to have another go-to recipe on the menu.
Buying Ingredients For Homemade Fish Sticks

White fish, such as cod or halibut:
You’ll want to look for fish that can easily be cut into sticks. They’ll end up being about 1/3-inch thick, and 1-inch wide by 2 to 3-inches long. So I found that 1-inch thick filets made cutting the fish easier.
I like to buy frozen cod, that way I can see that the fish is sustainably caught. You can read more about buying cod in my recipe for Cod Fish Tacos. When halibut is in season, that would be a great choice. I tested this with frozen thawed halibut too, and it was delish!
Kosher salt:
I chose to use coarse salt here because it is easier to sprinkle. If you don’t have coarse salt, you can sub in granulated table salt, but use half as much. Read more about subbing kosher salt for table salt here.
All-purpose flour:
The purpose of the flour is to coat the outside of the fish and form a barrier so that it won’t get soggy and the breading won’t fall off. I have not tried it with other flours, but my guess is that rice flour would be a good alternative. We tried that on this Pan Fried Fish and it was great.
Eggs:
The second breading ingredient is two large eggs, beaten in a dish. This helps make the panko layer stick to the outside of the fish.
Panko breadcrumbs:
The key to awesome crunchy fish fingers is using panko breadcrumbs. They make the coating so crisp! Take a look at the ingredient list and try to buy panko with a short ingredient list. I have noticed that some brands have a lot of unnecessary additives.
Paprika:
This is a tricky ingredient! It’s added, not for flavor, but to color the panko orange. It gives the breadcrumbs a nice golden color- as if they were fried! But they’re not. They’re baked! Sneaky huh?
Garlic powder or onion powder:
This just adds a savory note.
Avocado oil or organic canola oil:
I prefer avocado oil because it is inexpensive (I buy large bottles at Costco) but you can also buy GMO free canola. If you use another neutral cooking oil like safflower that is fine too.
How to Make Crispy Baked Fish Sticks
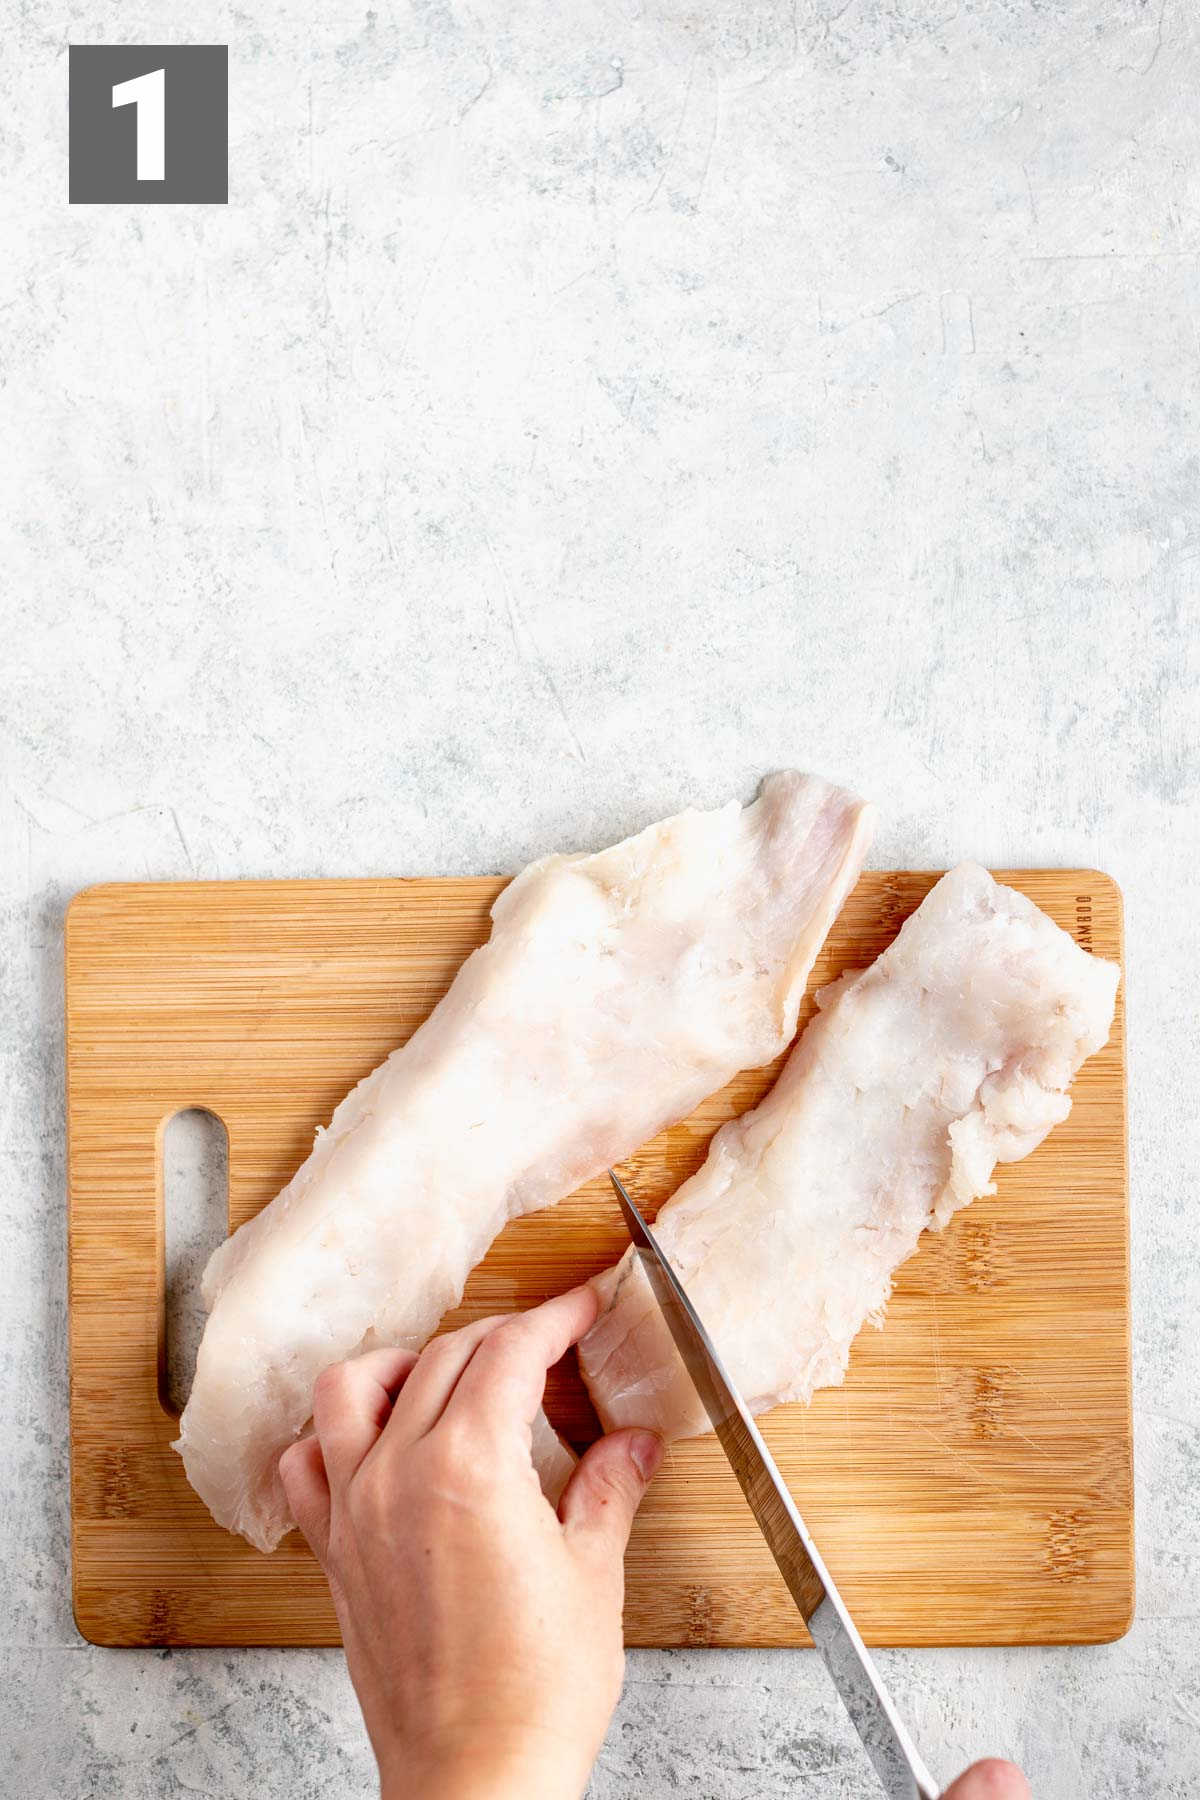
Step 1: Prepare the Fish
- Start out by defrosting your fish if it isn’t already.
- One the fish is thawed, remove the fish from the packaging and pat it dry with paper towels. Lay it on the cutting board and cut into strips.
- If your fish is about 1-inch thick, then you’ll want to cut it in 1/3-inch thick slices.
- If the fish is already portioned into 4-ounce pieces, you’ll want to aim for 4 fingers per portion.
- Lay the fish out and then sprinkle it with the coarse kosher salt.

Step 2: Set Up Breading Stations
- You’ll need three shallow dishes. Pie plates or square brownie pans are good.
- I use a twist on the Standard Breading Procedure. This allows me to get away with using less oil and getting crispy coating by baking and without frying!
- Set the flour in the first, whisk the eggs in the second, and combine the panko mixture in the third dish.
- To make the panko mixture. I combine the panko, paprika and garlic (or onion) powder first. Then I drizzle on the oil. Next, mash and toss with a fork to coat the breadcrumbs with the oil. It will take a moment to get them evenly moist and to distribute the paprika throughout. The mixture will turn a light orange color.
- I also set my baking sheet on the far end. The kids always laugh that I call that my “landing pad.” But it helps to have it right where you need it, because once your hands get dirty, you won’t want to be routing around in the cabinet. Coat the baking sheet with cooking spray.

Step 3: Bread the Fish
When you’re breading, use one hand for dry ingredients like the flour and bread crumbs, and one hand for touching the wet ingredients like the fish and the egg mixture. That way your hands won’t get as clumped up with breading, and you won’t end up wasting any in the process.
- First dip the fish into the flour. I pick it up off the cutting board with my “wet” hand and drop it into the flour. Then I use my “dry” hand to take a bit of the flour and sprinkle it over the end of the stick and pick it up. I flip it over to make sure the second side is coated. Then I pick it up (with my “dry” hand) and plop it into the egg.
- I do the same thing with the egg mixture, but this time with my “wet” hand. Let any extra egg drip off before you drop it into the panko mixture.
- Once the fish is laying in the panko, scoop up some of the breadcrumbs, and pour it on top of the fish finger. Then press it down into the breadcrumbs. Turn it over and do the same again. This will give you a really good coating and keep your “dry” hand from getting in touch with any egg.
- Set the fish stick on the prepared baking sheet and then repeat with the remaining fish sticks. Even with the wet and dry hand technique, you will get some buildup on your fingers, so you may want to wash and dry your hands about half way if they are really gunking up.

Step 4: Bake the Fish Fingers
Transfer the fish to the oven and let them bake until they are crisp. It only takes about 15 minutes for the fish to cook through. You can tell by breaking one open.
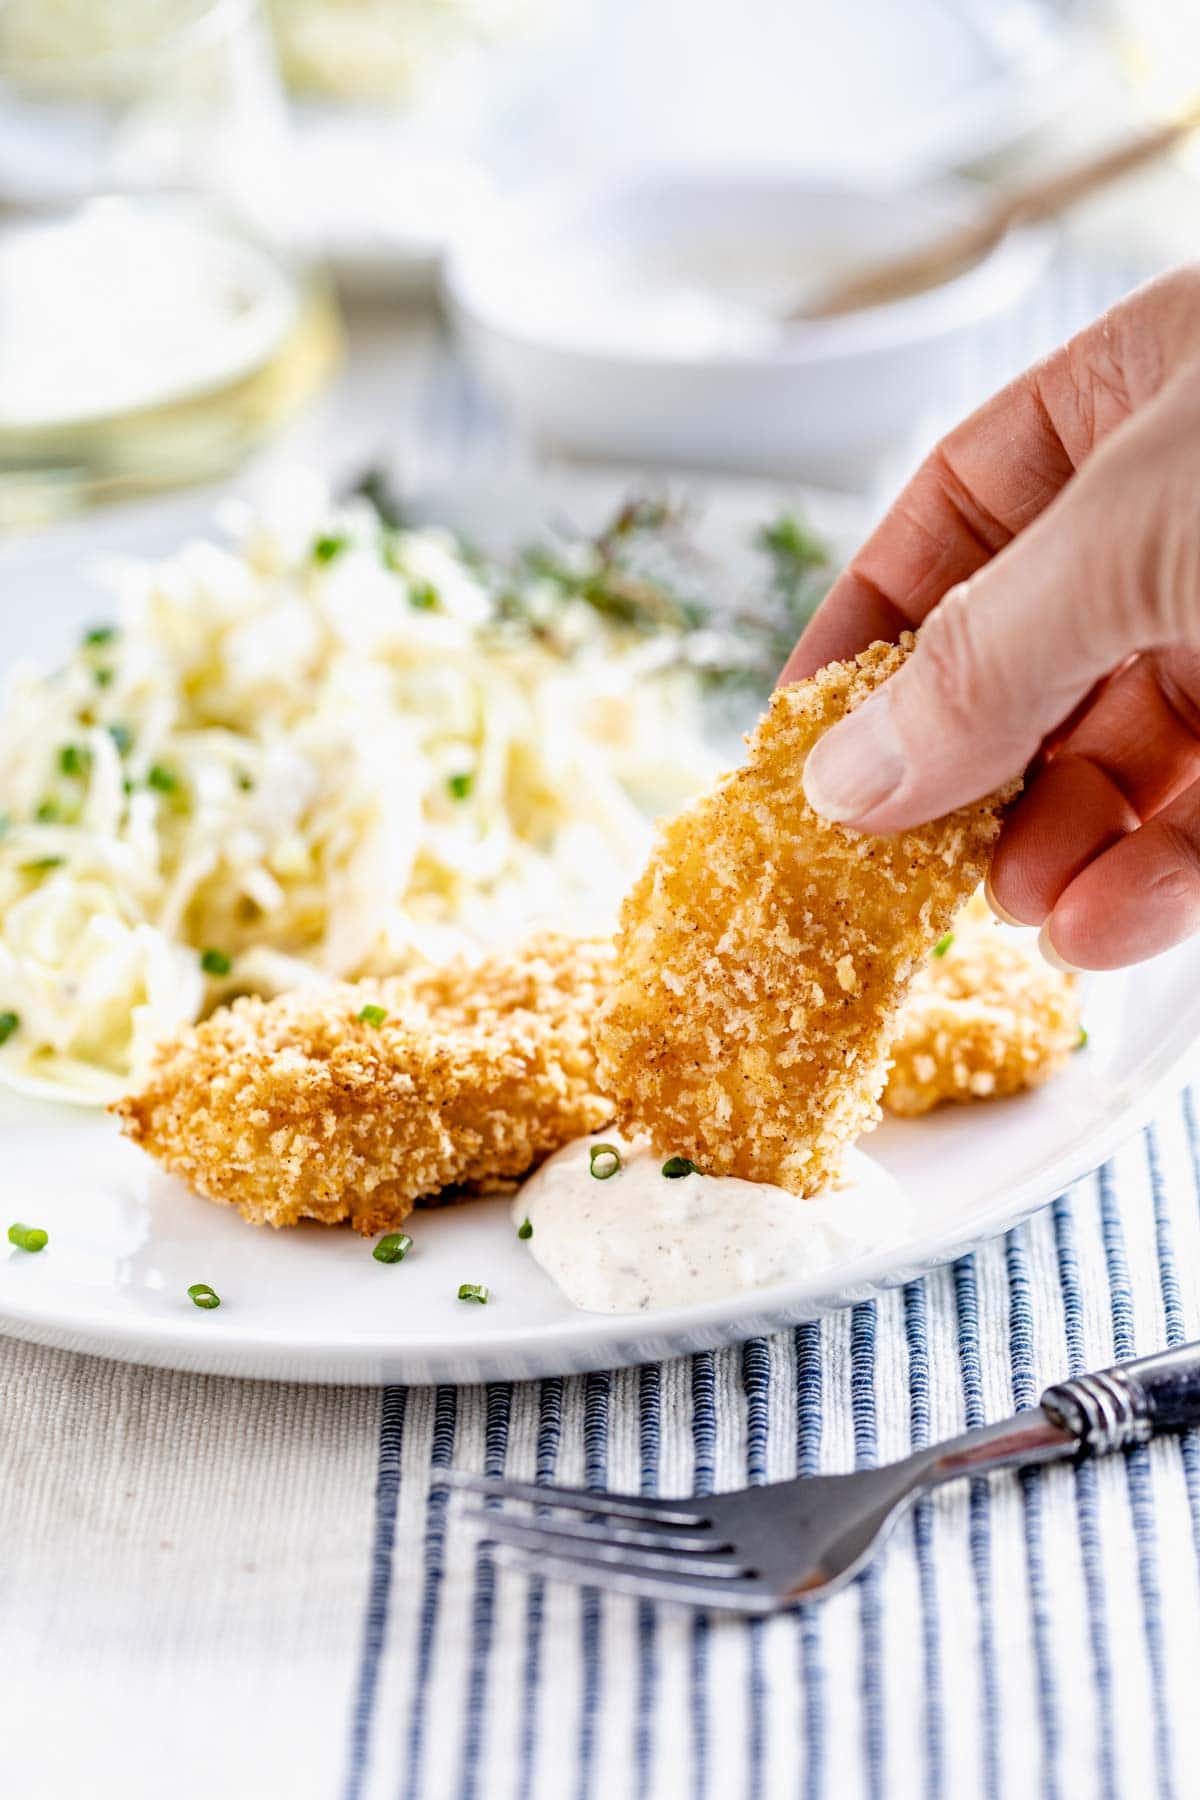
Making Homemade Tartar Sauce with Greek Yogurt
While the fish fingers are in the oven, you can whip up this easy light tartar sauce. Here’s what you’ll need:
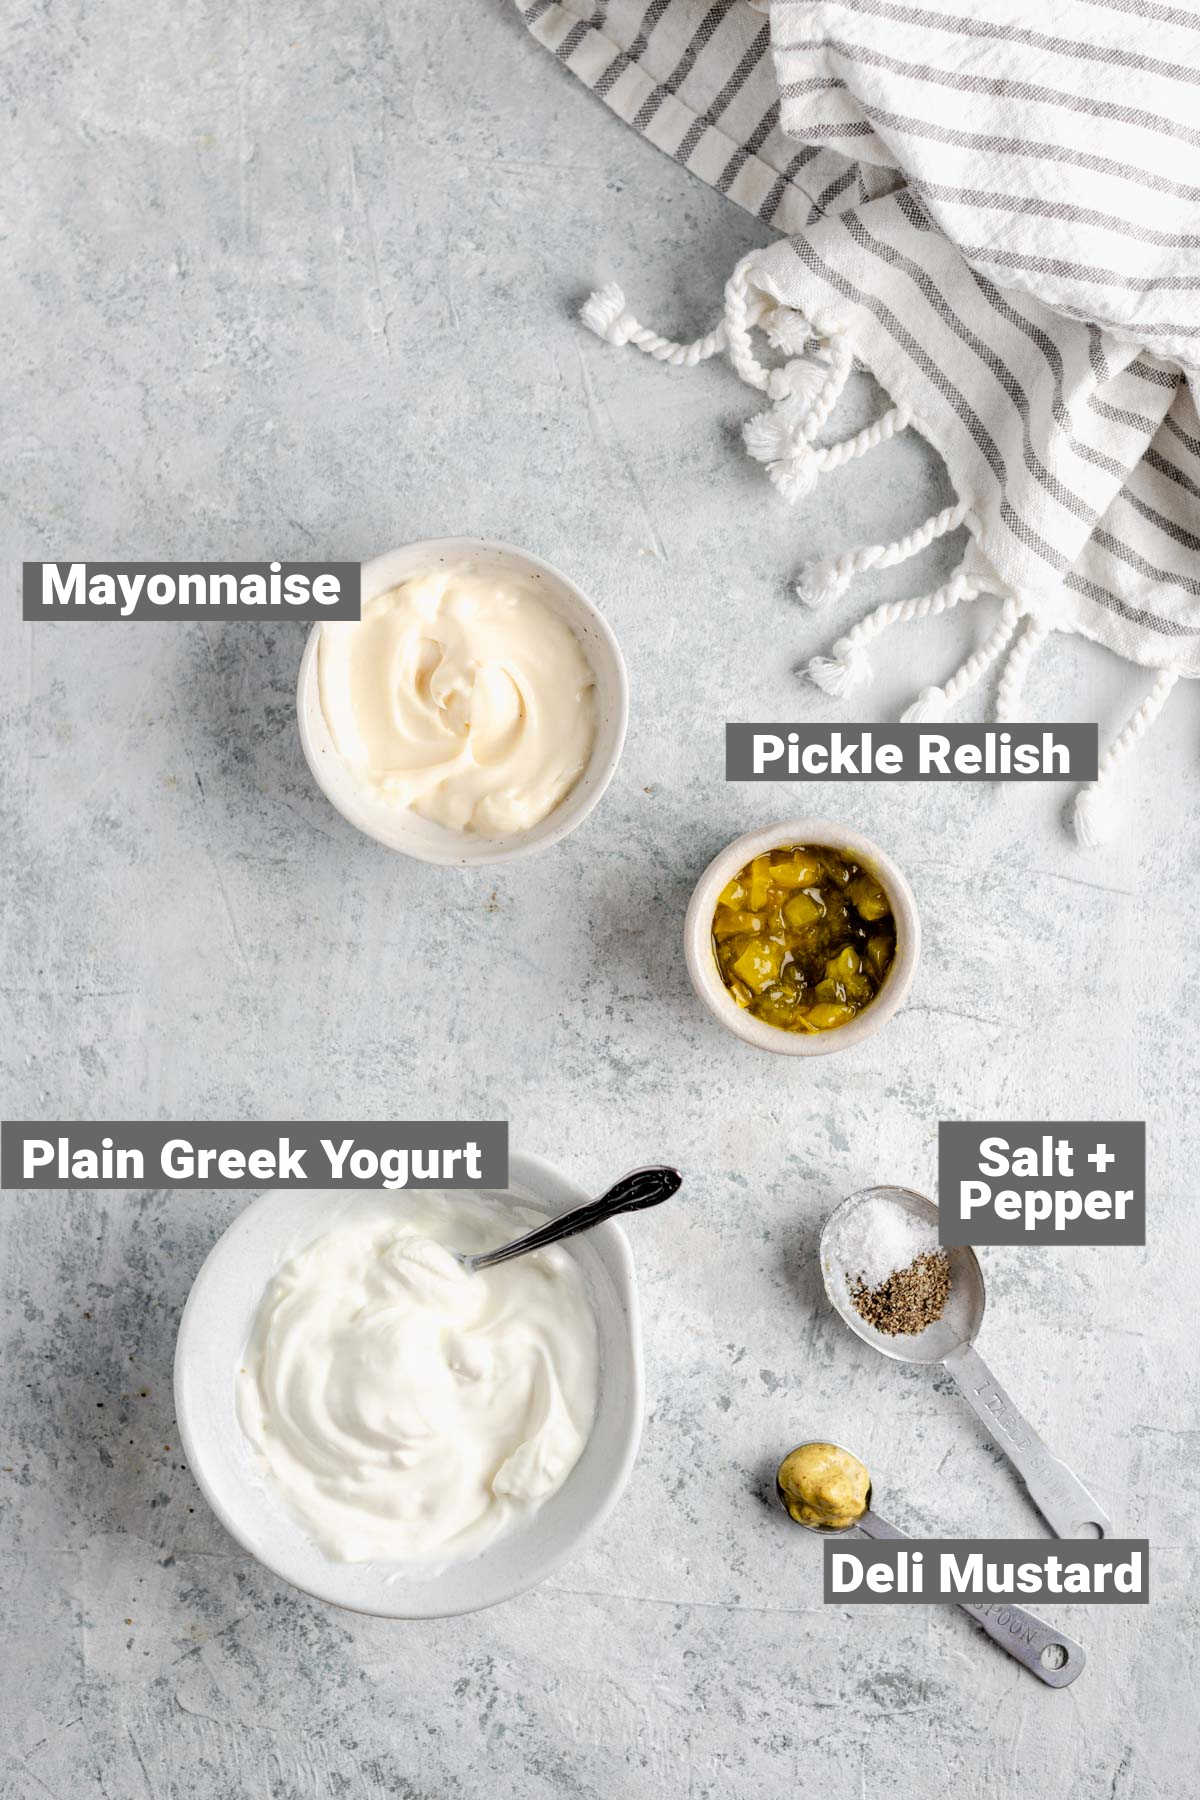
- Non-fat plain Greek yogurt
- Mayonnaise
- Pickle relish (sweet or dill are both yummy- use sweet if you prefer a sweeter tartar sauce)
- Brown deli mustard or whole grain mustard
- Salt and pepper

Step 5: Mix Together The Tartar Sauce
The last step in this recipe is to just stir all the tartar sauce ingredients together and get ready to dip!

FAQs and Expert Tips To Get Perfect Homemade Fish Fingers
Serve Immediately
You’ll want to serve them right away for the crispiest texture. We had them leftover and then I reheated them in the oven for 10 minutes at 350. They were nice and crisp but a little dried out. So I would say if possible, serve them immediately.
What To Serve with these Fish Fingers
- We loved this with baked potatoes and coleslaw the other night.
- I also had them with a Garden Salad . To mix it up , two salad dressing ideas that would go well are Creamy Italian Dressing or this caper Nicoise Dressing because is delicious paired with fish.
- I have been making a lot of oven fries lately, and they would be great with these fish sticks.
- Potato Salad would also make a nice side dish. I think this Creamy Horseradish Potato Salad would be a nice option. Or for a no-mayo option, you could make this Oil and Vinegar Potato Salad.
- For dessert you could make some One Bowl Brownies or Sweet Potato Blondies.
How To Defrost Fish
You can defrost it in the fridge for 24 hours. If your fish is frozen in cryovac you can quickly thaw it in less than 20 minutes by setting it in a large bowl and covering it with warm water. Replace the water once as the fish thaws and the water cools down.

More Cod and Fish Recipe Ideas
- If you are a fish lover then I should tell you that in addition to liking cod, I adore salmon! Two of my favorites are Baked Salmon in Foil and Lemon Caper Salmon Cakes.
- I have been meaning to make this Air Fryer Cod, now that I have an air fryer too!
- My Grandmother’s Fish Casserole is great with cod too.
- This recipe for Seafood Chowder has both fish and clams in it! And try our Manhattan Style Clam Chowder.
- Don’t miss this recipe for Pan Fried Fish with step by step instructions for perfectly moist and flaky fish!
Thanks so much for reading. If you make this recipe, please come back and leave a star review and rating. It helps so much!
Happy Cooking!
~Katie
Print
Baked Fish Sticks Recipe
- Total Time: 30
- Yield: 16 fish sticks 1x
Description
These crispy baked fish sticks (or fish fingers as they’re also known) are so easy and so much healthier than boxed frozen fish sticks. They’re ready in just 30 minutes! Serve them with this light tartar sauce made with Greek yogurt for a kid friendly dinner.
Ingredients
Fish Sticks
1 pound white fish, such as cod or halibut
1/2 teaspoon coarse kosher salt
1/2 cup all-purpose flour
2 large eggs
1 1/3 cup panko breadcrumbs
1 teaspoon paprika
1/8 teaspoon garlic powder or 1/4 teaspoon onion powder
5 teaspoons avocado oil or organic canola oil
Light Tartar Sauce
1/3 cup nonfat plain Greek yogurt
3 tablespoons mayonnaise
2 tablespoons pickle relish
1 teaspoon brown deli mustard or whole grain mustard
1/4 teaspoon each salt and pepper
Instructions
Make Fish Sticks:
- Preheat oven to 400 degrees F. Coat a large baking sheet with cooking spray or brush lightly with oil.
- Cut fish into “sticks” about three inches long by 1/3-inch wide. Sprinkle all over with 1/2 teaspoon kosher salt and set aside.
- Place flour in a shallow dish. Beat eggs in another shallow dish. Mix breadcrumbs, paprika and garlic powder in a third shallow dish. Drizzle oil over the breadcrumb mixture and mash with a fork, continually until the breadcrumbs are evenly moistened.
- Use one hand for dry ingredients and one for wet ingredients while dredging the fish. Dip a strip of fish in the flour mixture, turning to coat completely. Dip into the eggs, coating completely. Press into the breadcrumb mixture, turning to coat completely. Set on the prepared baking sheet. Continue with the remaining tenders one at a time. Discard any left-over dredging mixtures.
- Transfer the baking sheet of breaded fish into the oven and bake until the fish is cooked through, about 15 minutes.
Make Tartar:
- Whisk yogurt and mayonnaise in a medium bowl. Stir in relish, mustard, 1/4 teaspoon salt and pepper. Serve with the fish sticks.
Notes
To Cut The Fish:
- If your fish is about 1-inch thick, then you’ll want to cut it in 1/3-inch thick slices.
- If the fish is already portioned into 4-ounce pieces, you’ll want to aim for 4 fingers per portion.
To Make Ahead:
You’ll want to serve them right away for the crispiest texture. We had them left over and then I reheated them in the oven for 10 minutes at 350. They were nice and crisp but a little dried out. So I would say if possible, serve them immediately.
- Prep Time: 20
- Cook Time: 15
- Category: main course
- Method: oven
- Cuisine: American
Nutrition
- Serving Size: 4 fish sticks
- Calories: 339
- Sugar: 3 g
- Sodium: 594 mg
- Fat: 17 g
- Saturated Fat: 3 g
- Carbohydrates: 18 g
- Fiber: 1 g
- Protein: 27 g


Wonderful fish sticks. And loved the tartar sauce, too! The wet n dry hand process really helps. Especially appreciated that the recipe includes enough panko and egg for 1 lb. of fish.
I really appreciate that, Laurie! Hope you have a great weekend!
Love these fish sticks! So easy and delicious! I used Old Bay instead of the paprika and onion powder. Once you make these, you will never use any other recipe!
Wonderful, thank you. I had to use cheap, frozen fish (pollock) and was surprised to learn, after already having started the recipe, that I was out of panko–so used matzo meal instead! Very hearty and satisfying. So much better than anything from a grocery store. Thanks.
Have you tried cooking the fish sticks in the air fryer?
No I haven’t but I am sure it would work well.
Hi, I have just found your blog and I am very intrigued. I have just been diagnosed with kidney disease, so. Low sodium for me. Are the sodium contents in this recipe for the fish and tarter sauce? I would love to have fish sticks but sodium is a listed as a little high for me. Thanks for info and great blog.
Your step by step photos were so helpful to make this recipe. Foolproof recipe, indeed.
This quickly became a favorite at my house!! Everyone loved it!
They look so good! Thanks for the recipe
There is nothing that comes from a box in the freezer section that can compare to these! They turned out perfectly crispy an delicious!
Even my extremely picky 13 year old loved them! Thanks so much!
I would cheer too if we were having fish sticks! It’s been so long since I’ve had them and honestly, I’ve never made them. I can’t wait to try this recipe. I know my family will love it.
Oh man, fish sticks were my face as a kid… and let’s be honest still are. These look perfect!
Seriously my kids’ favorite meal, they could eat this every day I think. lol
These fish sticks look so delicious. I love the health tartar sauce recipe! Adding this to my must-try list!!