Maple Apple Pie {Double Crust & Deep Dish}
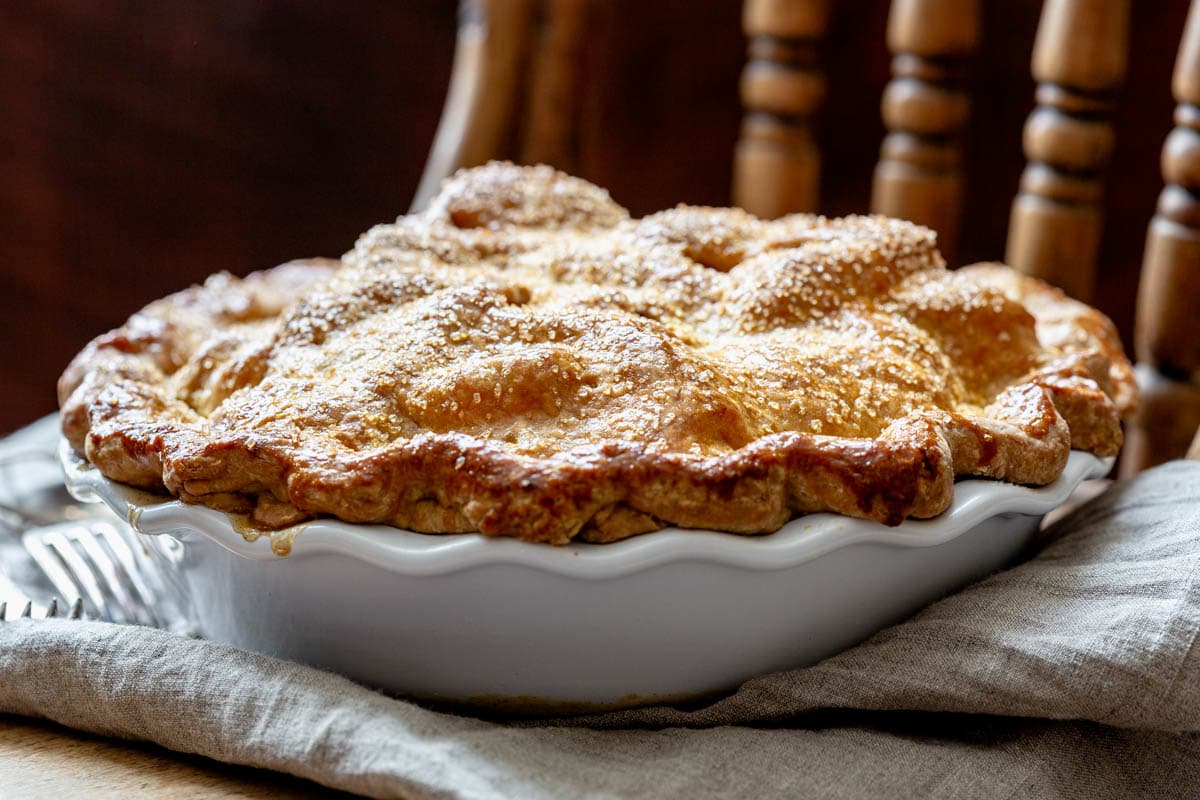
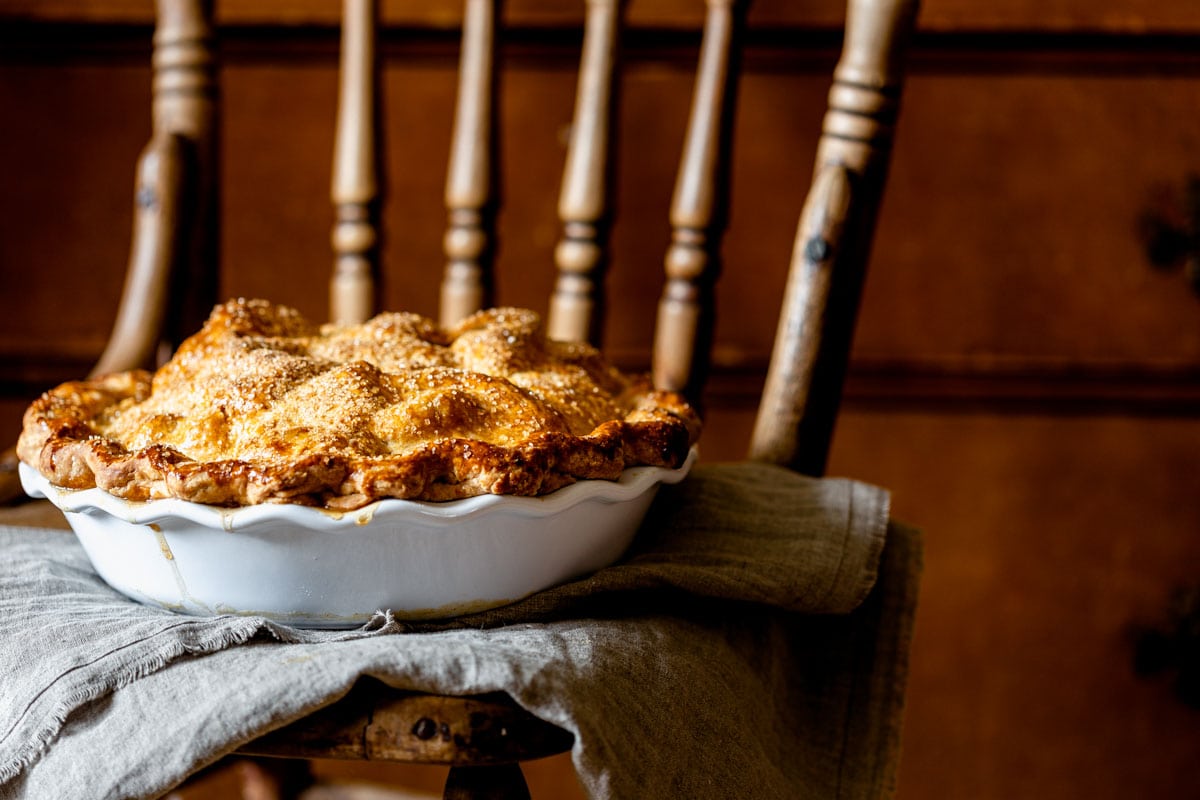
This double-crust deep-dish maple apple pie is a classic fall dessert that is hard to beat. If you love homemade apple pie and you plan to make one for Thanksgiving, then you’ll want to try this one. In this recipe, I have included a step-by-step explanation of how to get great results (even for pie beginners). Plus my number one top tip to make blue ribbon apple pie.
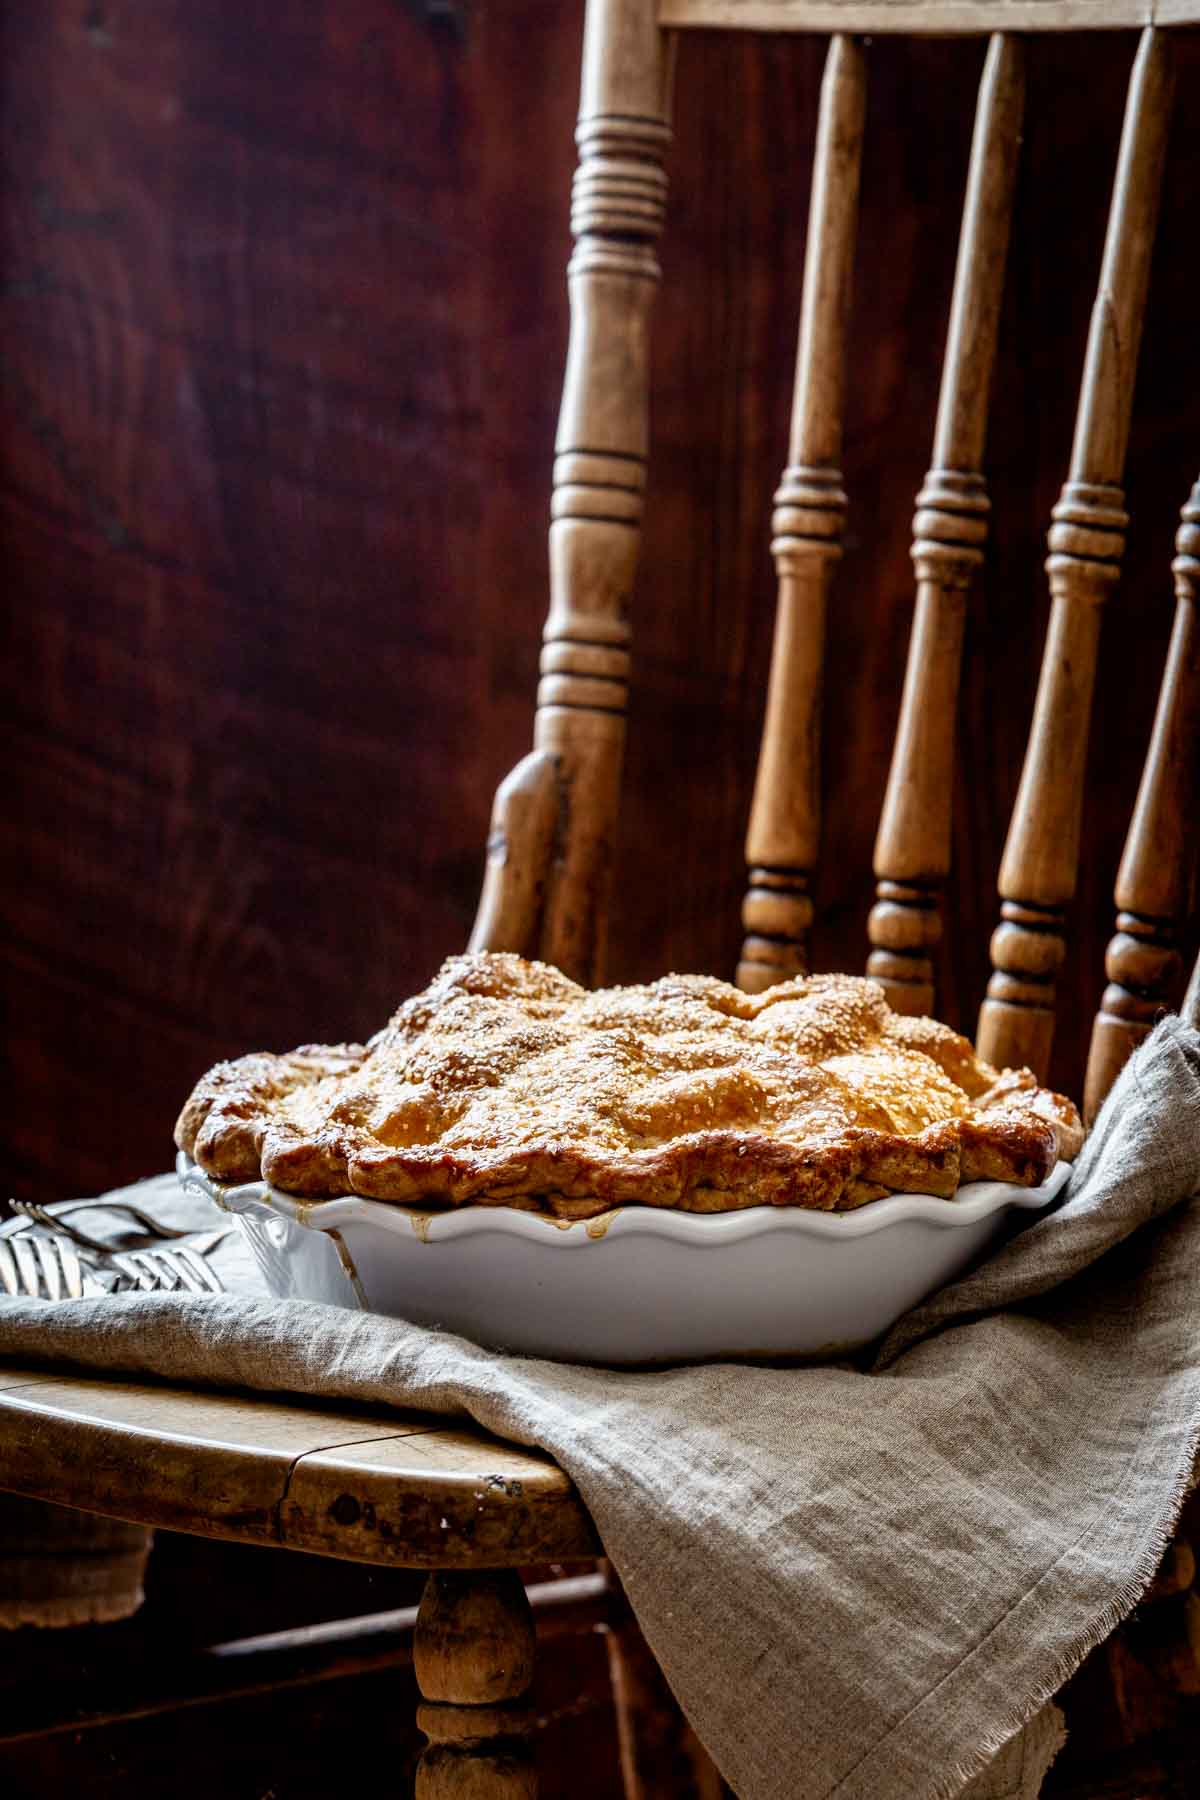
I shared this recipe on Nov 6, 2015. I have updated the text to share it with you again today.
Table of contents
Why You’ll Love This Maple Apple Pie
Over the years I have shared a number of pies with you. There was this Maple Apple Cranberry Crumb Pie and this Maple Bourbon Pumpkin Pie to name a couple. And of course, there are tarts too. Like this Maple Pecan tart. Are you noticing a trend? Maple? Guilty as charged. I love baking with maple syrup. I even wrote a whole book about cooking with maple syrup.
So it was only a matter of time before I came up with a double-crust pie recipe sweetened with maple syrup. And of course, it had to be a show-stopping deep-dish maple apple pie for my first double crust! (Remind me next summer to tackle a peach pie next!)
This pie lives up to the hype…
Recipe Highlights
- It is positively loaded with juicy apple filling!
- I used a blend of apples to maximize the flavors!
- The crust is buttery and flaky but made in a food processor!
- I used a blend of whole-wheat flour, so it is 100% okay to eat this for breakfast. (*Tried it! Amazing!)
- Can be prepped ahead for Thanksgiving or holidays

Ingredient Notes
Maple Syrup
I sweetened this filling with pure maple syrup. We make and sell our own, so it’s kinda my thing! Yes, you can use another sweetener, but then we can’t be friends. Just kidding, you can use white or brown sugar but you’ll need 1 cup instead of 3/4 cup maple. Agave and honey work as well (use 3/4 cup.)
For the strongest maple flavor try to find Extra-Dark Strong Grade A pure maple syrup. If you cannot find extra-dark (which is hard to find) look for Dark Robust. As a last resort use Amber Rich, but note that the maple flavor will not be as pronounced.
Apples
Now for my blue ribbon tip! The key to the best maple apple pie is blending varieties of apples.
I use half Macintosh apples and half firm sweet apples. The Macintosh apples break down and become juicy. They have fantastic flavor, but really have no structure once cooked. Then for the remainder, I use firm apples.
Firm apples include Honey Crisp, Ginger Gold or Cortland. These firmer apples hold their shape, which makes it yummier, and keeps the filling from turning to mush. Feel free to use a blend of several crisp apples to get the most complex flavor.
If you can find them Mutsu (aka Crispin) is my favorite Thanksgiving pie apple because they taste like honey and hold their shape beautifully. Mix them 50/50 with the Macs and prepare your tastebuds for a treat!
Notes on Other Pie Filling Ingredients
I added in lemon juice for a smidge of tart acidity. This also helps to activate the natural pectin in the apples to thicken the filling as it cools.
And I use two thickeners, flour and cornstarch to get the perfect level of juicy appley goodness.
I made this deep dish pie with a full teaspoon of cinnamon and a touch of nutmeg, and I have to say that the spice does cover up the maple flavor quite a bit. If you want the maple to come through more, use just a half teaspoon of cinnamon.
Step-By-Step Instructions For This Pie Recipe
Step 1: Make Crust
Pulse whole-wheat pastry flour, all-purpose flour, maple sugar and salt in food processor. Add butter, and process until the butter is cut in and the mixture resembles coarse meal. If you don’t have a food processor or you want to do this by hand, use a pastry blender, two knives, or quickly work it in by hand.
Open lid, drizzle on oil and pulse to combine. Open lid and drizzle on ½ cup ice water. Process until the mixture just comes together.
If the mixture seems dry or does not come together as a ball, try squeezing a handful of the crumbs together. If it still won’t come together, add up to ¼ cup more ice water. Divide dough in half and form into two disks, wrap in plastic and refrigerate until firm and chilled, at least 1 hour.
Step 2: Preheat Oven
Arrange oven rack in the center of the oven. Preheat oven to 350ºF. Line a baking sheet with foil or parchment.
Step 3: Make Filling
Toss Macintosh apples, firm apples, maple syrup, lemon juice, all-purpose flour, cornstarch, cinnamon, nutmeg and salt in a large bowl.
Step 4: Assemble Pie
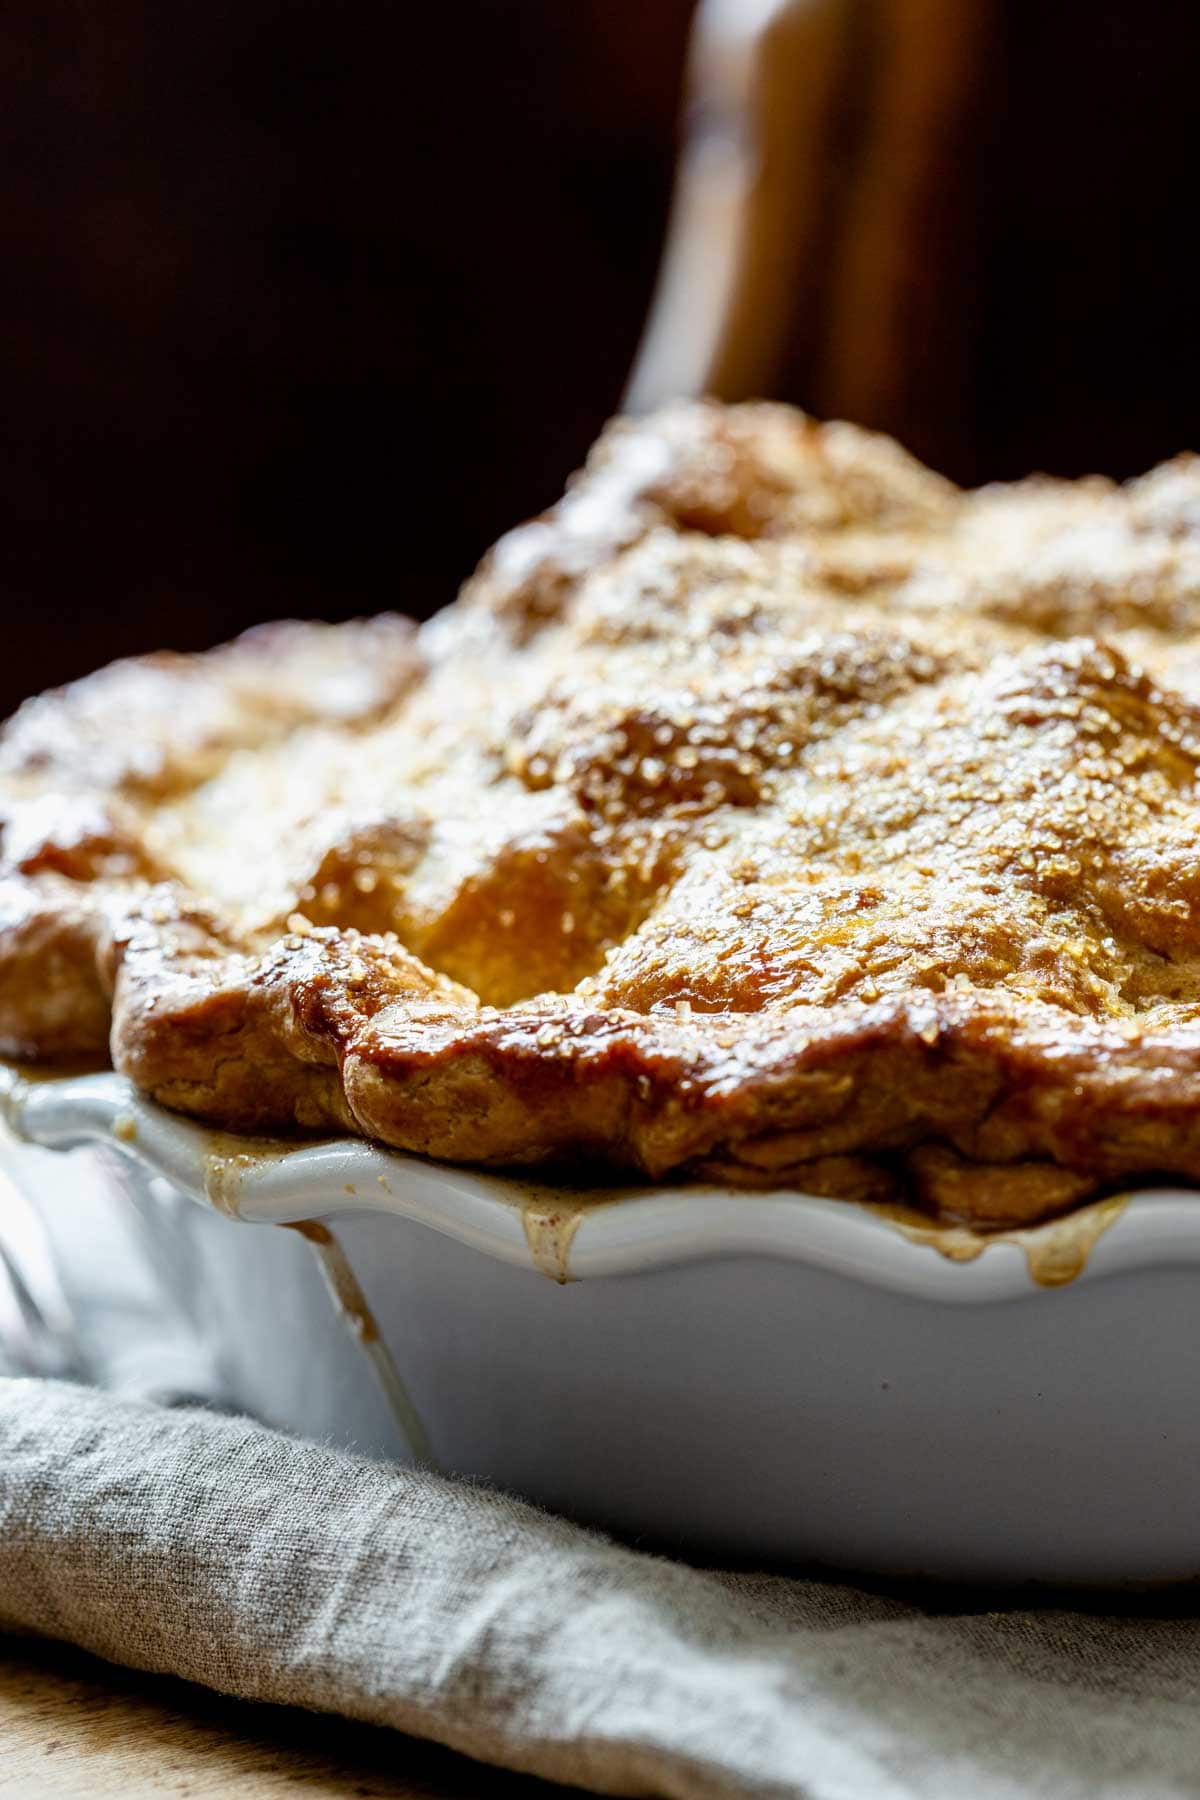
Lightly dust the work surface with flour. Roll one dough disk out to a circle, about 14-inches across. Transfer to a 9-inch deep dish pie plate. Press the dough gently into the corners of the pie plate. Add apple filling to the pie shell, arranging so they are as compact as possible. Roll the second dough disk out to a circle, about 12 inches across. Lay over the apple filling. Roll edges under, and crimp edges to make a fluted edge. Brush egg yolk over the crust. Sprinkle with turbinado. Cut five 1-inch long steam vents in the top of the pie.
Step 5: Bake Pie
Place the pie on the prepared baking sheet. Bake pie until the crust is golden brown and the filling is bubbling out the vents a bit, 60 to 80 minutes. Let cool on a wire rack until room temperature before cutting.
Expert Tips
How To Measure Flour
When you measure the flour, stir the flour in the canister or bag first, then scoop it into your dry measuring cup. Then level it off with a knife. Otherwise, if you scoop down into the bag with your measuring cup you’ll compact the flour and end up with too much flour in the recipe. That opens up a can of worms for what is to follow.
Why Does The Butter Have To Be Cold?
Food Nerd Alert: Butter, when cold, is a solid emulsion of liquid and fat. The liquid (or milk solids) is held in suspension with the butter fat. It is important to keep the butter cold throughout the process of making pie crust so that the milk solids do not activate the gluten in the flour. Also if the butter gets too warm, before the pie goes into the oven, the crust may slump or collapse in the oven before the structure of the crust has a chance to set up.
Why Chill The Pie Dough?
Refrigerating the crust is important because it allows the gluten to relax so the crust will be easier to roll out. It is also important because it firms the butter back up so that it will not melt into the flour, activating the gluten and therefore making it tough, or cause it to melt and slump in the oven before the crust walls set up. The takeaway: keep your butter and water cold!
More Maple-Sweetened Baking Recipe & Thanksgiving Ideas:
- This super fast recipe for Cranberry Relish is a great addition to the holiday table.
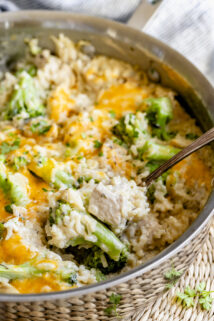
- This homemade Cheddar Green Bean Casserole is creamy and comforting, and made entirely from scratch without canned soup!
- Here’s a fast and easy stove-top recipe for Easy Garlic Herb Butternut Squash to serve as a side dish.
- Even if there aren’t any meatless folks at your table this year, this Vegetarian Thanksgiving Pilaf with pumpkin makes everyone happy.
- You can search all of the Thanksgiving Recipes here on Healthy Seasonal Recipes.
Thank you for reading. If you make this recipe, please make sure to leave a star rating and review below.
Happy Cooking!
~Katie
Print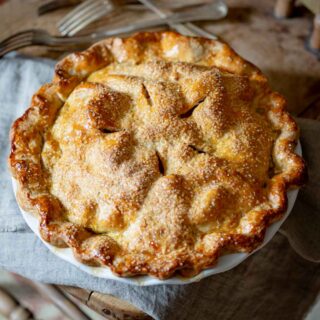
Maple Apple Pie {Double Crust & Deep Dish}
- Total Time: 2 hours 50 minutes
- Yield: 10 servings 1x
Description
Our juicy Maple Apple Pie is made in a deep dish with a double crust; a fool-proof recipe for Thanksgiving dessert. Blue ribbon pie-making instructions for beginners and a healthier crust!
Ingredients
Crust
- 1 3/4 cups white whole-wheat flour
- 1 cup all-purpose flour, plus more for dusting
- 2 tablespoons sugar
- 1/2 teaspoon salt
- 1/2 cup cold unsalted butter, cut into chunks
- 1/4 cup avocado oil or organic canola oil
- 1/2 cup to 3/4 cup ice water
- 1 egg yolk
- 2 teaspooons turbinado sugar
Filling
- 3.5 pounds apples, peeled cored and sliced *see note
- 3/4 cup pure maple syrup, dark or amber
- 1/4 cup all-purpose flour
- 1 tablespoon fresh lemon juice
- 2 teaspoons corn starch
- 1 teaspoon cinnamon
- 1/4 teaspoon nutmeg
- pinch salt
Instructions
- Make crust: Pulse whole-wheat pastry flour, all-purpose flour, maple sugar and salt in food processor. Add butter, and process until the butter is cut in and the mixture resembles coarse meal. Open lid, drizzle on oil and pulse to combine. Open lid and drizzle on ½ cup ice water. Process until the mixture just comes together. If the mixture seems dry or does not come together as a ball, try squeezing a handful of the crumbs together. If it still won’t come together, add up to ¼ cup more ice water. Divide dough in half and form into two disks, wrap in plastic and refrigerate until firm and chilled, at least 1 hour.
- Arrange oven rack in the center of the oven. Preheat oven to 350ºF. Line a baking sheet with foil or parchment.
- Make Filling: Toss Macintosh apples, firm apples, maple syrup, lemon juice, all-purpose flour, cornstarch, cinnamon, nutmeg and salt in a large bowl.
- Lightly dust work surface with flour. Roll one dough disk out to a circle, about 14-inches across. Transfer to a 9-inch deep dish pie plate. Press dough gently into corners of the pie plate. Add apple filling to the pie shell, arranging so they are as compact as possible. Roll the second dough disk out to a circle, about 12 inches across. Lay over the apple filling. Roll edges under, and crimp edges to make fluted edge. Brush egg yolk over the crust. Sprinkle with turbinado. Cut five 1-inch long steam vents in the top of the pie.
- Place pie on the prepared baking sheet. Bake pie until the crust is golden brown and the filling is bubbling out the vents a bit, 60 to 80 minutes. Let cool on a wire rack until room temperature before cutting.
Notes
Note* My recommendation is to use 4 large Macintosh apples and
4 firm apples, such as Honey Crisp, Mutsu or Ginger Gold. About 1.75 pounds each. The macs will break down and become very juicy the firm apples will hold their shape and give great texture.
- Prep Time: 1 hour 50 minutes
- Cook Time: 1 hour
- Category: Dessert
- Method: Baked
- Cuisine: American
Nutrition
- Serving Size: 1/10 pie
- Calories: 467
- Sugar: 45 g
- Sodium: 132 mg
- Fat: 16 g
- Saturated Fat: 7 g
- Carbohydrates: 81 g
- Fiber: 7 g
- Protein: 5 g






I have been making pies for years and have never added maple to my apple pie. All I can say is WOW!!!! From here on out it is a must!!!
You also are amazing at explaining the recipe and the do’s and don’t. I’ll will be following your recipes with admiration
I only referenced this recipe for the filling portion of the pie, but this was the best apple pie I’ve ever made. I baked it at 425 for 20 minutes and then 375 for 45 minutes. Unreal. Thank you so much for making such a gorgeous recipe for us sugar-free people. I honestly think sugar detracts from an apple pie now that I have had your version. Texture, taste, sweetness, tartness, flavors… beautiful. 10/10.
Thank you so much for reporting back!
This is my favorite apple pie! Not too sweet or tart. So easy and delicious and the crust is perfect!
Thank you Amy! I am glad you like it!
Loved this pie! Our local grocery store didn’t have your suggested apple varieties, so I used all honey crisp. Will plan ahead better next time and use a blend of apples. (But in a pinch, the honey crisp still made a 5 star pie.)
Gorgeous photos! This pie definitely would take the blue ribbon at any pie contest!
You’d never guess this was a healthier pie! I love the addition of maple syrup—genius!
What a delicious recipe and gorgeous-looking pie! I love the photography in this post, the chair is a perfect prop. Have a wonderful Thanksgiving, Katie! 🙂
Thank you Nicole. I love your photographs so that is such a nice compliment. Hope you have a great holiday as well.
This looks incredible! Your pie looks absolutely amazing, and I love how the dark background makes it pop. Gorgeous! Also, I loved your food nerd alert
Thank you Heidi. I am so glad you like the moodiness of these photos. I thought it fit the subject matter. And food nerds rock! Fist bump! 😉
As a chemist before a baking blogger, I love your food nerd tip! And these photos are absolutely stunning. The moody light and intense shadows make the pie stand out — and make me want to reach through the screen for a slice! 🙂
Did I know that about you? I love it. I am so into that stuff, so I am sure we would have so much fun nerding out together about it!
We totally would!! Now if only we lived closer… Or plane tickets were cheaper… 🙂
Ha ha! Okay, next time I see you, we have to plan out time to talk food science. It makes me so happy to do so.
It’s a deal!! Can’t wait! 🙂
I have always been too nervous to make a pie crust from scratch, but your step by step tutorial makes me feel like even I could do it. I love the tip about the filling too!
You’ll be so psyched you tried. It is actually really fun, and so satisfying knowing you made it from scratch. {Plus so much prettier if you ask me.}
Simply stunning! I don’t even like apple pie, but the photos make me want to try!
Thank you so much Rebecca.
while im not a pie person but im absolutely in love with these pictures…
Thank you so much Dixya. I appreciate it so much.
i love the addition of maple to this pie! Its gorgeous!
Thank you Rachel.