Homemade Whole Wheat Bread
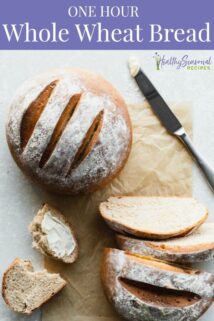
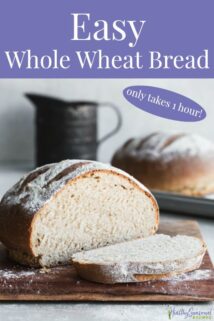
This fast and basic recipe for Whole Wheat Bread has a brilliant technique that allows you to get two gorgeous and delicious loaves on the table in just over an hour… start to finish! As an avid baker, I consider baking homemade bread a weekly essential, so trust me when I say this will become your go-to bread recipe from now on. With only 6 ingredients there’s no excuse not to make this nutritious and homemade whole-wheat bread.
I have made this bread a handful of times for brunch and absolutely love it! It’s quick, easy, and always comes out rustically beautiful and delicious.
~Miryam
I originally shared this recipe on March 20th, 2020. I have updated some of the content to share it with you today.
Table of contents
Why we love this Whole Wheat Bread Recipe
I have a confession… I love making bread. But I don’t do it often because it takes planning. You really need at least half a day. So when I saw Rebecca Lindamood’s super-fast recipe for homemade Whole Wheat Bread in her new cookbook Ready, Set, Dough!, I was very intrigued.
The book is filled with bread recipes, but this simple method for making whole-wheat bread from scratch was the one I was most excited to try because I love how quickly this very basic recipe comes together. The secret: the second rise happens in the oven! I was a little skeptical, but I will tell you this trick is seriously genius!
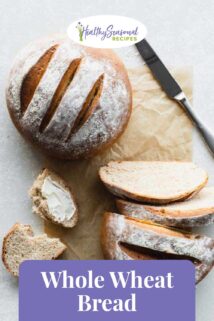
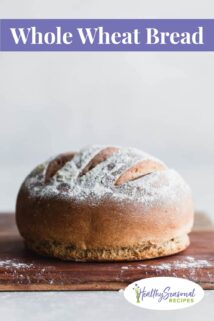
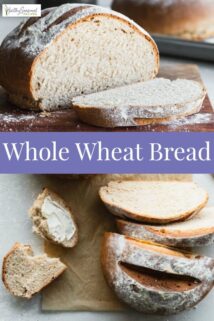
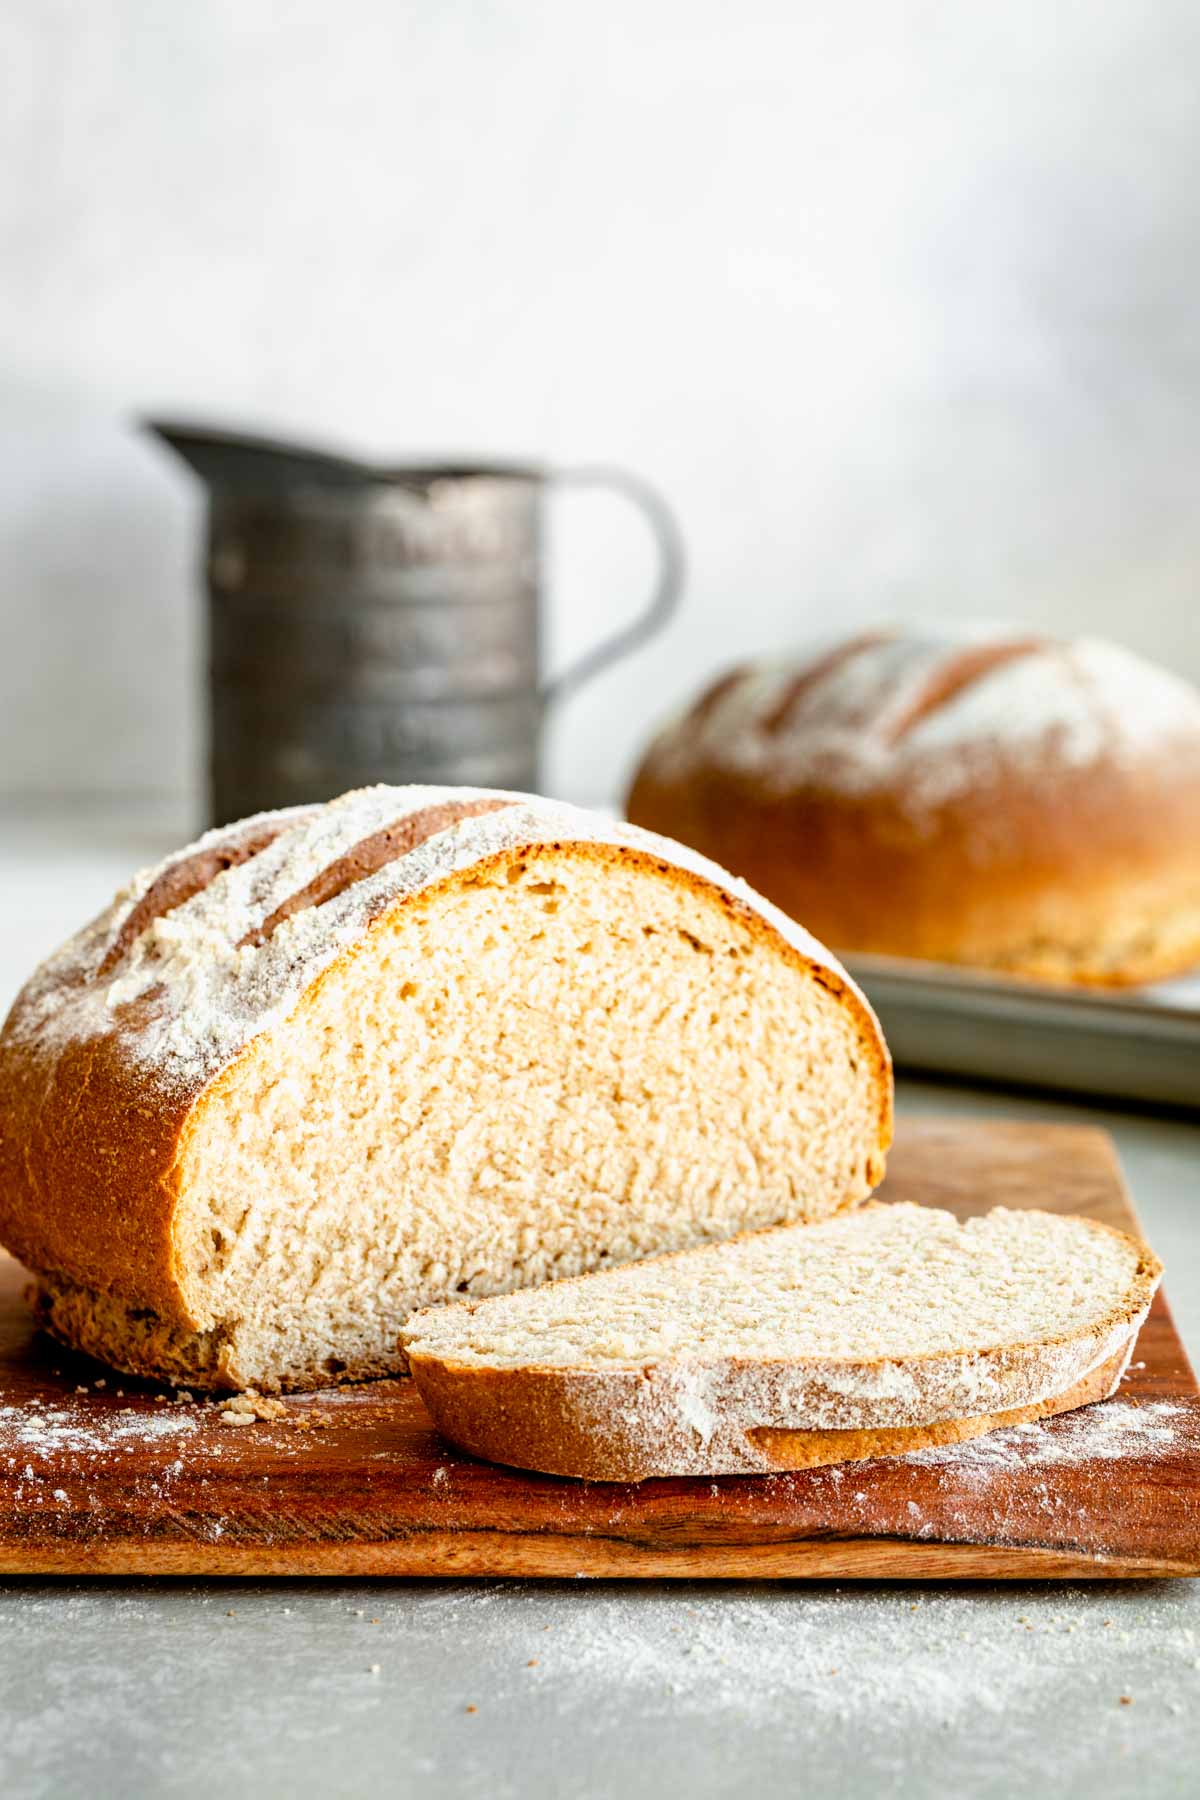
Not only is this whole-wheat bread so pretty with the awesome scoring and light dusting of flour on top, it is also absolutely delicious. The whole wheat flour adds wonderful color, flavor and texture. It is perfect for sandwiches, but my favorite way to eat it is to toast it in the morning and slather it with peanut butter and just a little strawberry jam. It literally made me want to get up in the morning!
I know making homemade bread can seem daunting, but it’s really just mixing together flour, yeast, water and maybe a few other ingredients and letting the yeast do it’s thing. If you have never attempted to make bread before, this fast Whole Wheat Bread is the recipe to try.
Once you try it, make sure to check out our soft 100% whole wheat dinner rolls and this honey wheat sandwich bread too!
Homemade Wheat Bread Ingredients
- Flour: We use a blend of whole-wheat flour for wholesome goodness and all-purpose flour for great texture
- Instant or active dry yeast: Use our guide to types of yeast for bread for more info
- Kitchen Staples: sugar, salt, warm water and olive oil
How to Make Whole Wheat Bread
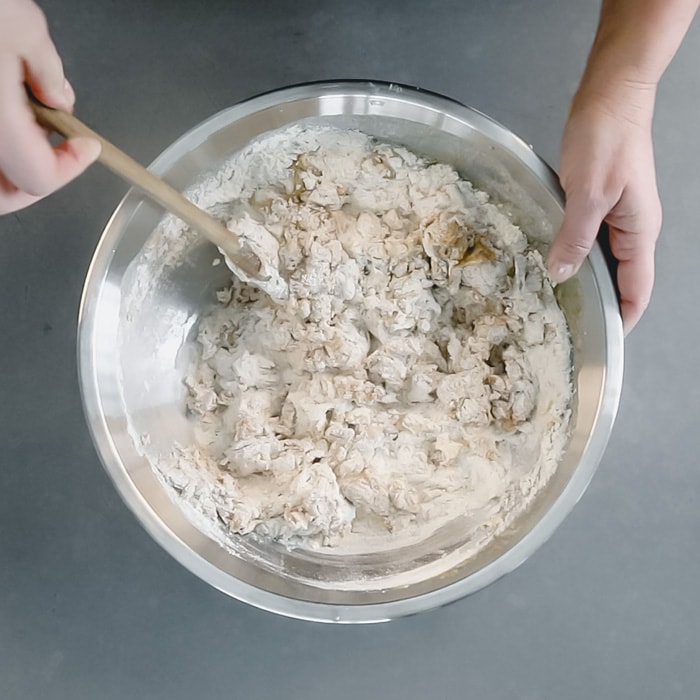
Mix flour, yeast (if using instant), sugar, salt, water (in order to speed up the first rise use very warm water, but do not let it go above 120 degrees), and olive oil in a large mixing bowl with a spoon until a shaggy dough forms.
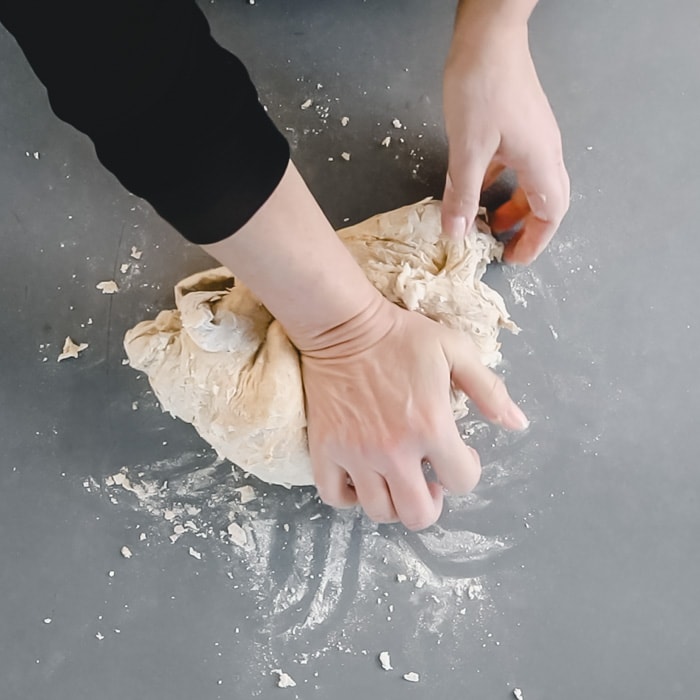
Knead about 4 minutes until a smooth dough ball forms.
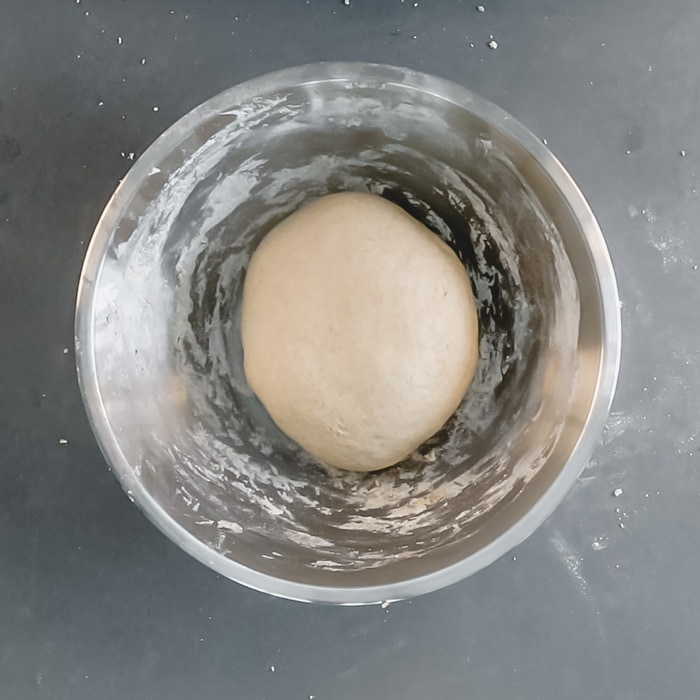

Return the dough to the bowl, cover and let rise in a warm place for about 15 minutes.
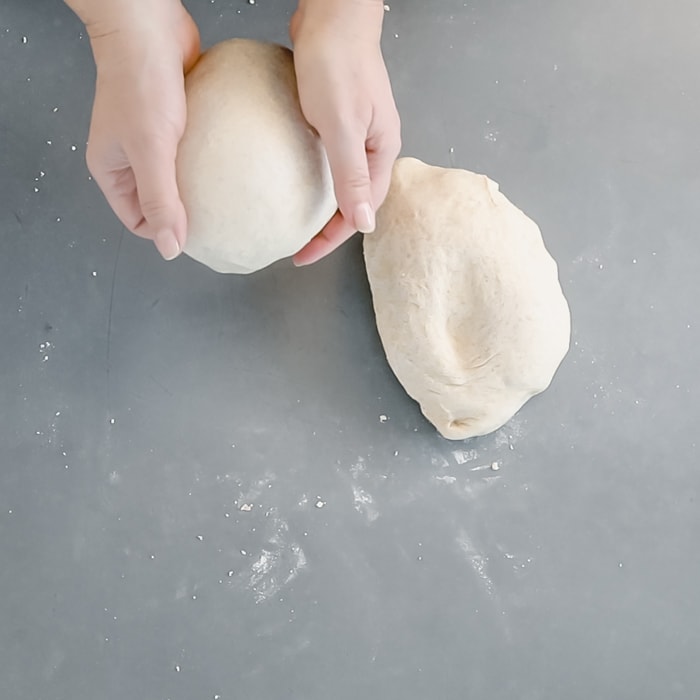
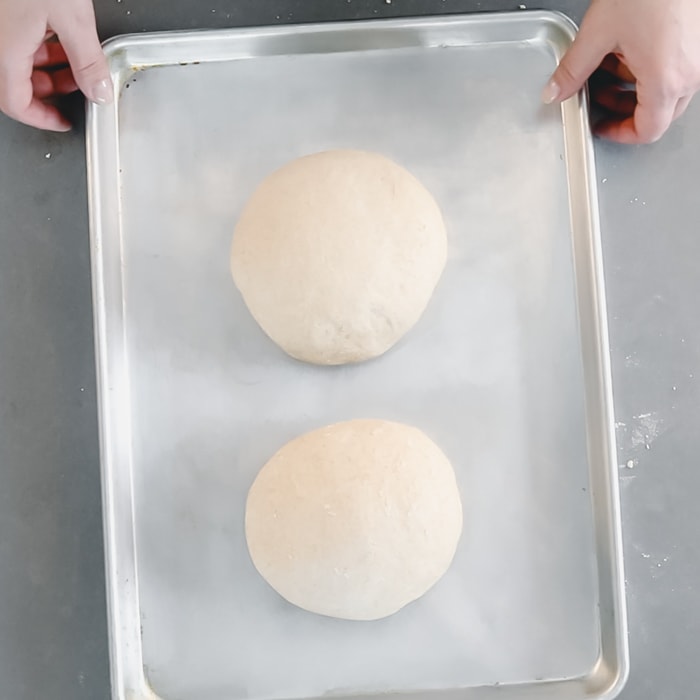
Divide the dough in half and form into two tight dough balls or loaf shapes and place directly on a baking sheet or in a loaf pan.
Press down gently and dust with flour.
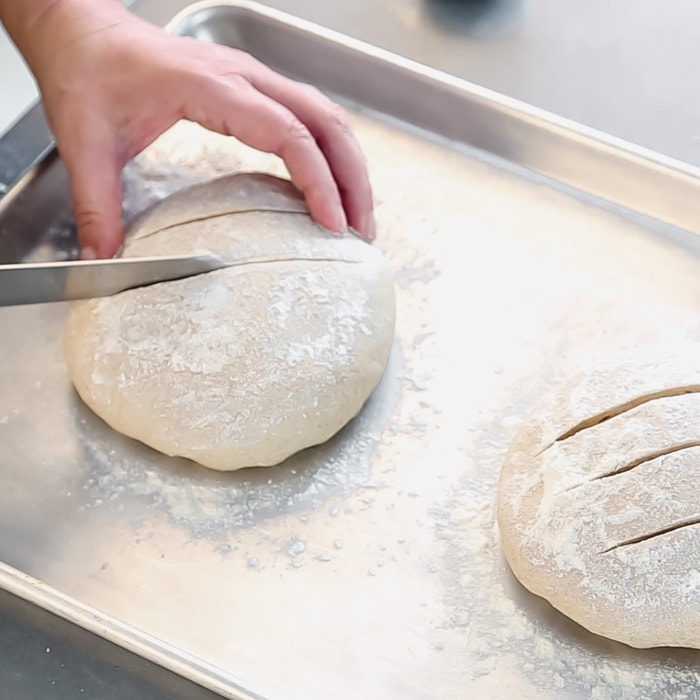
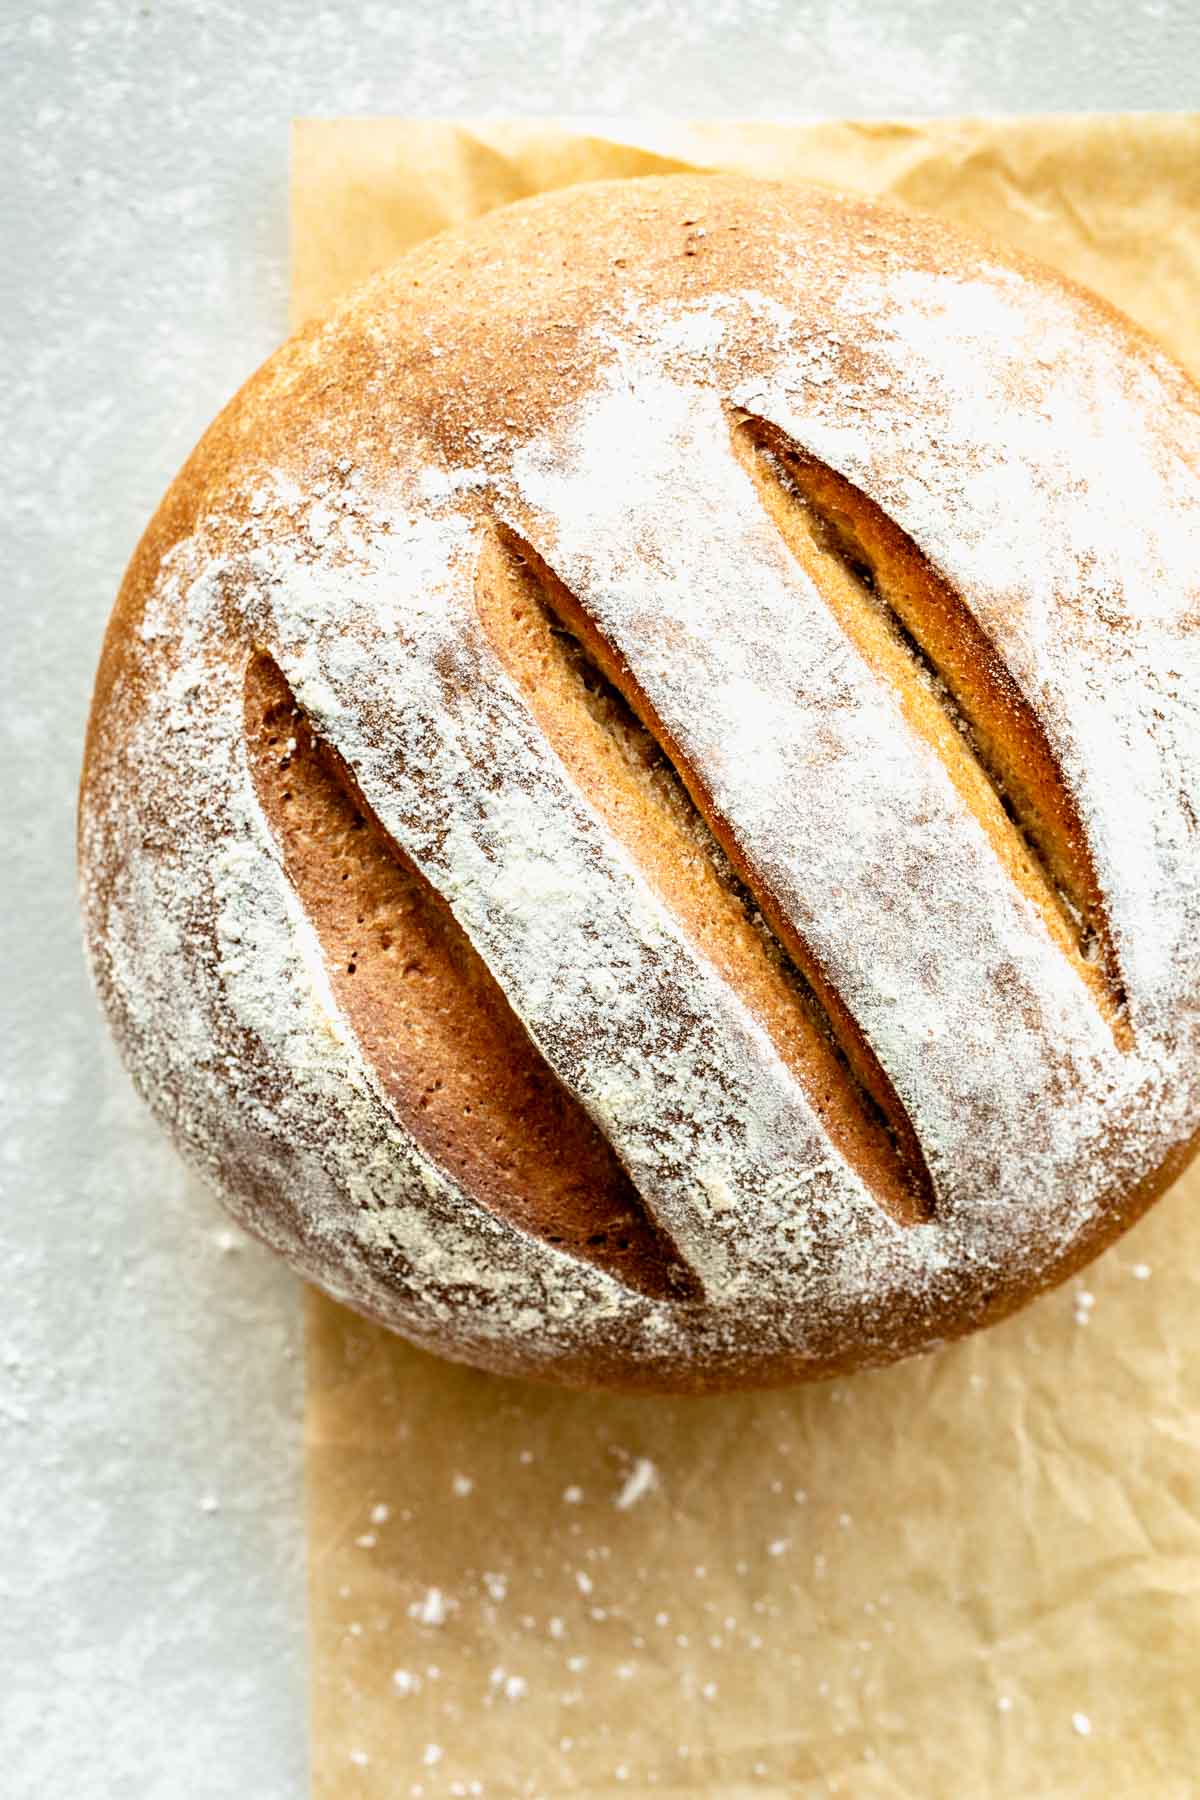
Slash the tops of the loaves three times.
Tips For Scoring Bread Dough
- Use a blade or a very sharp knife
- Make a swift but gentle cut about 1/4 inch deep
- Don’t press down on the dough
Slashing or scoring the dough just before baking is done to allow the bread to expand during baking and take advantage of the oven spring. It also makes it look really pretty. If you bake bread on the regular, you can get really fancy with it. Check out this awesome post from King Arthur Flour to really get the low down on scoring dough.
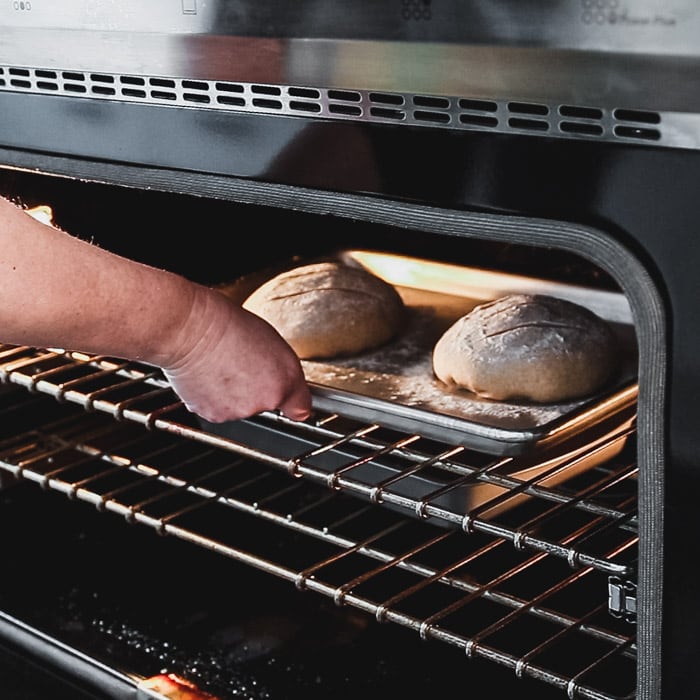
Next, allow the bread to rise again in the oven as it preheats. Place the sheetpan with the two loaves directly in a cold oven with a pan of hot tap water on the rack below.
Set the oven to 400 degrees and set the timer for 40 minutes.
Remove bread from oven and set the baking sheet on a wire rack, letting the loaves cool completely on the pan.
Whole-Wheat Bread FAQs
This is a step in the preparation of a yeast-leavened bread or baked good
The dough is allowed to rest in a warm (ideally 80-85 degree) dry location
This is when the yeast feeds on the sugar and fermentation occurs releasing gasses and leavening the dough
Rebecca recommends placing the dough in your oven with just the light turned on or placing it in a cardboard box with a glass of hot water next to it to create the perfect proofing environment
Test after the dough has doubled in size or according to the recipe
Use your finger to gently poke the dough making about a 1 inch indention
If the indention remains, the dough is ready for the next step
If the indention pops back up, cover the dough and let it rise a bit longer
We like to use an instant-read thermometer to check for doneness. This loaf should register between 190 and 200 when it is done.
Keep this bread at room temperature wrapped in plastic. Soft yeasted breads like this one are best when eaten in the first two days. After that, it is still great toasted. You can freeze it for longer-term storage. Wrap it well and freeze up to one month. Thaw at room temperature and re-heat in the oven
Choosing whole grains over refined counterparts are a smart choice. Diets rich in whole grain foods and other plant foods, and low in saturated fat and cholesterol, may help reduce the risk of heart disease. Additionally, this homemade whole-wheat bread is free of additives, dough conditioners, and additional sugar and sodium.
Expert Tips For Making Perfectly Soft Whole-Wheat Bread
- Baking is a science: Measure all ingredients very carefully. Using a food scale to weigh ingredients if possible is the most accurate.
- Follow the recipe: This might seem obvious, but how many times when you’re cooking do you throw in a little extra of this or take a short cut to do that? This is not the time to improvise, especially if you’re new to baking bread.
- Test your yeast: Yeast is a living organism and can die if it’s too old or has not been stored properly. To test yeast and make sure it’s still viable add it to warm water with a little sugar and within a few minutes a bubbly foam should appear on the surface. If you see this foam, the yeast is good to go.
- Reserve 1/2 cup flour: If too much flour is added the dough will be heavy and dry and is very difficult to knead, so I usually hold back 1/2 cup of the flour and then add it as necessary while I’m mixing the ingredients.
- You need to knead: This is the fun part! Once all of the ingredients have formed an elastic dough that is not too sticky place it on a lightly floured counter or board. Fold the dough in half and push it down with the heel of your hand. Then flip it over and repeat the process, adding flour as necessary so it doesn’t stick to your hands or the counter and until the dough is smooth and elastic. This can take between 5-10 minutes (follow the recipe).
- Let it rise: (Yes, I did sing this in my head… you know the song:) This is called the first rise and for most recipes the dough should almost double in size. Shape the dough into a ball and place in in a greased bowl that is at least twice as large as the ball. Turn the dough over to grease the surface as well, so it doesn’t dry out. Cover the bowl with plastic wrap or a tea towel and place it in a warm place. Rising times are approximate, so make sure and check the dough often.
- Punch it: After the dough has doubled in size, punch it so that it deflates and the carbon dioxide is released making it easier to shape.
- Shape it: Shape the dough according to the recipe, cover it and let it rise again. This is called the second rise. The recipe will usually call for it to double in size again or to almost double and then it will rise even more when baking, which is called oven spring. If you are planning to bake it in a loaf pan, now is the time you would transfer the dough into the pan.
- Cool it: This the the most difficult part of the bread baking process. For loaves with a crisp crust it needs to cool completely after baking on a wire rack before you cut it. But for softer breads like dinner rolls, you can just eat those babies warm right out of the oven.

Serving Suggestions
This delicious Whole Wheat Bread would be perfect to serve with any of these yummy recipes: Soupe Au Pistou, Pan Fried Fish, Garden Vegetable Soup, Roasted Pumpkin Soup, or Roasted Salmon Sheet Pan Dinner. It also is wonderful to make Whole-Wheat French Toast.


At Healthy Seasonal Recipes, we specialize in cooking with fresh veggies and creating weeknight meals. Sign up HERE to get more produce-forward dinner ideas for FREE! If you make this recipe, please come back and leave a star rating and review. I would love to hear what you thought! Happy Cooking! ~Katie
Print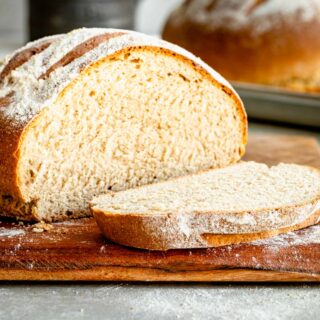
Homemade Wheat Bread
- Total Time: 1 hour 5 minutes
- Yield: 12 servings 1x
Description
This basic recipe for Whole Wheat Bread has a brilliant technique that allows you to get two gorgeous and delicious loaves on the table in just over an hour… start to finish! With only 6 ingredients there’s no excuse not to make this fast, nutritious, homemade whole wheat bread.
Ingredients
- 4 cups (1 lb, 1 oz or 482 g) all purpose flour, plus extra for dusting
- 2 cups (9 oz or 255 g) whole wheat flour
- 2 tablespoons (24 g) instant or active dry yeast
- 2 tablespoons (25 g) sugar
- 1 tablespoon (18g) kosher salt (if using table salt, reduce to 1 1/2 teaspoons (9g)
- 2 cups (480 ml) very warm water (about 120 degrees)
- 1/4 cup (60 ml) olive oil
Instructions
- Mix the flours, yeast, sugar, salt, water, and olive oil in a large mixing bowl with a sturdy spoon until a shaggy dough forms, then knead until the dough comes together and becomes smooth, about 4 minutes by hand or machine.
- Form a smooth dough ball. Return the dough to the bowl, cover with a clean tea towel, and let it rise in a warm place for 15-25 minutes.
- Divide the dough in half and form into two tight dough balls or loaf shapes. You can place the balls or loaves directly on a rimmed baking sheet or in standard-size loaf pans. Press down slightly to flatten them, then dust a teaspoon of flour over each loaf, rubbing with your hands to distribute the flour. Slash the tops of the loaves three times.
- Place the loaves on the middle rack of a cold oven with a pan of hot tap water on the rack below it. Close the oven, set the heat at 400 degrees, and set the timer for 40 minutes. It is imperative that you start this in a cold oven!
- After 40 minutes, remove the bread from the oven and transfer the baking sheet to a cooling rack. Cool the bread completely before removing from the pan and slicing.
Notes
If using a loaf pan, coat with cooking spray before adding the dough. If you use a baking sheet without parchment, you do not need to spray it, but let the bread cool on the pan for several minutes, or it will stick. After a few minutes it will release.
- Prep Time: 25 minutes
- Cook Time: 40 minutes
- Category: Bread
- Method: Baking
- Cuisine: American
Nutrition
- Serving Size: 1/6 loaf
- Calories: 101
- Sugar: 5 g
- Sodium: 291 mg
- Fat: 5 g
- Saturated Fat: 1 g
- Carbohydrates: 13 g
- Fiber: 2 g
- Protein: 2 g


First time making this bread and my husband & I love it! I was looking for a recipe that I didn’t need to proof for hours and this was it! We will be making it again.
Have you made it with putting oats on top or cinnamon in the recipe? We were thinking of different variations so we don’t get bored with the same bread.
Do you leave the pan with the tap water on the oven rack below the bread the Whole time the bread is baking? Does it matter how much water for that part? Thanks!
Can I mix the dough in a stand mixer?
Yes, you can use a stand mixer to knead the dough.